
Introduction
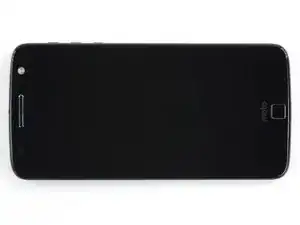
This guide shows how to replace a broken or cracked display assembly for the Moto Z. The display assembly includes the front glass and the AMOLED display.
The display assembly is extremely fragile and has no reinforcement. Work slowly and methodically when handling the display assembly.
If your display glass is cracked, tape over the glass to keep the glass contained and to prevent bodily harm during your repair.
-
-
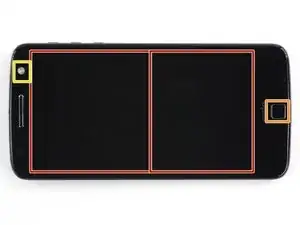
In the following steps you will be cutting through the adhesive around the edge of the display assembly.
-
To avoid damage, do not cut in the following areas:
-
The OLED panel
-
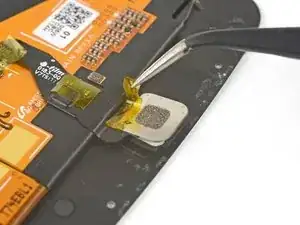
The home button
-
The flash unit
-
-
-
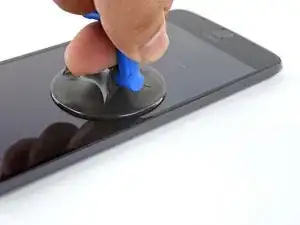
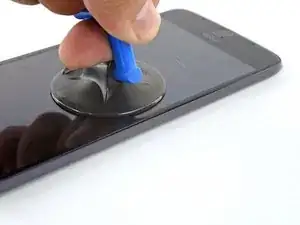
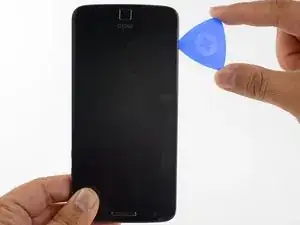
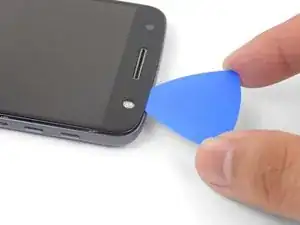
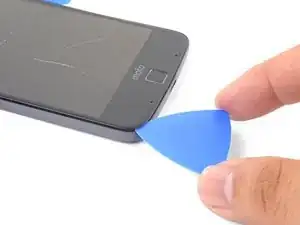
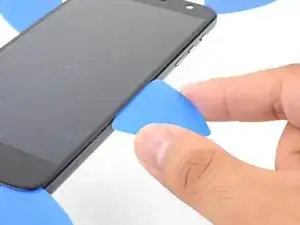
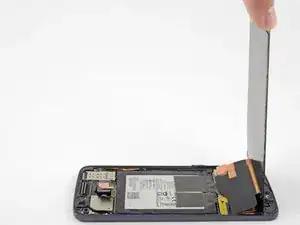
Apply a suction cup as close to the heated edge as possible.
-
Lift on the suction cup and insert the tip of an opening pick into the gap.
-
-
-
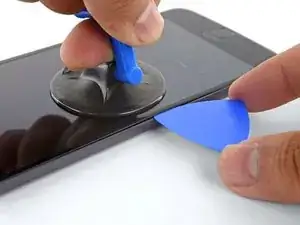
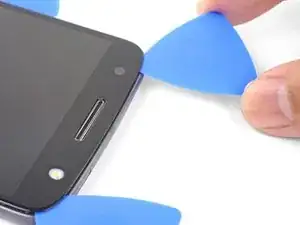
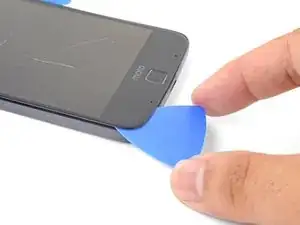
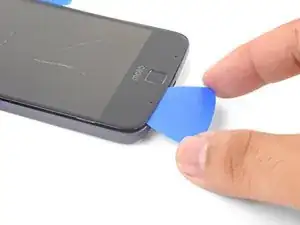
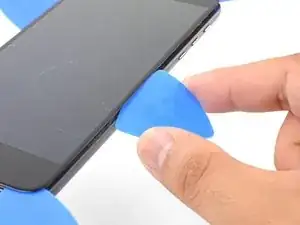
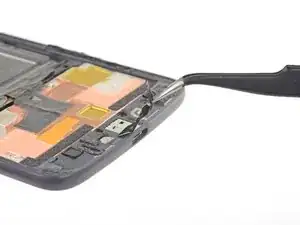
Carefully slide the tip of the opening pick down and up the side of the phone, making sure not to cut deeper than 1/16" (1.5 mm).
-
Once you have separated the adhesive, leave an opening pick in the side to keep the adhesive from resealing.
-
-
-
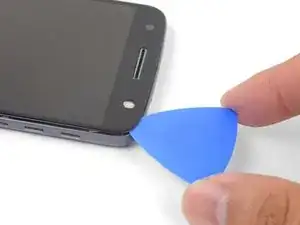
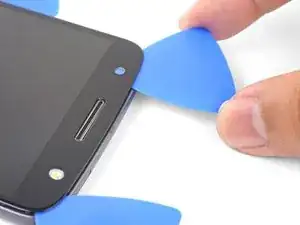
Insert an opening pick into the flash side corner of the phone and carefully slice around the flash unit.
-
Once you are done cutting, leave the pick in the corner to prevent the adhesive from resealing.
-
-
-
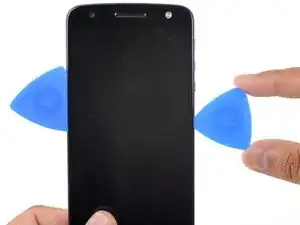
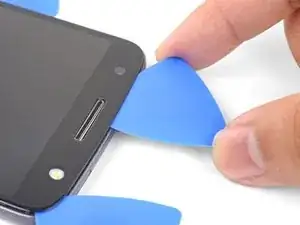
Insert an opening pick into the remaining top corner of the phone.
-
Carefully slice through the adhesive across the top of the phone.
-
-
-
Insert an opening pick into a bottom corner and slice towards the home button, stopping before you reach it.
-
Once you're done with the corner, leave a pick in place to prevent the adhesive from sealing.
-
Repeat the process for the other bottom corner.
-
-
-
Carefully twist the first opening pick slightly to help release the edge adhesive.
-
Repeat the same process for each remaining pick, moving them as necessary and twisting slightly to release the adhesive.
-
-
-
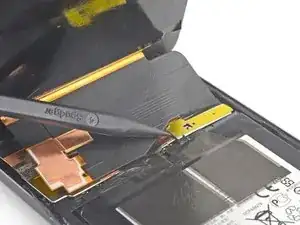
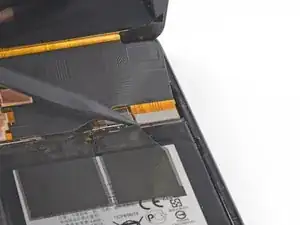
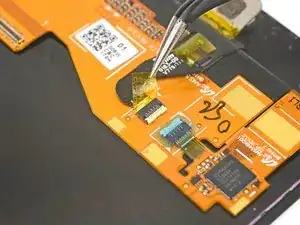
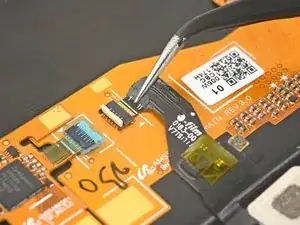
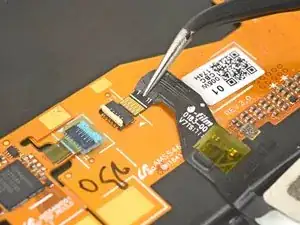
Use the point of a spudger to pry the display cable shield up.
-
Remove the display cable shield.
-
-
-
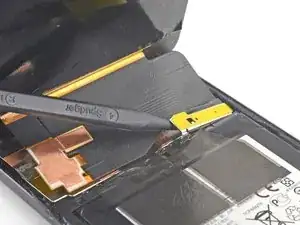
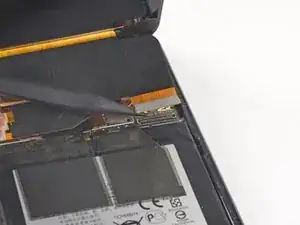
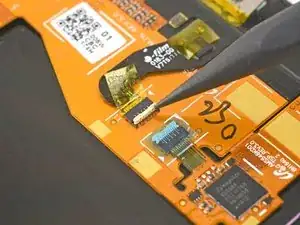
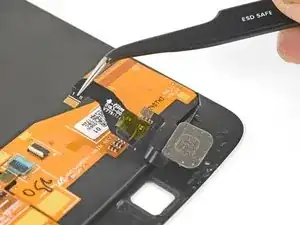
Use the point of the spudger to lift and disconnect the display cable connector from its socket.
-
-
-
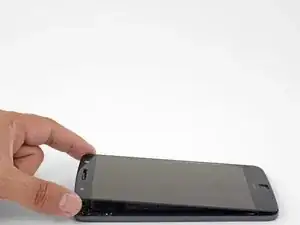
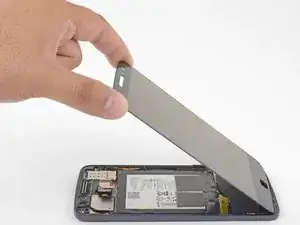
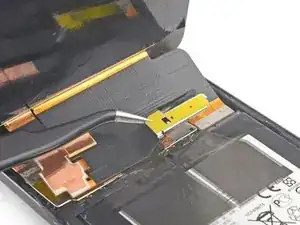
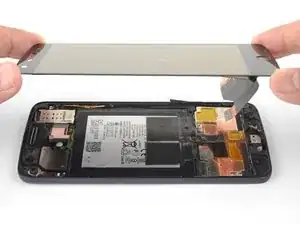
Remove the display assembly.
-
After removing all traces of glue and glass from the frame, clean the adhesion areas with 90% (or higher) isopropyl alcohol and a lint-free cloth or coffee filter.
-

Compare your new replacement part to the original part. You may need to transfer remaining components or remove adhesive backings from the new part before installing.
To reassemble your device, follow these instructions in reverse order.
Take your e-waste to an R2 or e-Stewards certified recycler.
Repair didn’t go as planned? Check out our Motorola Moto Z Answers community for troubleshooting help.

14 comments
Do you ship to India?
Watch the youtube video it’s a lot better also instead of sending a sticker that connects the phone and the screen they should’ve added adhesive to the new screen.
Hi Jonathan,
Unlike aftermarket screens that may have adhesive pre-attached, we are an authorized Motorola reseller and sell OEM Motorola parts. In this case, the OEM screen comes without adhesive pre-attached.
For the most part this was a helpful guide, but what about the flash? When following the directions the flash comes off with the screen/digitizer, and it appears to have happened to the author as well. There is no mention or help in reattaching this component or needing to purchase a new flash component prior to beginning the repair. It will be too late for me, but any insight might help others.
Hey Joe,
You’re right—depending on the part you order, you may need to transfer the flash lens from your original back cover to the replacement part. This involves prying the original off and sticking it back onto the replacement cover. I’ll add a note to one of the steps.
You have to reattach the flash lens wires directly to the underside of the OLED screen, not the ‘back cover.’ It sticks directly to the OLED screen. That’s where it was on the old screen. Was this wrong?