Introduction

Use this guide to remove the earpiece speaker in the Motorola Moto E4 Plus (XT1771).

Before disassembling your phone, discharge the battery below 25%. If your battery is swollen, do not heat your phone. Swollen batteries can be very dangerous, so wear eye protection and exercise due caution, or take it to a professional if you're not sure how to proceed.

You’ll need replacement adhesive to reattach components when reassembling the device.

  1. PCCXuPCwmVpwtTCZ
    PCCXuPCwmVpwtTCZ
    bPy2yicrAdZxADOP
    2lalNWm6HLMBs6AH
    • Power off your phone before beginning disassembly.

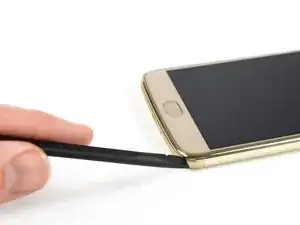
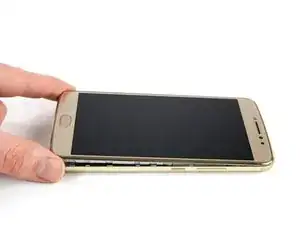
    • Insert the edge of the spudger into the notch on the bottom right corner of the phone.

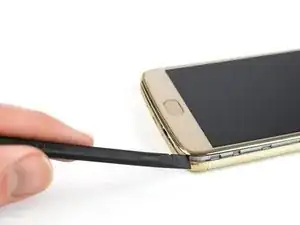
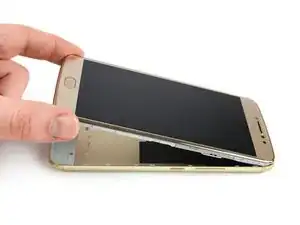
    • Twist the spudger to start releasing the back cover from the phone.

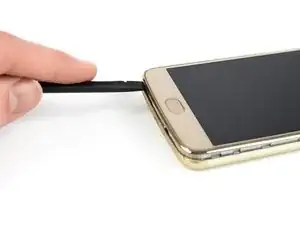
    • Slide the spudger along the bottom edge to separate the back cover from the phone.

  2. BUAOpKayenHBerHv
    BUAOpKayenHBerHv
    Hajy1vGJYVD5BJSq
    • Lift the phone unit out of the back cover.

  3. uQUf2htv3tBFguXy
    • Remove the eighteen 3.3 mm Phillips screws securing the midframe assembly.

  4. OB1nkHUu13UkPsEx
    OB1nkHUu13UkPsEx
    rBkIaTHeKhMtjbnV
    • Remove the charging board cover.

  5. qvAwQyXWkDpEM63D
    qvAwQyXWkDpEM63D
    oUeTRnhFSk3kbbsG
    pAjwAZVrCdQmOVNV
    • Remove the battery cover.

    Hoe kom ik aan een nieuwe cover of waar is die te koop.

    Antoinet -

  6. SG3BidfIJhuNVmRI
    SG3BidfIJhuNVmRI
    LW6CdknPWSEdboFQ
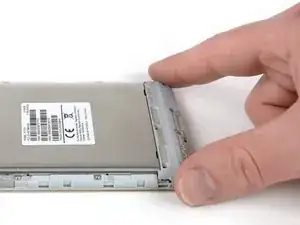
    • Insert an opening pick underneath the bottom left corner of the motherboard cover.

    • Slide the opening pick between the cover and the second SIM tray to release the plastic clip.

  7. dLcpNWeDPW1VGJRG
    dLcpNWeDPW1VGJRG
    UDi3hWIsviVro5EK
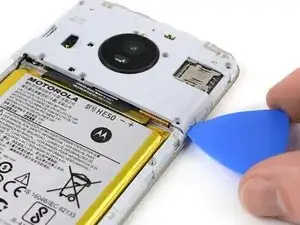
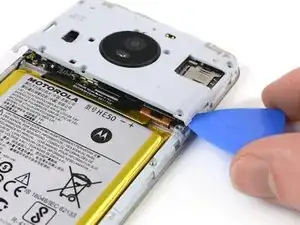
    • Insert an opening pick underneath the bottom right corner of the motherboard cover.

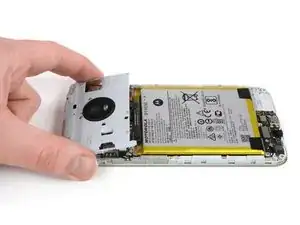
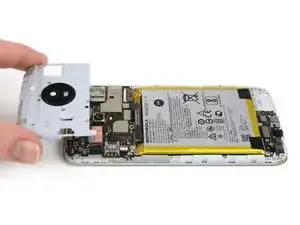
    • Use the opening pick to pry up the motherboard cover.

  8. Sc63bxRyFcvihlew
    Sc63bxRyFcvihlew
    HfOHa1LZakKp1sxy
    • Remove the motherboard cover.

  9. HBto2G6tNJGtUVDf
    HBto2G6tNJGtUVDf
    ZoFWKvCn4ZLJMlmU
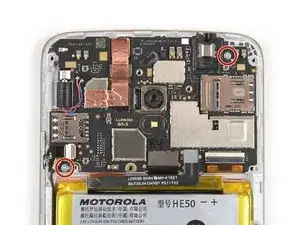
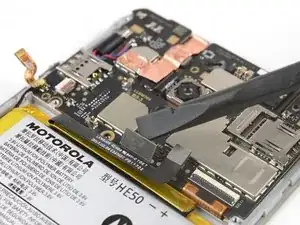
    • Use the edge of a spudger to pry up and disconnect the battery flex cable from the motherboard.

  10. FX1cDOGpcyLIVGtC
    • Remove the two 2.9 mm Phillips screws.

  11. gYiWtfhsnHTpASr3
    gYiWtfhsnHTpASr3
    qUFBVrMTabQr6Rsi
    WaRI6UoDMQODCvEp
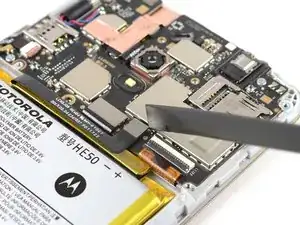
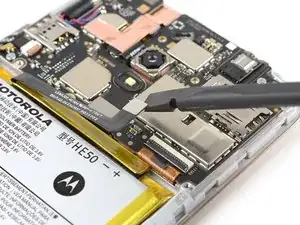
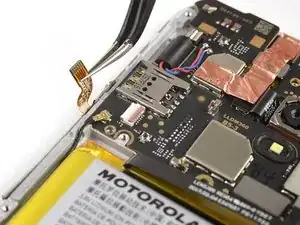
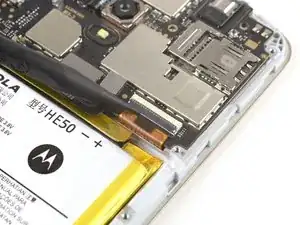
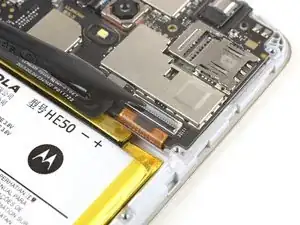
    • Use the edge of a spudger to pry up the flap of the ZIF connector located below the SIM slot on the left side of the motherboard.

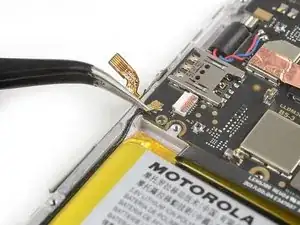
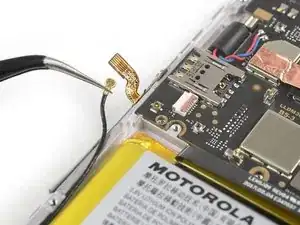
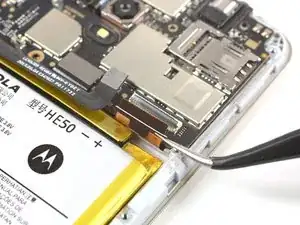
    • Use a pair of tweezers to pull the power and volume button flex cable out of the ZIF connector.

    • To reattach ZIF connectors like this one, carefully insert the flex cable into the ZIF connector up to the marked line on the cable, and then close the locking flap.

  12. aOQCHRCCZuTMYjOJ
    aOQCHRCCZuTMYjOJ
    6JhDtdhMbGAye1qb
    • Use a pair of tweezers to pry up and disconnect the antenna cable.

  13. ldwJg2KQKHrfbViD
    ldwJg2KQKHrfbViD
    ExeLaQZUPCxbTWb2
    • Use the flat end of a spudger to pry up and disconnect the interconnect flex cable.

  14. bfDl3W1iYCKGV4RL
    bfDl3W1iYCKGV4RL
    FnQOkfDXQpvyCKOF
    JSTORVdSDKKvMATK
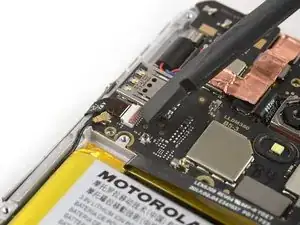
    • Use the tip of a spudger or an opening pick to pry up the flap of the ZIF connector, located in the bottom right corner of the motherboard.

    • Use a pair of tweezers to pull the display flex cable out of the ZIF connector.

  15. JTbcM3tCJUjWWLjI
    JTbcM3tCJUjWWLjI
    qHEHHnld6ufuZSmu
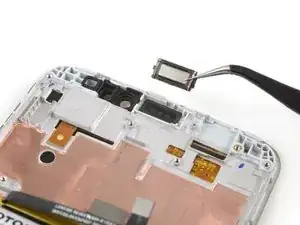
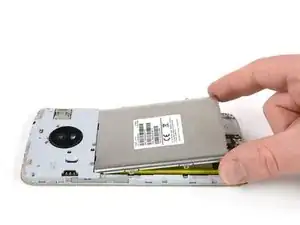
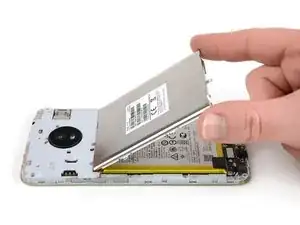
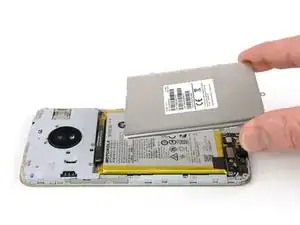
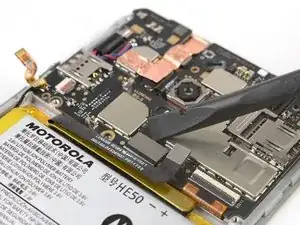
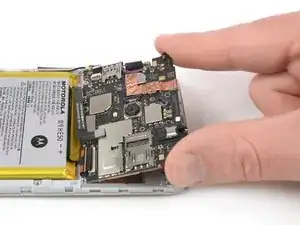
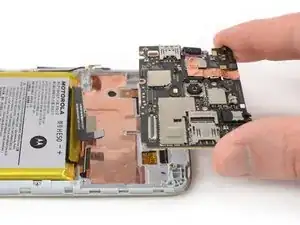
    • Grasp the motherboard by the top corners and remove it by lifting up and pulling it carefully out of its recess.

  16. sxqSxBEdkaWAvbT2
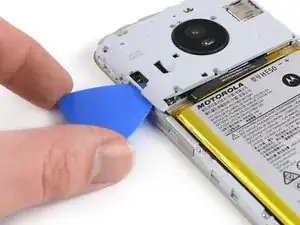
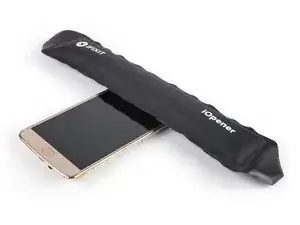
    • Apply a heated iOpener to the upper part of the phone for about 30 seconds to loosen the adhesive beneath the earpiece speaker.

  17. kHUMbRluvWJ1ImqB
    kHUMbRluvWJ1ImqB
    B6cRuFWiMH5xt6t1
    • When removing the earpiece speaker with a pair of tweezers, take care to grab the whole unit. The earpiece speaker can easily break in two pieces if you only pull on its upper half.

    • Use a pair of tweezers to lift the earpiece speaker out of its recess and remove it.

    • When reassembling, be sure to properly orient the earpiece speaker such that the gold contacts are pointing away from the top edge.

Conclusion

To reassemble your device, follow these instructions in reverse order.

Dominik Schnabelrauch

Member since: 23/11/16

167336 Reputation

0 comments