Introduction
Follow this guide to replace the Moto G4 plus’s rechargeable battery. If your battery is swollen, take appropriate precautions.
For your safety, discharge your existing battery below 25% before disassembling your phone. This reduces the risk of a dangerous thermal event if the battery is accidentally damaged during the repair.
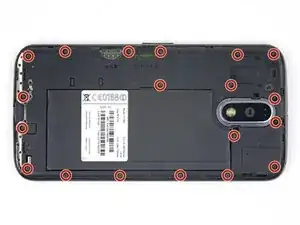
-
-
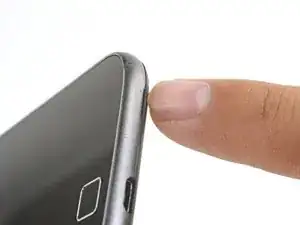
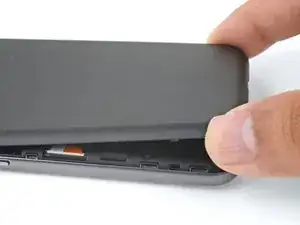
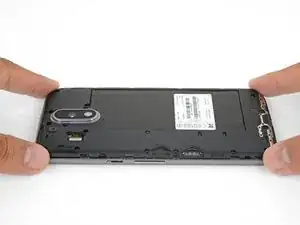
Insert a fingernail or a spudger into the notch on bottom edge of the phone near the charging port.
-
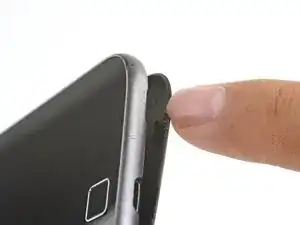
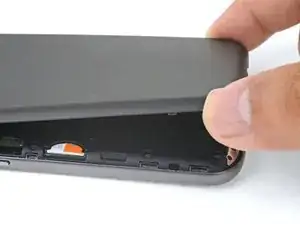
Pry the back cover away from the body of the phone.
-
-
-
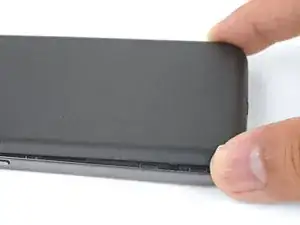
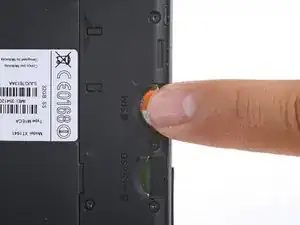
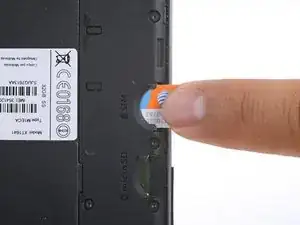
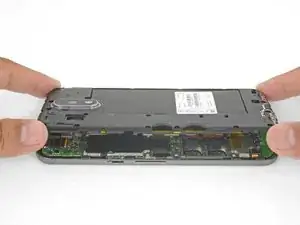
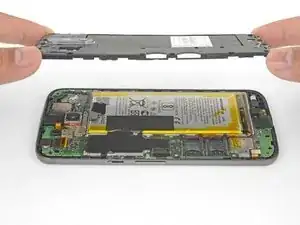
Continue to gently lift the back cover until all plastic clips have been released.
-
Remove the back cover.
-
-
-
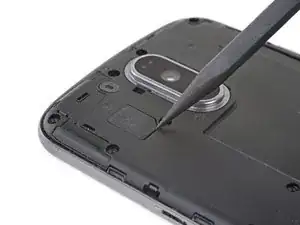
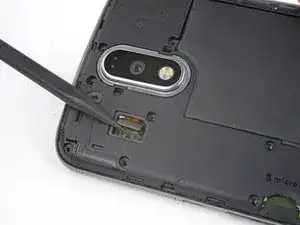
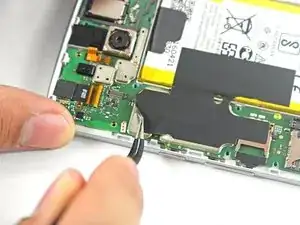
Use the point of a spudger to pry up the rubber cover over the camera flash connector.
-
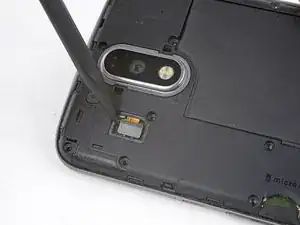
Remove the rubber cover.
-
-
-
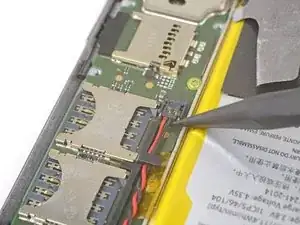
Peel up and remove the tape securing the battery wires.
-
Peel up and remove the black tape that bridges the battery and the phone.
-
-
-
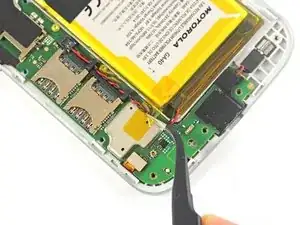
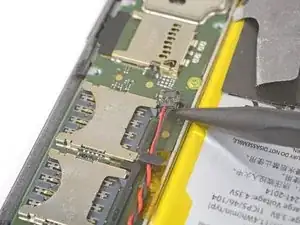
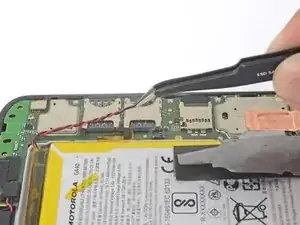
Slip the point of a spudger underneath the red and black battery wires and gently pry straight up.
-
-
-
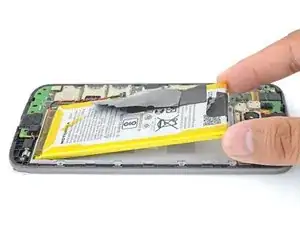
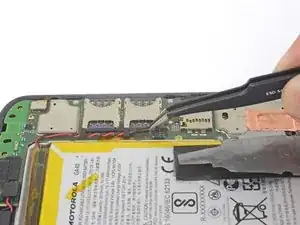
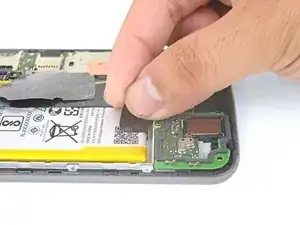
Peel the black pull tab from battery and pull slowly but firmly to separate the battery from the frame.
-


To reassemble your device, follow these instructions in reverse order.
After completing this guide, calibrate your newly-installed battery.
Take your e-waste to an R2 or e-Stewards certified recycler.
Repair didn’t go as planned? Check out our Motorola Moto G4 Plus Answers community for troubleshooting help.

10 comments
in step 9, when i took the connector away the hole plug came out :( need micro soldering to paste the conector to the board
I’m really sorry to hear that! I’ll add some extra warning on that step.
One of the last screws stripped and I wasn't applying a lot of force. Being a jeweler, I tried every trick I knew of but that sucker would not budge. Since it was a corner screw, I rotated the entire cover (while pulling up on it to miss the components directly beneath) to expose all of the battery area. Hope I explained that part well enough. The battery was also tough to remove. I think they used way too much glue the first time around. Anyway, I was thrilled it powered right up with the new battery and I saved over $50 bucks doing it myself (and with the help of ifixit.com). Thanks!
Thank you for the guide! My wife and I did it together and the steps were very clear.