Introduction

Prerequisite only guide to open an iPhone X, allowing access to internal components for repair or replacement.

  1. JYhTvDYuGLQw3jiI
    • Heating the lower edge of the iPhone will help soften the adhesive securing the display, making it easier to open.

    • Use a hairdryer or heat gun or prepare an iOpener and apply it to the lower edge of the iPhone for about a minute in order to soften up the adhesive underneath.

    General tip regarding heating necessary to remove adhesive:

    consider using a heated tip of a small screwdriver or metal spudger (not the one made of plastic, provided in kit), rather than to heat the device itself.

    Uri -

    You then need to be careful about the temp of the tool which if hot enough can melt plastic components or harm them. Keeping the heat source (heat gun) far enough away from the object that you’ll eventually melt the glue but would be much harder to melt components. I try to keep 4” or 5” gap between the source & object

    Sandman619 -

    Thanks for the info. Could a air convector do the job

    dominique.br -

    When opening a device that has previously been worked on, and on which the adhesive might not have been replaced, be extremely carful when opening the phone. It will open much more easily than expected. If you’re not careful you might rip a cable.

    jonpol -

    Is this tool required or can I just use the Anti-Clamp by itself.

    Mikail -

  2. aaO4KYlBJShASHjk
    aaO4KYlBJShASHjk
    P14Q2IsesXcDg3bR
    FL4SxVBCEswKVb4Q
    • The next two steps demonstrate the Anti-Clamp, a tool we designed to make the opening procedure easier. If you aren't using the Anti-Clamp, skip down two steps for an alternate method.

    • For complete instructions on how to use the Anti-Clamp, check out this guide.

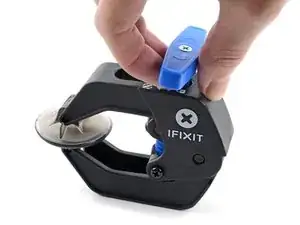
    • Pull the blue handle towards the hinge to disengage opening mode.

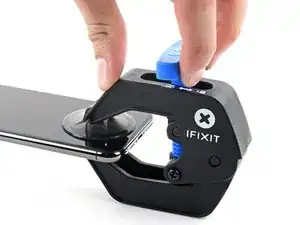
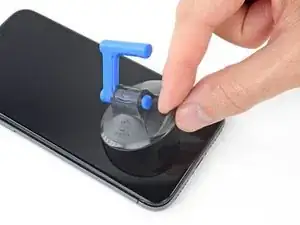
    • Position the suction cups near the bottom edge of the iPhone—one on the front, and one on the back.

    • Push down on the cups to apply suction to the desired area.

    • If you find that the surface of your device is too slippery for the Anti-Clamp to hold onto, you can use packing tape to create a grippier surface.

  3. kTgWgl5YBSrfGm6a
    kTgWgl5YBSrfGm6a
    PEAeHxQEDm6MFsIP
    ARgsyvJBDFcfSDoP
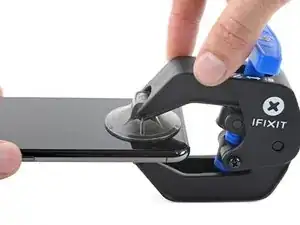
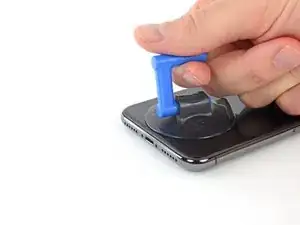
    • Push the blue handle away from the hinge to engage opening mode.

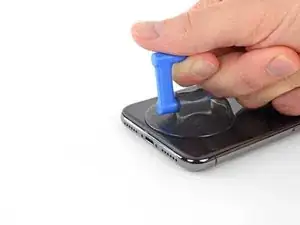
    • Turn the handle clockwise until you see the cups start to stretch.

    • Make sure the suction cups remain aligned to each other. If they begin to slip out of alignment, loosen the suction cups slightly and realign the arms.

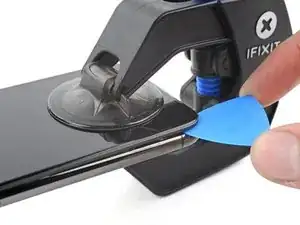
    • Wait one minute to give the adhesive a chance to release and present an opening gap.

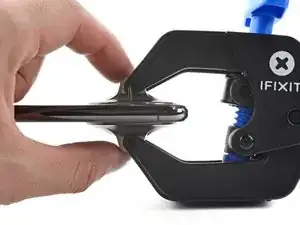
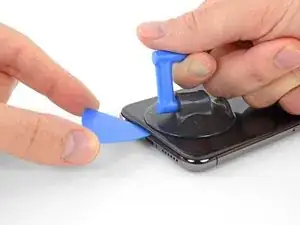
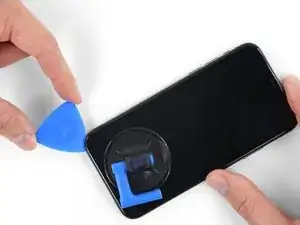
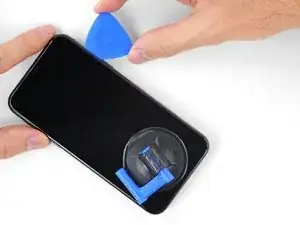
    • Insert an opening pick under the screen when the Anti-Clamp creates a large enough gap.

    • If the Anti-Clamp doesn't create a sufficient gap, apply more heat to the area and rotate the handle clockwise half a turn.

    • Don't crank more than a half a turn at a time, and wait one minute between turns. Let the Anti-Clamp and time do the work for you.

    • Skip the next two steps.

    DO NOT separate the glass from the plastic bumper or rim around it. These instructions don't clarify that the pick has to be inserted between the plastic rim and the metal body. It is likely that the glass will lift slightly off the plastic surround before the plastic will lift out of the metal body. I had success sliding a card or pick back and forth along the bottom edge of the plastic rim while pulling on the suction cup. Eventually there was a space large enough for the pick to go under the plastic rim.

    Anessa -

  4. qXGGZ2MpZIYeQjKI
    qXGGZ2MpZIYeQjKI
    tGDwxj5neYkh3MDh
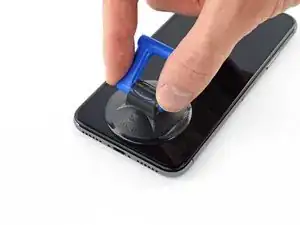
    • If using a single suction handle, apply it to the bottom edge of the phone, while avoiding the curved portion of the glass.

    • If your display is badly cracked, covering it with a layer of clear packing tape may allow the suction cup to adhere. Alternatively, very strong tape may be used instead of the suction cup. If all else fails, you can superglue the suction cup to the broken screen.

    If you were using some form of screen protector, it may come off first as soon as you pull on the suction cup. Do not be alarmed. That is normal behavior.

    Alain-Daniel Wa-Baguma -

    3m VSB double stick tape will stick to the screen when the suction cups fail (see my comment on step 1)

    Tawan Khamapirad -

  5. mQXXaF3tPiGDXl2a
    mQXXaF3tPiGDXl2a
    uTXCGQFa5j4E5T3Y
    DWfsuj4RCooAtKRa
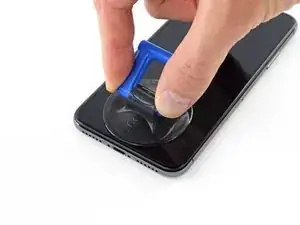
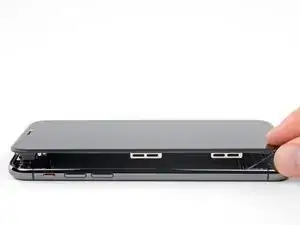
    • Pull up on the suction cup with firm, constant pressure to create a slight gap between the front panel and rear case.

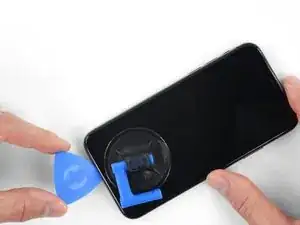
    • Insert an opening pick into the gap.

    • The watertight adhesive holding the display in place is very strong; creating this initial gap takes a significant amount of force. If you're having a hard time opening a gap, apply more heat, and gently rock the screen up and down to weaken the adhesive until you create enough of a gap to insert your tool.

    In addition to safety goggles, I would recommend you also wear good gloves to avoid getting cut with the glass as you try to pry it open.

    Alain-Daniel Wa-Baguma -

    The top about applying more heat and gently rocking the screen up and down to weaken the adhesive did the trick for me. Thank you!

    Monil Shah -

    There needs to be more clarity on where to shove the opening pick into. There is actually two openings that the pry tool can be forced into: one below the black plastic bezel, and one above the black plastic bezel. When I heated my screen with a warming pad and pulled up the suction cup, it actually pried apart above the black plastic bezel which removed the touch screen from the display panel. With this being the first newer iPhone I'd opened since the 3GS, I didn't realize that I was opening the wrong opening as the directions only mentioned one opening and did not warn of this. I was pretty disappointed in the lack of mentioning this, as I was taking my time and following it to the tee. As a result, it destroyed my original iPhone screen.

    Caleb Davison -

    DO NOT separate the glass from the plastic bumper or rim around it. As someone else noted, these instructions don't clarify that the pick has to be inserted between the plastic rim and the metal body of the phone. When pulling upwards with the suction cup, it is likely that the glass will lift slightly off the plastic surround before the plastic will lift out of the metal body. I had success sliding a card or pick back and forth along the bottom edge of the plastic rim while pulling on the suction cup. Eventually there was a space large enough for the pick to go under the plastic rim.

    Anessa -

  6. QE4lOUoglbyWQUwm
    QE4lOUoglbyWQUwm
    cHHBBJPBr4bVv24U
    agDTTsHWFYyI2WBC
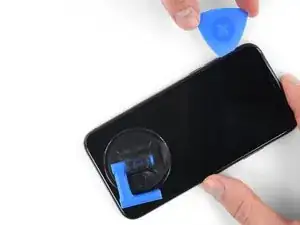
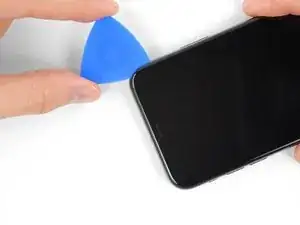
    • Slide the opening pick around the lower left corner and up the left edge of the iPhone, slicing through the adhesive holding the display in place.

    • Don't insert the opening pick too far into the iPhone, or you may cause damage to internal components.

  7. OEUEsoSAmOAWxAMR
    OEUEsoSAmOAWxAMR
    YOhTValkxrevLipu
    aSZ2MAdtw4ZImiCD
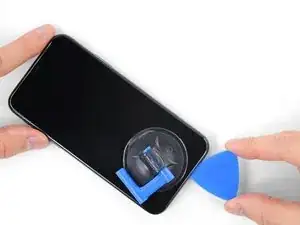
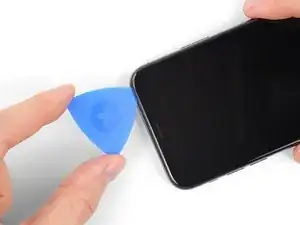
    • Re-insert your pick at the bottom edge of the iPhone, and slide it up the right side to continue separating the adhesive.

    • Don't insert the pick very far, or you may damage the display cables along this side of the iPhone. Insert it only a few millimeters, or about the width of the display bezel.

    If you have flat feeler gauges (for adjusting engine valve tappet clearance, ignition points … old school) the .003” thick gauge goes right in. Work your way up in thickness until you can get the pic or supplied pry tool in. Don’t insert metal feeler gauge in too far, just enough to hold crack open. I didn’t need to use the suction cup. I used a hot/cold gel pack heated in microwave to heat edges to soften glue a bit. Made sure it wasn’t so hot I couldn’t stand it on my skin.

    William Olstad -

  8. WfcjjEBfMZqEySEf
    WfcjjEBfMZqEySEf
    PCXKpWMWg6GWEViY
    McqYslJ4vV1SOOnm
    • The top edge of the display is secured with both glue and clips.

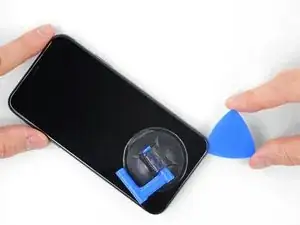
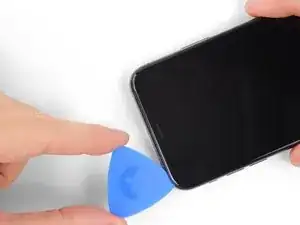
    • Slide the opening pick around the top corner of the display, while gently pulling or wiggling the display down in the direction of the Lightning port.

    • The clips will break if you use too much force. Work carefully and be patient.

    • Again, don't insert the pick more than a few millimeters—about the width of the display bezel—or you may damage the front panel sensor array.

    • Slide the pick to the opposite corner and cut any remaining adhesive securing the display.

    These are the best instructions I’ve ever read for anything.! Thank you!

    Peter Andrew -

  9. GnieimxVeXdJJobM
    • Pull on the small nub on the suction cup to remove it from the front panel.

  10. XFu5RLJA6ncMAhxo
    XFu5RLJA6ncMAhxo
    nCGOAuVQLFmYsrOd
    XjQSuyqDe1k51mua
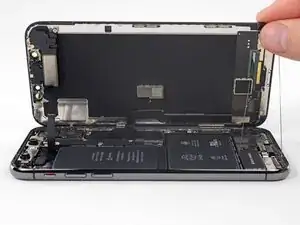
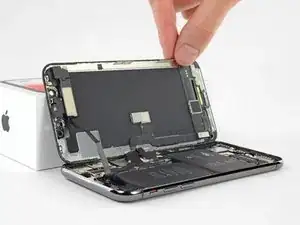
    • Open the iPhone by swinging the display up from the left side, like the back cover of a book.

    • Don't try to fully separate the display yet, as several fragile ribbon cables still connect it to the iPhone's logic board.

    • As pictured, make sure the frame comes off with display and doesn't get stuck in the device.

    • Lean the display against something to keep it propped up while you're working on the phone.

    • During reassembly, lay the display in position, align the clips along the top edge, and carefully press the top edge into place before snapping the rest of the display down. If it doesn't click easily into place, check the condition of the clips around the perimeter of the display and make sure they aren't bent.

    My phone came apart in a different way and looks not right the little box at the top of the display as actually bolted to the top of the frame body I think something went really wrong when I opened it.

    Mike Kostersitz -

    It opens like a book but be careful not to open it all the way — only as far as shown in the photo. Otherwise it will strain the thin cable that connects the sensor module and then no more FaceID for you (or, as it turns out me). This could have been made more explicit in the instructions.

    Richard Tucker -

    It opens like a book but be careful not to open it all the way  … the small stainless steel tabs that hold the screen around the metal frame, that are on the bend place (right side of the phone)… are tend to bend, you can straighten them back to 90 deg. but the plastic base that they are on? very fragile- watch out not to break the plastic bezel … it may come apart of the glass.

    dabur872 -

    Advice for re-assembly: Before closing up the phone with the seal, check if phone is powering up again and speaker, mic and sensors are still working. If done this check even before installing the board connector bracket in Step 13.

    Alexander Nowak -

Conclusion

To reassemble your device, follow these instructions in reverse order.

Jeff Suovanen

Member since: 06/08/13

406727 Reputation

0 comments