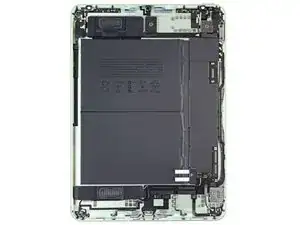
Introduction
This is a prerequisite-only guide! This guide is part of another procedure and isn't meant to be used alone.
-
-
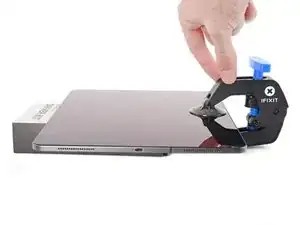
Elevate the iPad enough for the Anti-Clamp's arms to rest above and below the screen.
-
Pull the blue handle towards the hinge to disengage opening mode.
-
Position the suction cups near the left edge of the iPad—one on the front, and one on the back.
-
Push down on the cups to apply suction to the desired area.
-
-
-
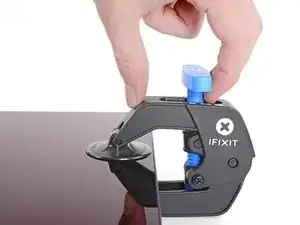
Push the blue handle away from the hinge to engage opening mode.
-
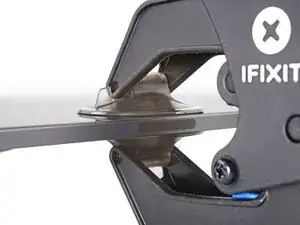
Turn the handle clockwise until you see the cups start to stretch.
-
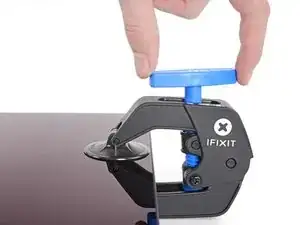
Wait one minute to give the adhesive a chance to release and present an opening gap.
-
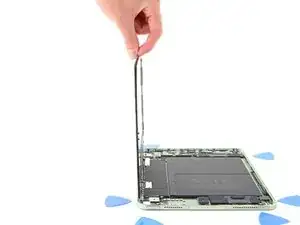
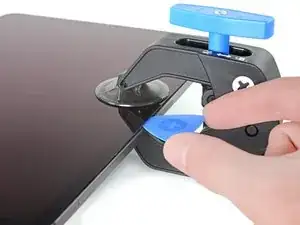
Insert an opening pick under the screen when the Anti-Clamp creates a large enough gap.
-
Skip the next step.
-
-
-
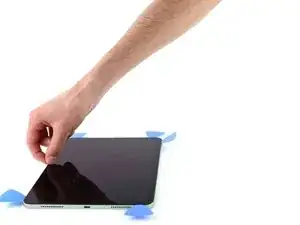
Apply a suction handle to the top left edge of the screen.
-
Pull up on the suction handle with firm, constant pressure to create a gap just small enough to insert an opening pick.
-
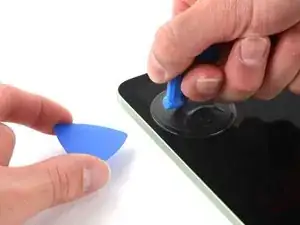
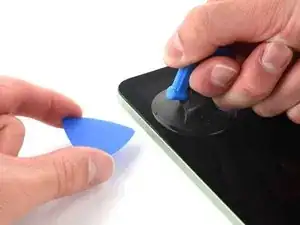
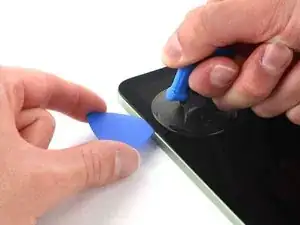
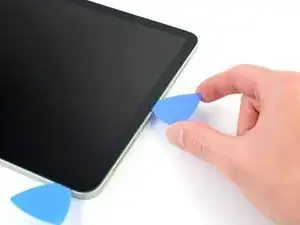
Insert the tip of an opening pick into the gap.
-
Leave the pick in to prevent the adhesive from re-sealing.
-
-
-
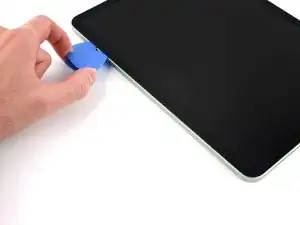
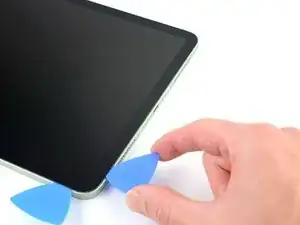
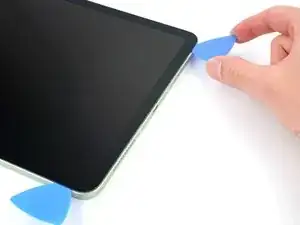
Insert a new opening pick in the gap you just created.
-
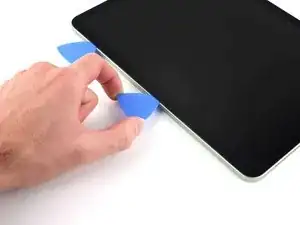
Slide the opening pick along the left edge to separate the adhesive.
-
Leave the pick in the bottom left corner to prevent the adhesive from re-sealing.
-
-
-
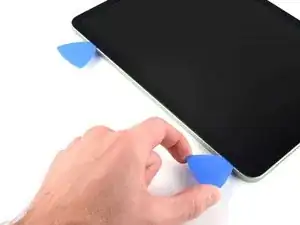
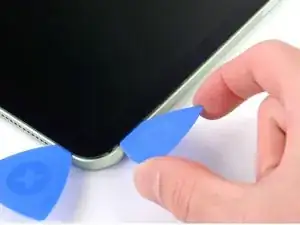
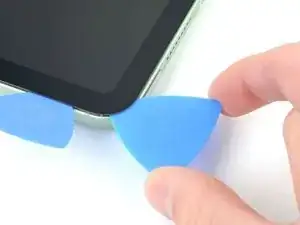
Insert a new opening pick in the bottom left corner.
-
Slide the opening pick along the bottom edge to separate the adhesive.
-
Leave the pick in the bottom right corner to prevent the adhesive from re-sealing.
-
-
-
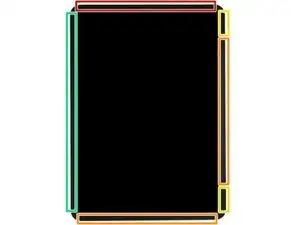
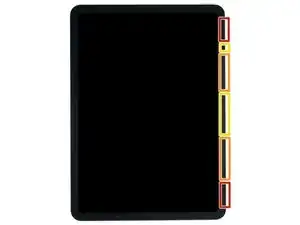
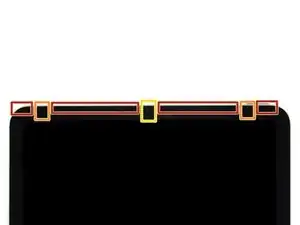
Insert a new opening pick in the bottom right corner and slide along the right edge to separate the adhesive. Make sure to note the following marked areas:
-
Don't insert an opening pick more than 2 mm or you'll damage the screen magnets.
-
Don't insert an opening pick more than 3 mm or you'll damage the display and digitizer cables.
-
Don't insert an opening pick more than 5 mm or you'll damage the display edges.
-
Leave the pick in the top right corner to prevent the adhesive from re-sealing.
-
-
-
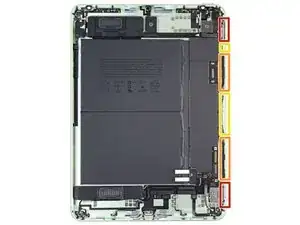
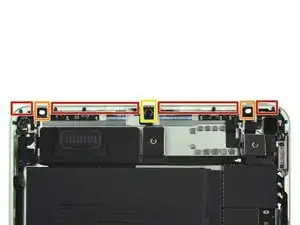
Insert a new opening pick in the top right corner and slide along the top edge to separate the adhesive. Make sure to note the following:
-
Don't insert an opening pick more than 5 mm or you'll damage the display edges.
-
Don't insert an opening pick more than 3 mm or you'll damage the ambient light sensors.
-
Don't insert an opening pick more than 2 mm or you'll damage the front camera module.
-
Leave the pick in the top left corner to prevent the adhesive from re-sealing.
-
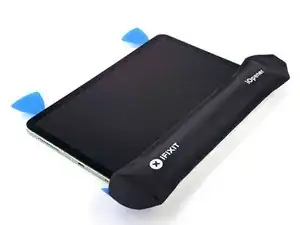
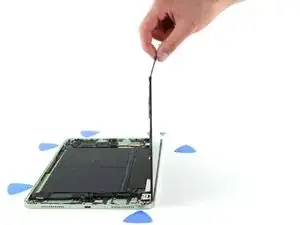
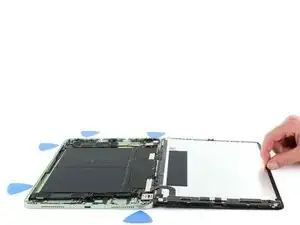
To reassemble your device, follow these instructions in reverse order.