Introduction

Identification

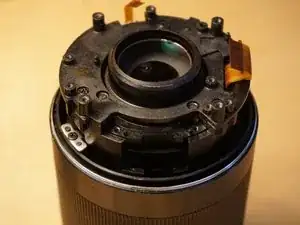
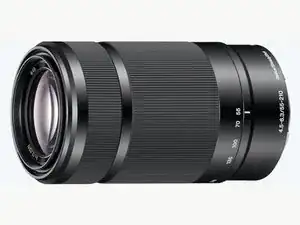
This lens can be identified by the markings “E 4.5-6.3/55-210 OSS” in addition to the model/serial number sticker.

Wikipedia Page

Sony Support Page

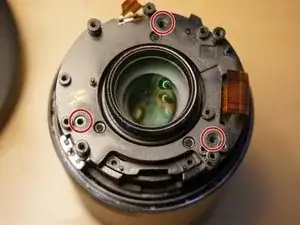
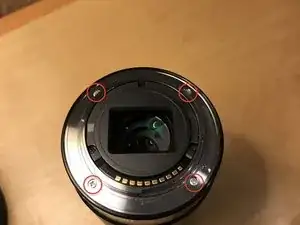
  1. MCpnAlNOM4BCgAIZ
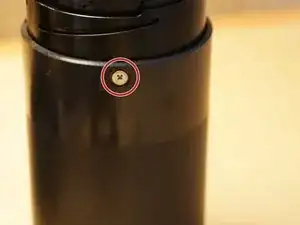
    • Remove 4 screws

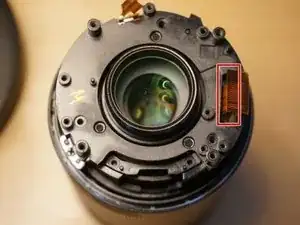
  2. l5LytwKmPsXilQ16
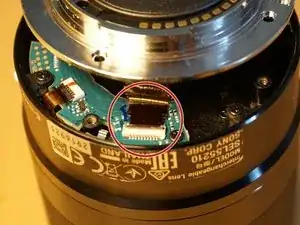
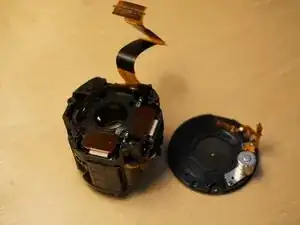
    • Gently disconnect cable from ZIP connector.

    • iFixit connector guide.

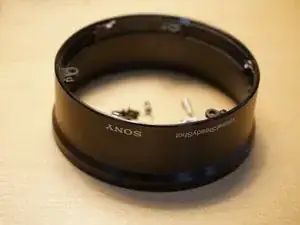
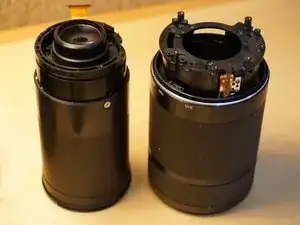
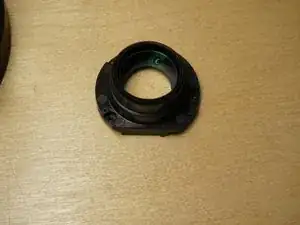
    • Remove E-mount bezel.

    • Avoid stressing flat cables.

    • Sensitive electronics - avoid static discharge.

  3. Ea2wCIKjGJj1hYtj
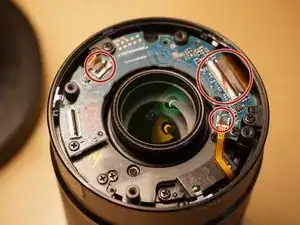
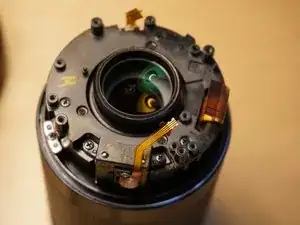
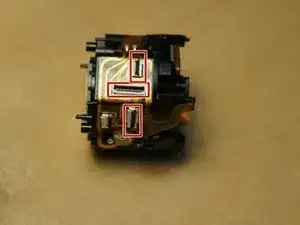
    • Gently disconnect 3 cables from ZIP connector.

    • The two wider connectors open from the cable side, the thinner connector opens from the back side.

    • iFixit connector guide.

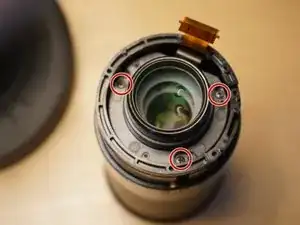
  4. 5VuGZNLjxSprvNSl
    5VuGZNLjxSprvNSl
    kSMAIua1xwOvsq2f
    PRuBUVKVOBNjVwKY
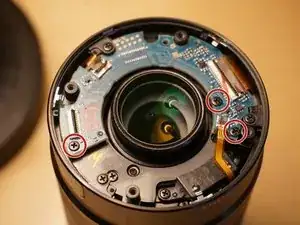
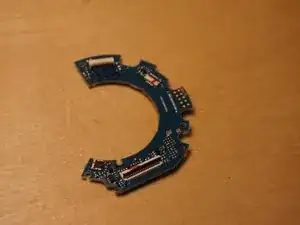
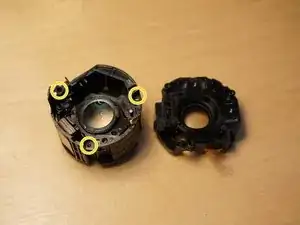
    • Remove 3 screws

    • Remove printed circuit board.

    • Sensitive electronics - avoid static discharge.

  5. eHqgtU6tJUZUnQQF
    eHqgtU6tJUZUnQQF
    bNZG4QPAjYBvJIsE
    RoRAD5Gstv4dZTEr
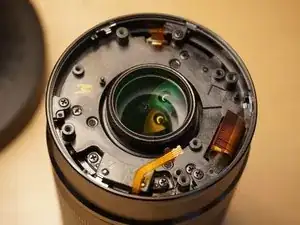
    • Remove three screws from outer bezel ears.

    • Gently remove bezel.

    • Be mindful of cables when removing bezel.

  6. 5M1QCnyLqAhxM5LZ
    5M1QCnyLqAhxM5LZ
    I4VjUTLUMru2XOKv
    WPXS1JX6VJmUYqak
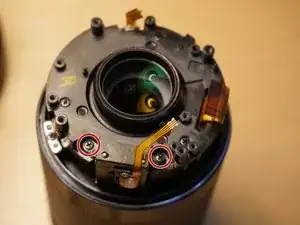
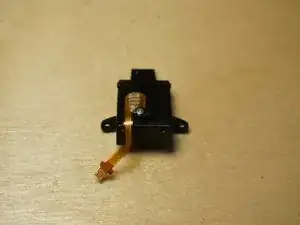
    • Remove 2 screws from lens park sensor.

    • Remove lens park sensor.

  7. CkY42gteN1RuGI4S
    CkY42gteN1RuGI4S
    KCetsCPSYu63hGGS
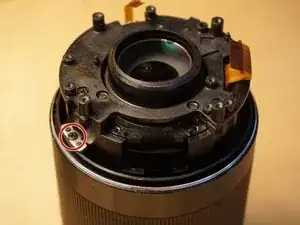
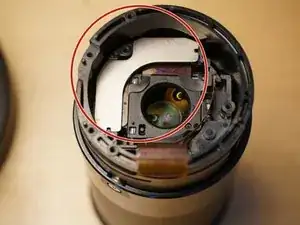
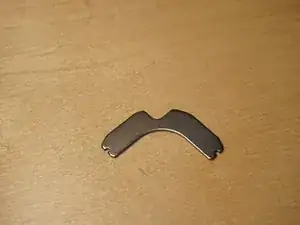
    • Remove 2 screws from 2 lens brackets.

    • Remove brackets.

  8. dfu3ZtBQvALoKEkY
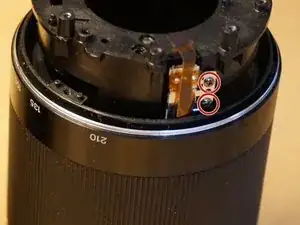
    • Loosen (or remove) 2 telescope sensor screws.

    • Do not remove this sensor - it is connected via a flat cable to the focus ring.

  9. jetnDGqpHKO6AgWT
    jetnDGqpHKO6AgWT
    KgpnLElgQ3cKfy25
    wRJHNeBVd3B5RRic
    • Remove 3 screws.

    • Pull lens out of external encasement.

    • Maneuver the telescope sensor so that it unmates from the slot in the internal lens body

    • Carefully feed the OSS/AF motor wire through the slot.

  10. swFnGW2TZiTM3Rft
    swFnGW2TZiTM3Rft
    ETN3QbQM2PeogpWD
    • Remove 3 screws

    • Remove the lens element.

  11. ONDsuJTXnklrbxQc
    ONDsuJTXnklrbxQc
    vkeEUkdslFedqKyb
    • Gently pry up magnetic OSS retaining bracket.

  12. SBJkTseUwyNpHpf1
    SBJkTseUwyNpHpf1
    reJI4CKLIEyi4BGE
    Gs1EAKPnhw2NWmRE
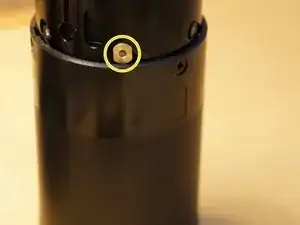
    • Remove 3 screws from the aperture end of the telescoping mechanism.

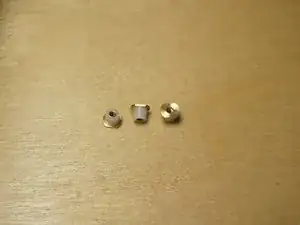
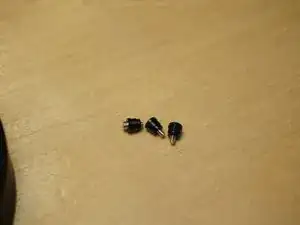
    • Lift lens to reveal and remove 3 brass/nylon nuts.

    Will this give me access to the outer lens so I can clean the inside and outside?

    Ed Oro -

  13. uZT5RAW3jbNbl5Sl
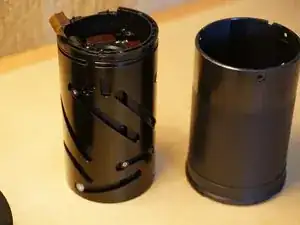
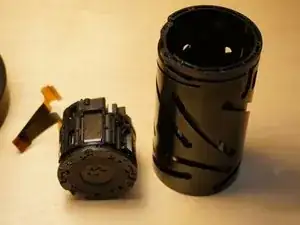
    • Remove outer optical lens sleeve.

  14. iImAFhE5dJsboEKL
    iImAFhE5dJsboEKL
    5oHmHXS2VgKeyLVZ
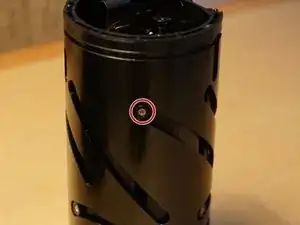
    • Remove 3 screws from the slide guides on the aperture end of the lens.

    • Remove 3 black nylon slide washers from the lens encasement.

  15. QexJLSktegSOJdQU
    • Remove the OSS/AF mechanism.

    • Gently pull the cable up and out from the lens encasement groove.

  16. oglO3GmYgAuUDZpF
    oglO3GmYgAuUDZpF
    DaZjXaYmUqVVoy5Z
    KJAPUygkYcIWkHBf
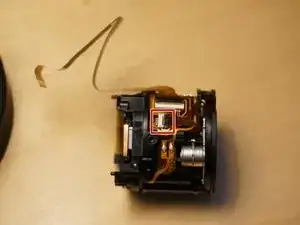
    • Remove Kapton tape from aperture motor connector.

    • Save tape for reassembly

    • Disconnect aperture connector.

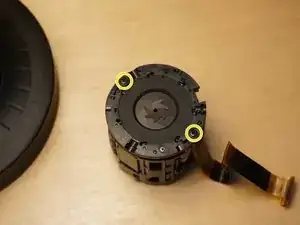
    • Remove 2 screws from aperture ring.

    • Remove aperture mechanism.

  17. F3DM1OyKlCDXKGqS
    F3DM1OyKlCDXKGqS
    ELRthKLK2Hx1jKv6
    • Disconnect 3 cables.

    • Remove 3 screws

    • Gently separate the OSS mechanism.

Conclusion

To reassemble your device, follow these instructions in reverse order.

Nathan Rose

Member since: 18/01/21

325 Reputation

One comment

why did you need to dissasemble this lens. this lens looks similar to my 55mm lens which no longer focuses and the camera doesn’t recognize the lense anymore.
darren clyde -