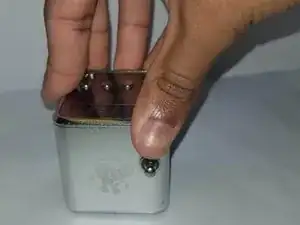
Introduction

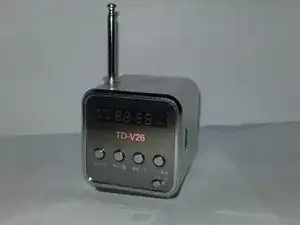
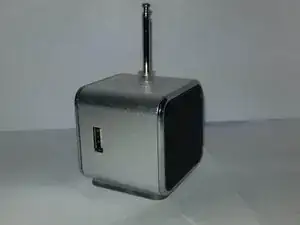
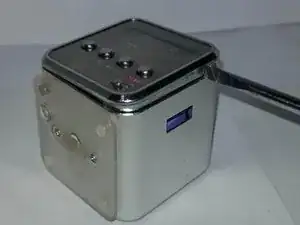
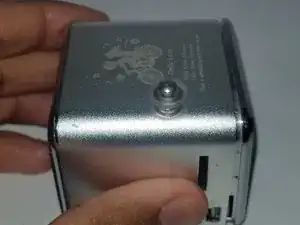
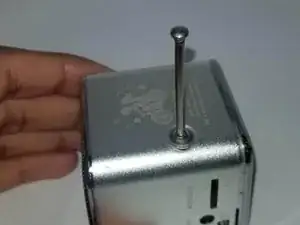
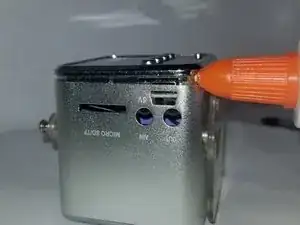
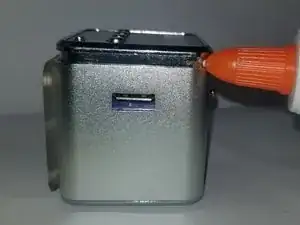
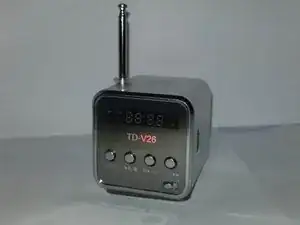
Radios are an everyday household item that are quite easy to break down after a few years or can wear down after many uses. Broken radios often just sit and collect dust and take up space. Fortunately, you can fix those radios and make them a functional device in your workspace. You’ll need some common hand tools and some replacement parts.

Once finished you can enjoy the sweet sounds of your favorite radio station.

Here some other guides to complete this project:

How To Solder and Desolder Connections

How to Test Speakers and Wires

  1. KaUcmFMHkKO2YmMs
    KaUcmFMHkKO2YmMs
    NTuuUHsNObLr3yrs
    XaRSMssCYTMYTQQq
    • Observe what the problem is. Determine if the radio requires a Speaker change, an Antenna change or Both.

    • When the radio is on and all you hear is static and have cycled through some stations it is a good idea to assume the Antenna is broken

    • When the radio is on and you do not hear anything at all from the speaker with the volume up, then the Speaker is blown and needs replacing.

  2. EUM5Wel3xGW5ABhy
    EUM5Wel3xGW5ABhy
    ALhHCQmdPk6BM5Bf
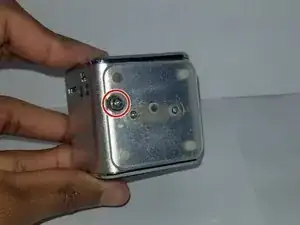
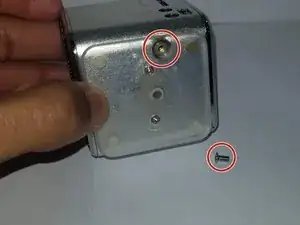
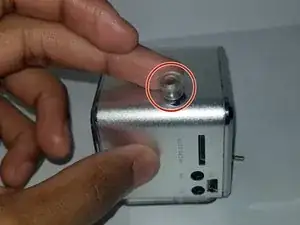
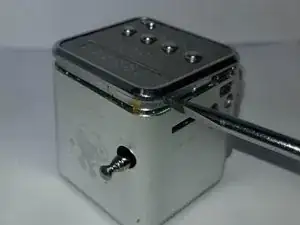
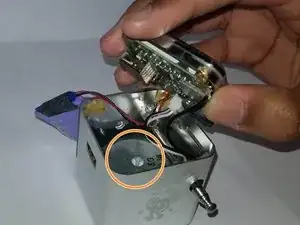
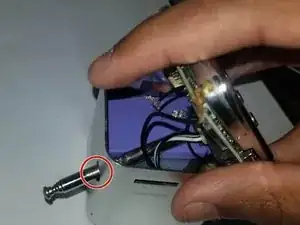
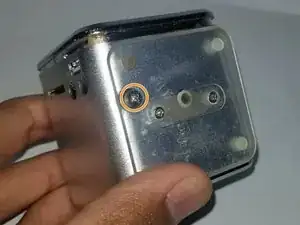
    • After the diagnosis you can proceed to unscrew the Antenna located on the side of the plastic plate.

    • Using a #1 Phillips screwdriver, remove the 1 mm screw on the side of the radio.

  3. qhQSnWYdlXa4GUtn
    qhQSnWYdlXa4GUtn
    OKT1CrrEEJryF3aY
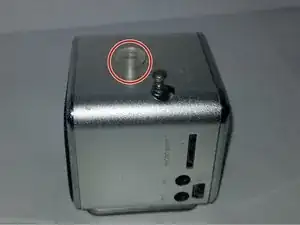
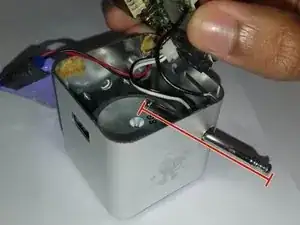
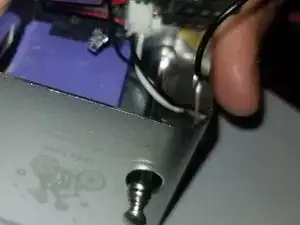
    • Remove the plastic holder for the Antenna to release its holding.

    • You will need to pull it out of its hole in order to do this. This can be done by hand, but if it is hard to remove use a pinching tool to remove it.

  4. PvKJgnmqh2FoKWKI
    PvKJgnmqh2FoKWKI
    PefHhEXOwcgFDYNP
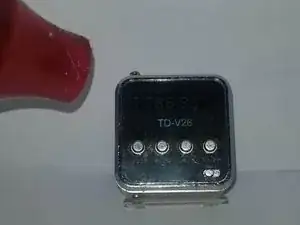
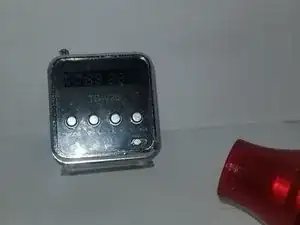
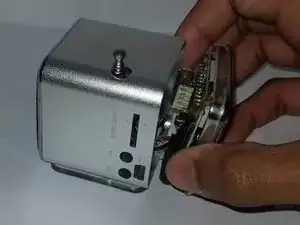
    • Using a heat gun, loosen the glue holding the face of the radio.

    • Be careful not to overheat the radio.

    • Hold the heat gun about 3 inches from the radio face while moving away from it to prevent overheating.

  5. Sq5yOP4XcNGrkKsC
    Sq5yOP4XcNGrkKsC
    kovBavQCl2FBi1xs
    • Use a plastic opening tool to remove the face of the radio.

    • Be sure to do this while the face is warm so the glue is still loose.

    • An easy way to remove the face is starting at a flat area and moving to the corners of the face while turning the tool to lift the face up.

  6. i1OVIUUsXPLQGU5A
    i1OVIUUsXPLQGU5A
    cTjCE1HxuRfF4bWP
    WuAZlUPQr4dGyvsn
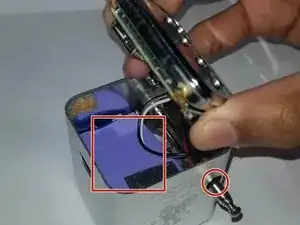
    • Remove the radio's Antenna and Battery.

    • Place the face of the radio to the side for access to the Speaker.

    • Gently pull back on the face of the radio.

    • The wires are short so be careful not to snap/tear them!

  7. ZkZwhjObSJGMaPpu
    ZkZwhjObSJGMaPpu
    MLfYPEWoKSVlVEbN
    • Place the face of the radio to the side with the battery and thread the Antenna through the inside compartment to remove it.

  8. VuNUw1xH1kxy2E6i
    VuNUw1xH1kxy2E6i
    oMHXKrlyLKaahvNe
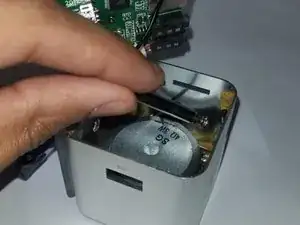
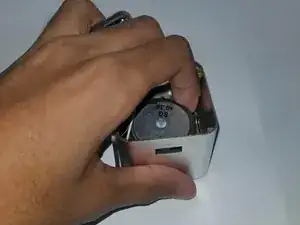
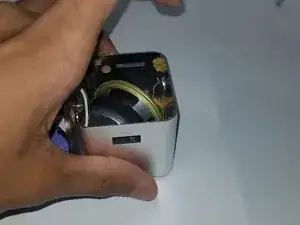
    • Pry out the Speaker from its holding position in the frame of the radio.

    • If the speaker is hard to remove use some heat to loosen the glue holding it.

  9. uhjXoLjVBJJnUFnN
    uhjXoLjVBJJnUFnN
    OdG3SrLvB1fXlZuE
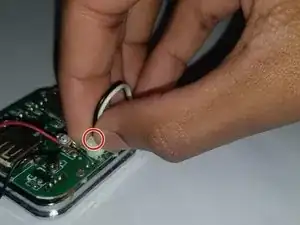
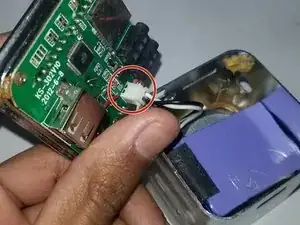
    • Unplug the Speaker Wire from the circuit by pinching the small clip and wiggling it out.

    • Do not pull the wire to remove the plug. This could break the wire.

  10. kO3vIW3xAoYokpVv
    kO3vIW3xAoYokpVv
    qtHC4wA5ddZwWvBB
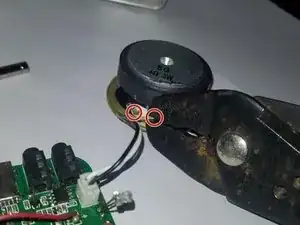
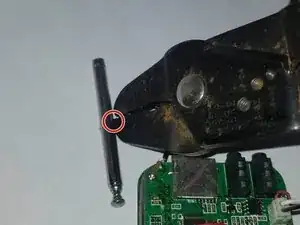
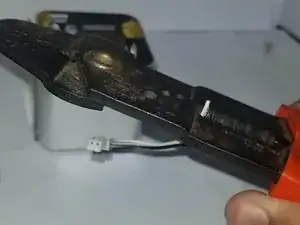
    • Cut the wires of the Speaker and the Antenna as close to the old parts as possible.

    • Cutting the wires close to the broken part ensures more working space and room for error

  11. nfoXIFCaHKIr2owx
    nfoXIFCaHKIr2owx
    65lupJSG3vGmahlG
    GIqMA3GKcmHRJepT
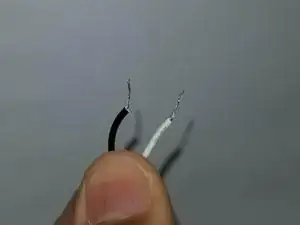
    • Strip the ends of the wires where you cut so that some wire is exposed to solder to the new parts.

  12. BRE2hgqSscDGkmkU
    BRE2hgqSscDGkmkU
    DIaSdqDjiFZQHrEq
    nnW1f6MCXED5I12F
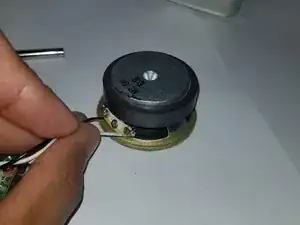
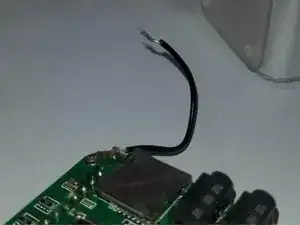
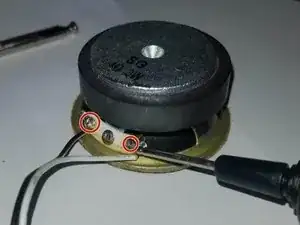
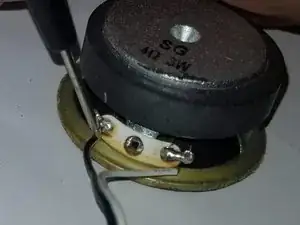
    • Solder the positive and negative terminals of the Speaker with its respective wires.

    • Both positive and negative poles should be indicated on the speaker. If not, check out the link to find the polarity of your speaker.

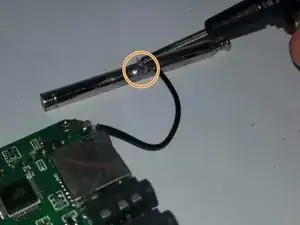
    • Solder the new Antenna on.

    • If you need any help with soldering or how to check on the speakers, check out the two links provided below:

    • How To Solder and Desolder Connections

    • How to Test Speakers and Wires

  13. pjIORr6mOPMFwcep
    pjIORr6mOPMFwcep
    InHXVnDUFlRsvcdL
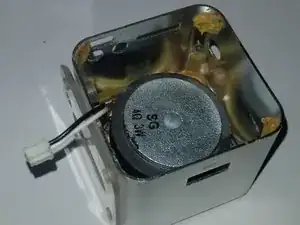
    • Place the Speaker back in the frame.

    • Fasten it down to make sure it holds. You can use glue around the edge to achieve this. Be sure it won't fall out when moved.

    • Place the Battery on top of the Speaker and plug in the Speaker Wire to the circuit of the radio.

  14. lYZVPytLBxT6rRhd
    lYZVPytLBxT6rRhd
    LRP6MLsSSGQItcDN
    iFb4QT4AkLHclElY
    • Take the Antenna and thread it through the hole at the top before placing it in the plastic holder at the bottom.

    • Replace the antenna screw to affix the antenna back onto the plastic base plate.

  15. EwmrgEiAhIIujfyb
    EwmrgEiAhIIujfyb
    ArJvU5GiCsSaHUsb
    • Check that the Antenna can extend through the hole and place the plastic holder back in place.

    • Place the plastic ring back on to the Antenna opening.

  16. gDkJ3uXEuk1V12gQ
    gDkJ3uXEuk1V12gQ
    rFMjFxZLw4FB2ReN
    rGP1WC2mW4xjwxKA
    • Glue around the main panel to secure it in place.

    • Apply some downward force until the glue starts to dry.

Conclusion

To reassemble your device, follow these instructions in reverse order.
Munesh Singh

Member since: 27/01/21

253 Reputation

0 comments