Introduction

Follow this guide to upgrade your iMac's hard drive with an SSD using an updated 2.5” to 3.5” metal enclosure. The guide includes steps to install the temperature sensor so that the Mac's fans will operate at the correct speed.

This is a prerequisite only guide and should not be used alone. This guide is a part of the iMac HDD replacement guides.

  1. HKQbp12ZISQhNfAv
    HKQbp12ZISQhNfAv
    C535jLFwdCXbrulv
    wDWxsjpZCDD5vCjk
    • Follow the next steps if you are replacing your hard drive with an SSD kit.

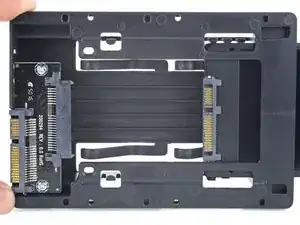
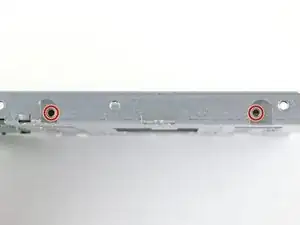
    • If your SSD enclosure looks like the first image, follow this guide instead.

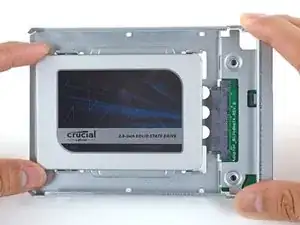
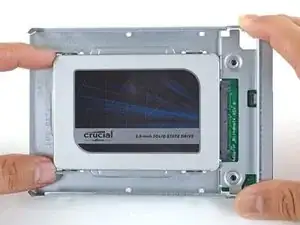
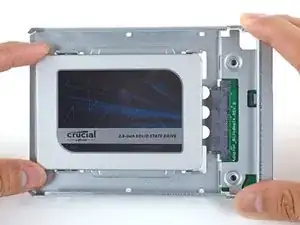
    • Line up the SSD connectors with the metal enclosure's sockets.

    • Press the drive against the enclosure sockets until the SSD is firmly seated.

    • The SSD connects with the enclosure in only one direction. If the connectors don't line up, rotate the SSD and try again.

  2. FtBOnUuDYZJTjvey
    FtBOnUuDYZJTjvey
    RvVXsqFVNCWuybvj
    UmyFUVECjaDZNRjp
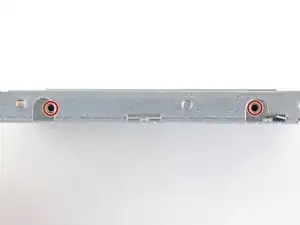
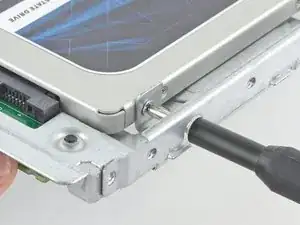
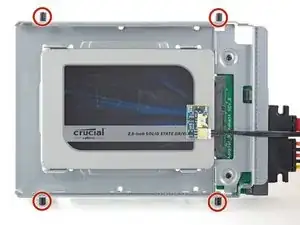
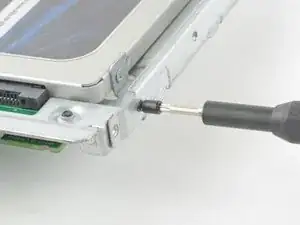
    • Use a Phillips screwdriver to install the four silver screws (two on each side) along the edges of the SSD to secure it to the enclosure.

  3. HU4PFgCWjYNkrIi4
    HU4PFgCWjYNkrIi4
    gWGSmdLLDiJOASYW
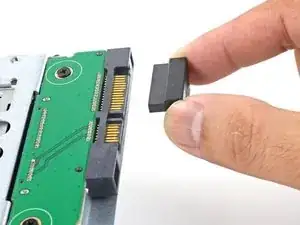
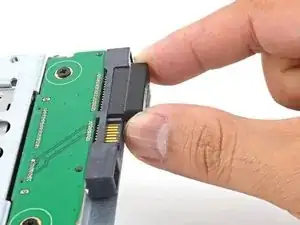
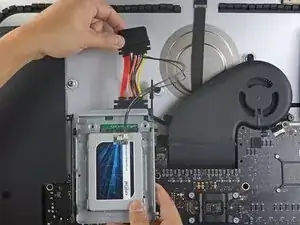
    • Plug the included sensor-enabled SATA power cable into the enclosure's port.

    • The cable is keyed to connect in only one orientation. If you can't connect the cable, rotate it 180° and try again.

    Can anyone point me to purchasable parts for steps 19 +20: The “sensor-enabled SATA power cable” and “temperature sensor board”? It’s essentially the parts found below listed as “SSD Temperature Sensor compatible with iMac Intel 21.5" and 27" Late 2009-Mid 2010”, but I don’t want to spend $230…

    iMac Intel 21.5" and 27" (Late 2009-Mid 2010) SSD Upgrade Kit

    Jason Gamm -

  4. nFPHEiNHZQZIIWir
    nFPHEiNHZQZIIWir
    25p6UPH1X2Hpm1ut
    kZJrQ2FKFMAo4eGZ
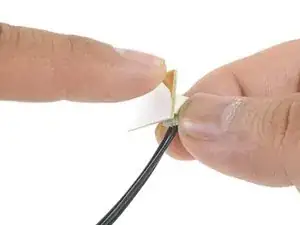
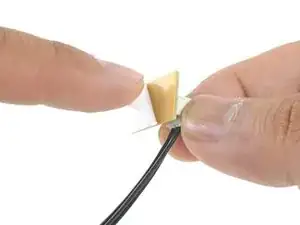
    • Peel the white liner off the back of the small temperature sensor board in order to expose the adhesive.

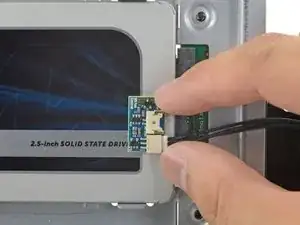
    • Adhere the temperature sensor board to an exposed, metal surface of the SSD, close to the SATA connector.

    • Fold the excess temperature sensor wires so that they are out of the way while you install the enclosure.

  5. TB3g2BfZthZmgZof
    TB3g2BfZthZmgZof
    UZXpLNW61PfcoLXO
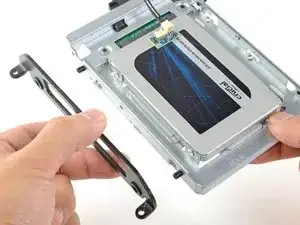
    • Use a T8 driver to install the mounting pins from the old hard drive onto the sides of the enclosure.

  6. Aq2vsCxhf2S3qufG
    Aq2vsCxhf2S3qufG
    6HieMRWYI2Pgc2Yn
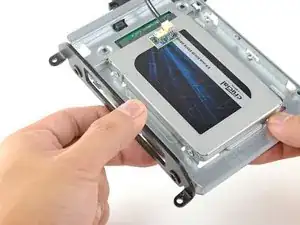
    • Attach any mounting brackets removed from the old hard drive onto the enclosure.

  7. ciVrfTP4LtNtlEV3
    ciVrfTP4LtNtlEV3
    QDKoTyhGQj1clwQP
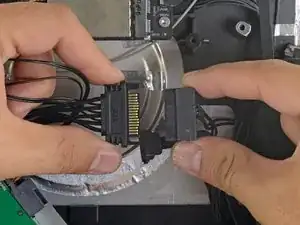
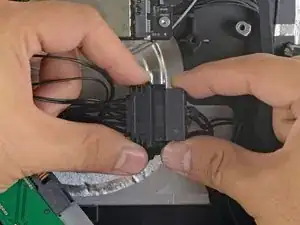
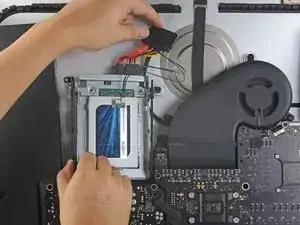
    • Connect the iMac's SATA power cable to the other end of the new sensor-enabled SATA cable.

  8. CWAiJZexabkmRKlw
    CWAiJZexabkmRKlw
    UXFeucvE5hqbSPEU
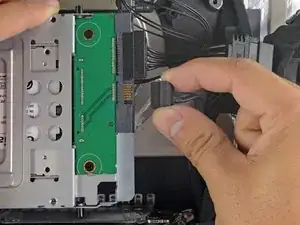
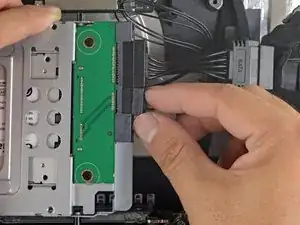
    • Connect the iMac's SATA data cable to the enclosure's socket.

  9. YJqasivdZRKDWMjy
    YJqasivdZRKDWMjy
    FI6EqbMtmSvAcIM6
    DpsoNu5h3obcGm6g
    • The images used in this step come from a 2017 iMac. Your cables may look slightly different, but the procedure remains the same.

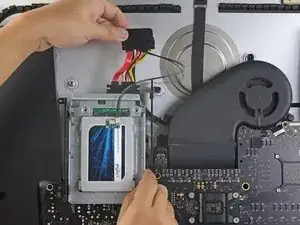
    • Slide the SSD enclosure into the space previously occupied by the hard drive.

    • Route the SATA cables so that they will not interfere with any other components.

    • Try to keep the cables free from any sharp bends, and route them such that they are not pinched.

  10. FMCVWk6sIJYk1dRc
    FMCVWk6sIJYk1dRc
    dcPea2s6XDCrdU2s
    KELmZTXyNHo1VNrd
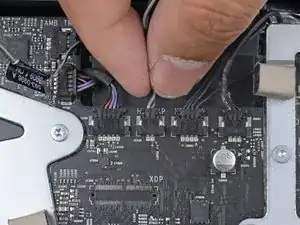
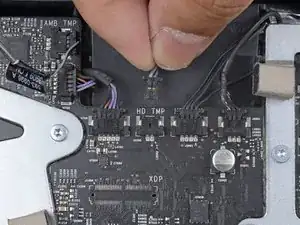
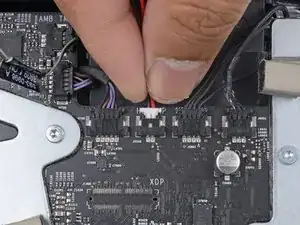
    • If your motherboard has a socket for a hard drive temperature sensor, follow this step to plug the sensor wires in.

    • Find the connector on the motherboard labeled HD TMP or HDD TEMP.

    • If you have trouble locating it, trace the two-wire temperature cable you disconnected from the old hard drive.

    • If the previous temperature cable is still connected to the board here, disconnect and remove it. You will no longer need it.

    • Connect the temperature sensor's two-wire red-black cable to the motherboard plug labeled HD TMP or HDD TEMP.

    • The connector is keyed to fit in only one orientation. If it doesn't fit one way, rotate it 180° and try again.

    • Route the excess wire so it does not interfere with any other components.

Conclusion

To reassemble your device, follow these instructions in reverse order.
Arthur Shi

Member since: 03/01/18

218193 Reputation

0 comments