
Introduction
If your iPhone 11 screen is cracked, not responding to touch, or not showing a picture when powered on, use this guide to get your iPhone working again with a new screen assembly.
This guide is written for replacement screen assemblies with the metal LCD shield plate pre-installed. If your new screen does not include the plate, follow this guide instead to complete your repair.
The combined earpiece speaker + sensor assembly affixed to the back of the screen is paired to your individual iPhone at the factory, so you must transfer it carefully from your old screen to your new one using the instructions below. It contains the flood illuminator, which is part of the biometric Face ID security feature. If it is damaged or replaced, Face ID won’t work, so take extra care not to damage any of these components during this procedure. If damaged, only Apple’s “authorized” technicians can restore Face ID function.
Note: True Tone functionality won’t work after a screen replacement, even when using an original Apple screen.
-
-
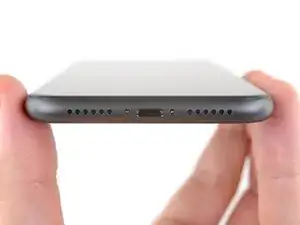
Power off your iPhone before beginning disassembly.
-
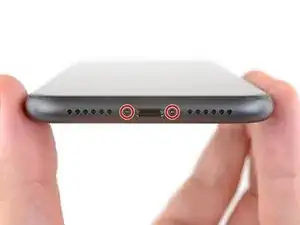
Remove the two 6.7 mm-long pentalobe screws at the bottom edge of the iPhone.
-
-
-
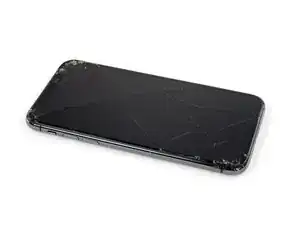
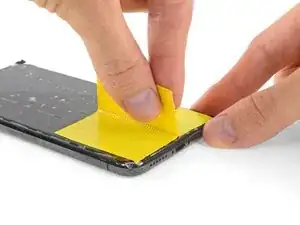
If your iPhone has a cracked screen, keep further breakage contained and prevent bodily harm during your repair by taping over the glass.
-
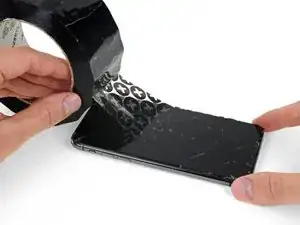
Lay overlapping strips of packing tape over the iPhone's display until the whole face is covered.
-
If the broken glass makes it difficult to get a suction cup to stick in the next few steps, try folding a strong piece of tape (such as duct tape) into a handle and lifting the display with that instead.
-
-
-
Use a hairdryer or heat gun or prepare an iOpener and apply it to the lower edge of the iPhone for about a minute.
-
-
-
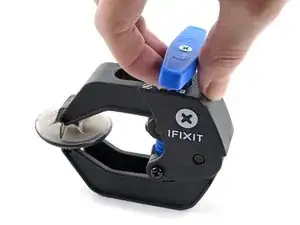
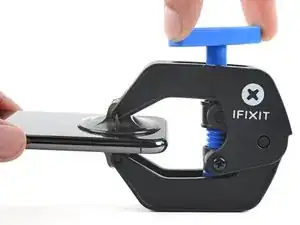
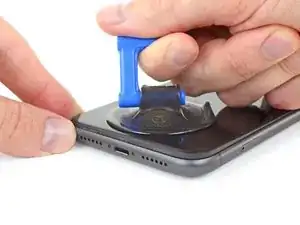
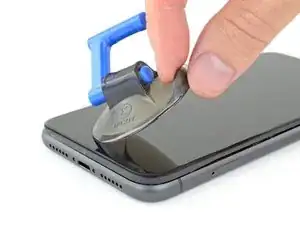
Pull the blue handle towards the hinge to disengage opening mode.
-
Position the suction cups near the bottom edge of the iPhone—one on the front, and one on the back.
-
Push down on the cups to apply suction to the desired area.
-
-
-
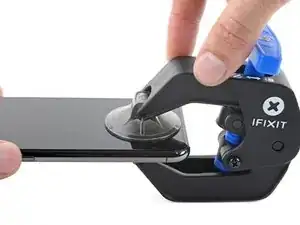
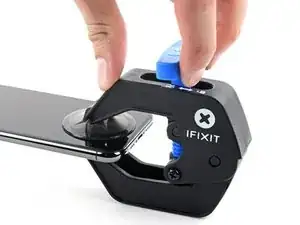
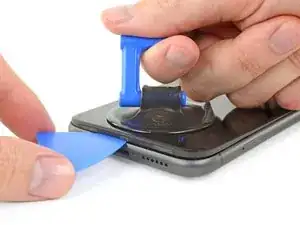
Push the blue handle away from the hinge to engage opening mode.
-
Turn the handle clockwise until you see the cups start to stretch.
-
Wait one minute to give the adhesive a chance to release and present an opening gap.
-
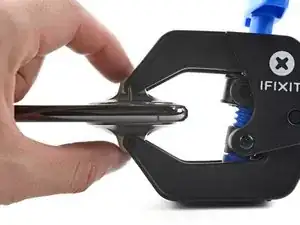
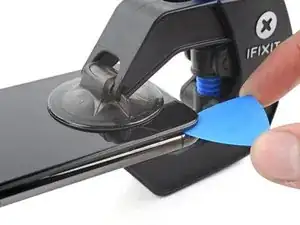
Insert an opening pick under the screen when the Anti-Clamp creates a large enough gap.
-
Skip the next two steps.
-
-
-
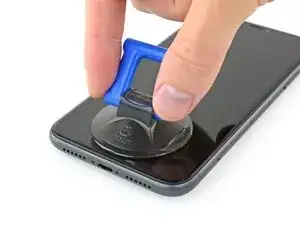
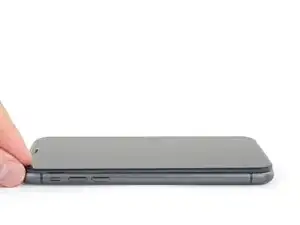
If you're using a single suction handle, apply it to the bottom edge of the phone, while avoiding the curved portion of the glass.
-
-
-
Pull up on the suction cup with firm, constant pressure to create a slight gap between the front panel and rear case.
-
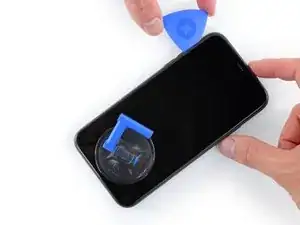
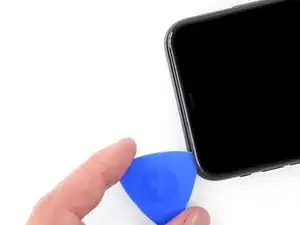
Insert an opening pick into the gap.
-
-
-
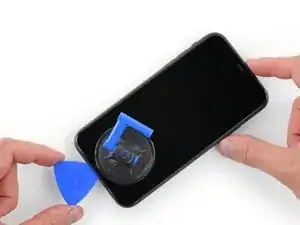
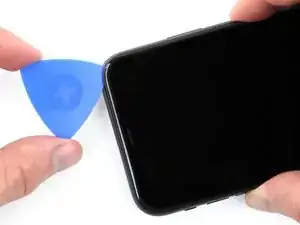
Slide the opening pick around the lower left corner and up the left edge of the iPhone, slicing through the adhesive holding the display in place.
-
-
-
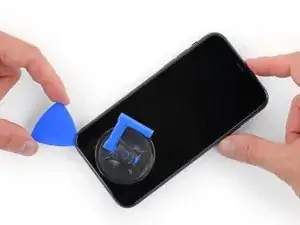
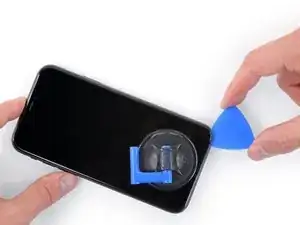
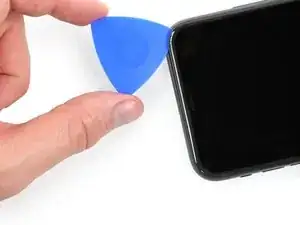
Re-insert your pick at the bottom edge of the iPhone, and slide it up the right side to continue separating the adhesive.
-
-
-
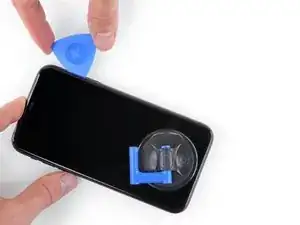
Gently pull the right edge of the display down slightly (in the direction of the Lightning port).
-
Insert your pick into the top-right corner of the phone.
-
-
-
Continue pulling the display down (toward the Lightning port) as needed in order to make a gap large enough for the pick.
-
Slide the pick to the top left corner and cut any remaining adhesive securing the display.
-
-
-
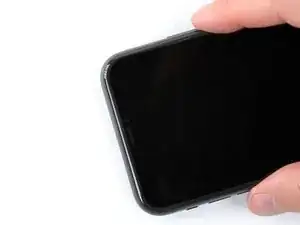
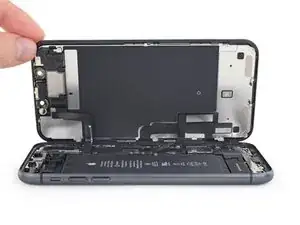
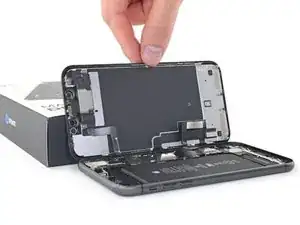
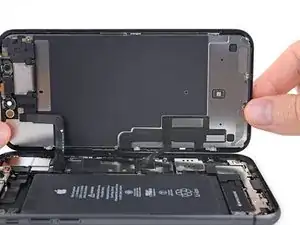
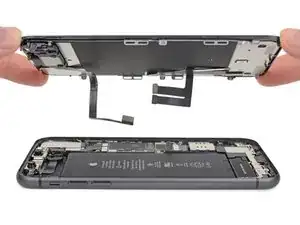
Open the iPhone by swinging the display up from the left side, like the back cover of a book.
-
Prop the display up against something sturdy.
-
-
-
To access the screws in the following step, tilt the display by slightly lifting its lower edge.
-
-
-
Use a Y000 driver to remove the three 1.1 mm-long screws securing the battery connector bracket.
-
-
-
Use a spudger or a clean fingernail to pry the battery connector up from its socket on the logic board.
-
Bend the connector slightly away from the logic board to prevent it from accidentally contacting the socket.
-
-
-
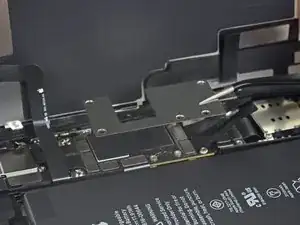
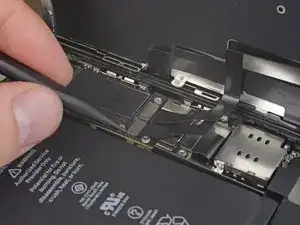
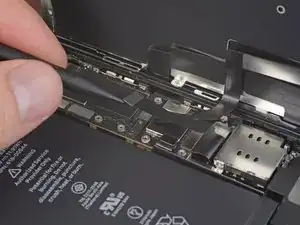
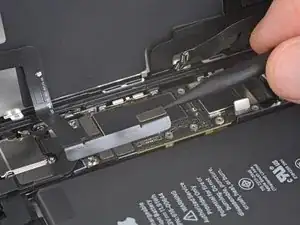
Use a spudger or a fingernail to disconnect the LCD panel cable connector.
-
Disconnect the digitizer connector next to it.
-
-
-
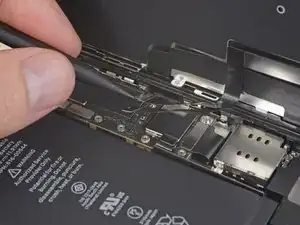
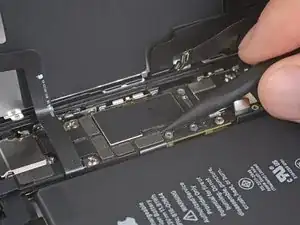
Use the point of a spudger or a fingernail to disconnect the front panel sensor assembly connector.
-
-
-
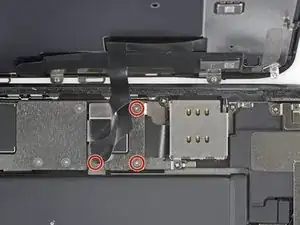
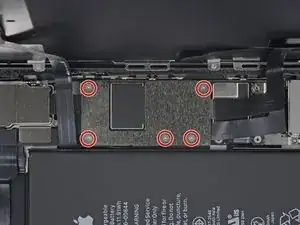
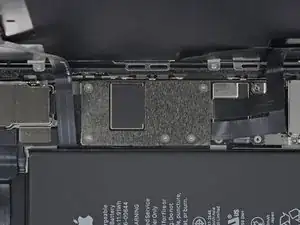
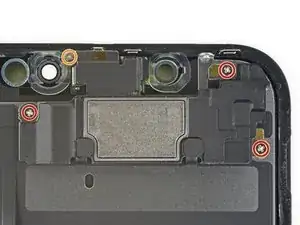
Remove four screws securing the speaker/sensor assembly:
-
Three 1.6 mm Phillips screws
-
One 1.3 mm Y000 screw
-
-
-
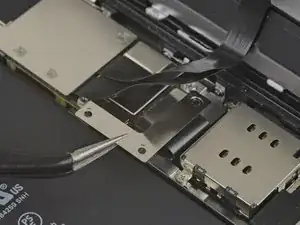
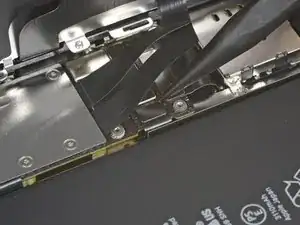
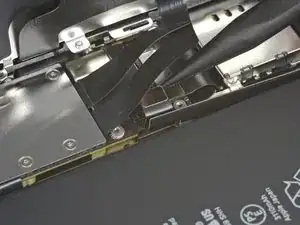
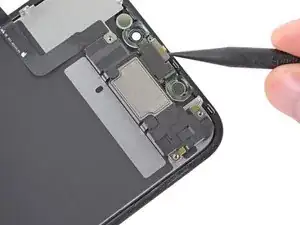
Use the point of a spudger to gently pry up the top edge of the speaker.
-
Flip the speaker assembly over—down and away from the top edge of the display.
-
-
-
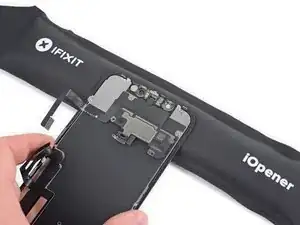
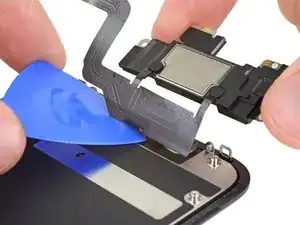
Use a hairdryer or heat gun or prepare an iOpener and apply it to the top front of the display for 1-2 minutes, in order to soften the adhesive securing the sensors.
-
-
-
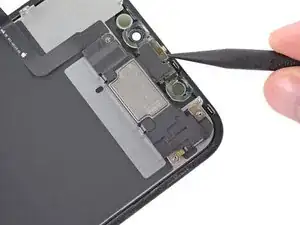
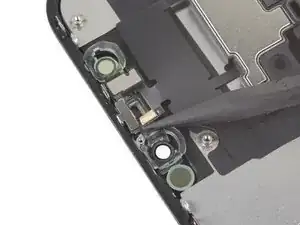
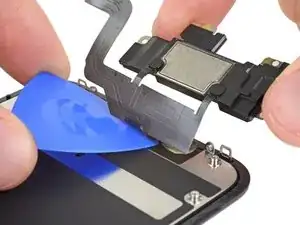
Carefully slide the edge of your opening pick underneath the flex cable below the microphone.
-
Twist gently to separate the microphone, while being careful not to strain or damage the flex cable.
-
If needed, use the point of the spudger to finish separating the microphone from its notch in the front panel.
-
-
-
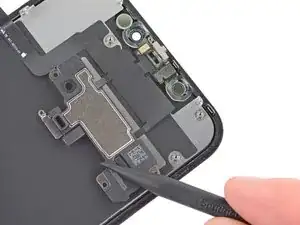
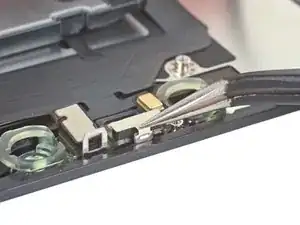
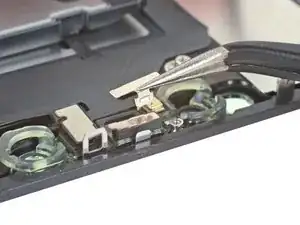
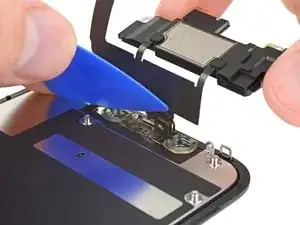
Working left to right, slide an opening pick beneath the flex cable and underneath the proximity sensor + flood illuminator module.
-
Gently wiggle and lift to separate the module from its notch in the front panel.
-
-
-
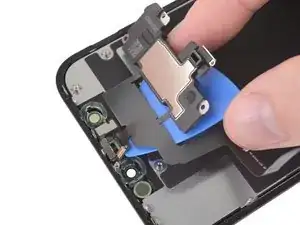
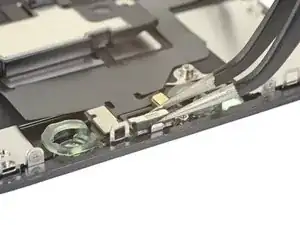
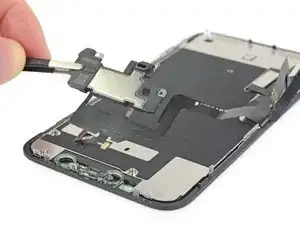
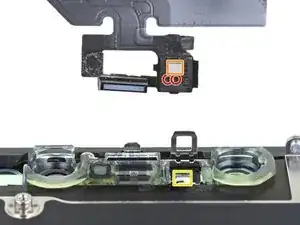
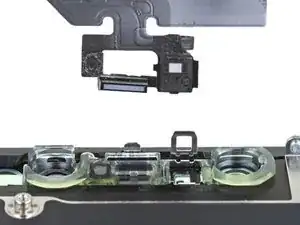
Remove the earpiece speaker and front sensor assembly.
-
Proximity sensor
-
Flood illuminator
-
The module must be positioned so that these components are not obstructed by any adhesive.
-


To reassemble your device, follow the above steps in reverse order.
Take your e-waste to an R2 or e-Stewards certified recycler.
Repair didn’t go as planned? Try some basic troubleshooting, or search our iPhone 11 Answers community for help.

2 comments
Zu Schritt 13:
Was kann ich tun wenn die Metallplatte sich nicht aus dem Gehäuse löst?
During reassembly, is there a step in which I need to apply adhesive? (asking since you find adhesive as you disassemble)
the right screws wouldn’t come off
Yusef San Inocencio -
Hello guys, I still haven't found away to power off the iphone without using the screen. Cheers!
danielaguirre93 -
You can try this.
Quickly Press and release the volume up button.
then Quickly Press and release the volume down button.
then press and hold the power button and wait until it turns off.
worked for me :D
Benóný Egilson -