Introduction
Learn how to replace your iPhone 6s Plus’ screen. This part comes with the front-facing camera, sensor assembly, and EMI shield already installed, making for an easier repair.
All you need to do is remove the old screen and transfer the home button to the new screen, in order for Touch ID to function.
You can also use this guide to replace the display cable bracket.
Tools
-
-
Power off your iPhone before beginning disassembly.
-
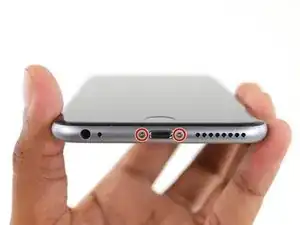
Remove the two 3.4 mm Pentalobe screws on either side of the Lightning port.
-
-
-
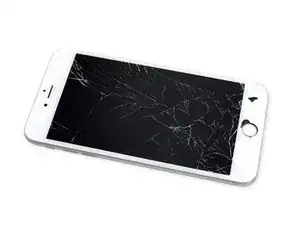
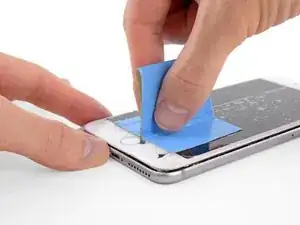
If your display glass is cracked, keep further breakage contained and prevent bodily harm during your repair by taping over the glass.
-
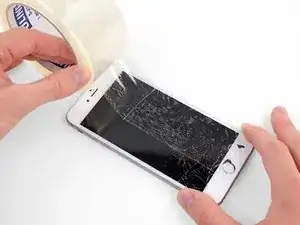
Lay overlapping strips of clear packing tape over the iPhone's display until the whole face is covered.
-
If the broken glass makes it difficult to get a suction cup to stick in the next few steps, try folding a strong piece of tape (such as duct tape) into a handle and lifting the display with that instead.
-
-
-
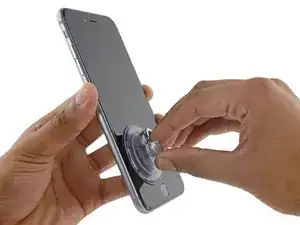
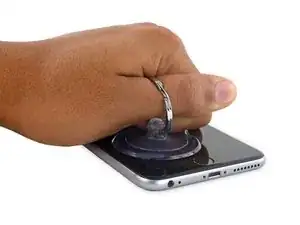
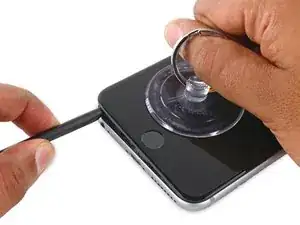
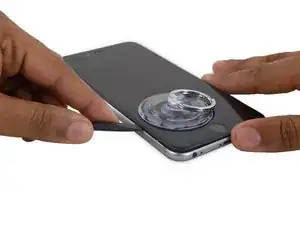
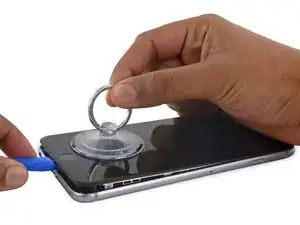
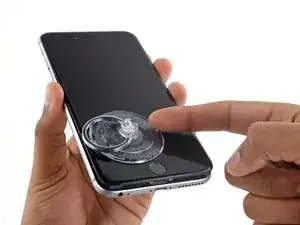
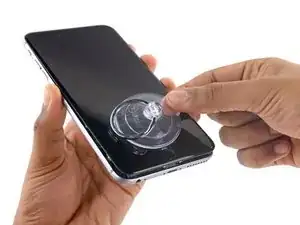
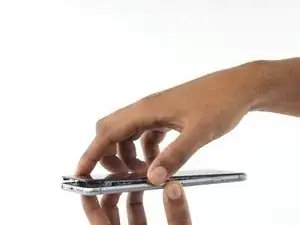
Pull up on the suction cup with firm, constant pressure to create a slight gap between the front panel and rear case.
-
-
-
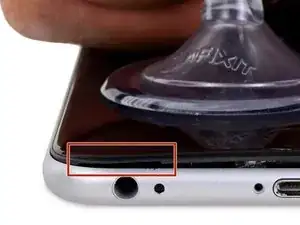
The safest place to pry from is the notch in the front panel above the headphone jack.
-
While still maintaining pressure on the suction cup, insert the flat tip of a spudger into the gap, directly above the headphone jack.
-
-
-
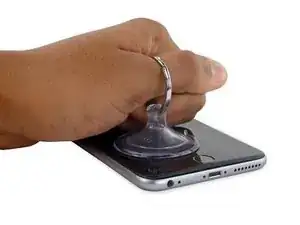
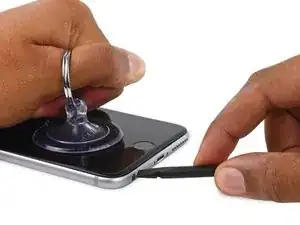
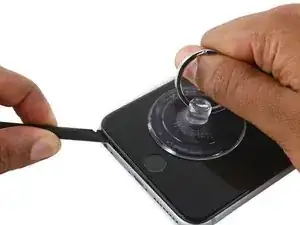
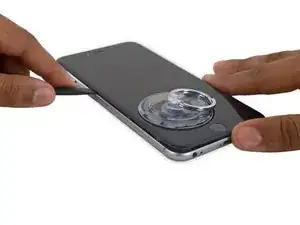
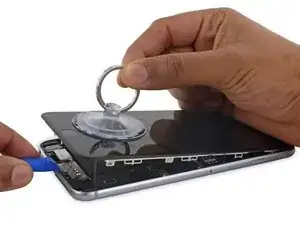
While firmly pulling up on the suction cup, slide the edge of the spudger under the bottom left corner of the display.
-
-
-
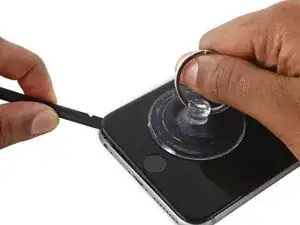
Slide the tip of the spudger up the left side of the phone, between the front panel and the rear case.
-
-
-
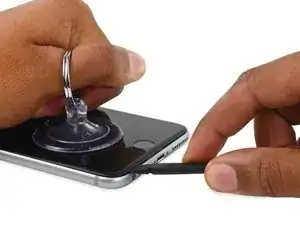
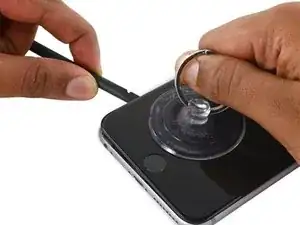
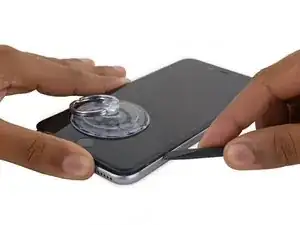
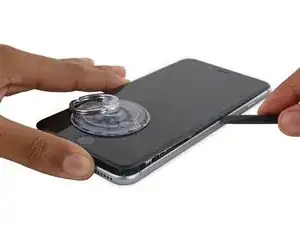
Insert the flat tip of the spudger under the right edge of the display.
-
Slide the spudger up the right side.
-
-
-
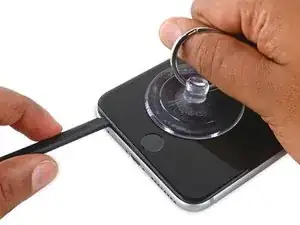
Use a plastic opening tool to hold down the rear case while pulling up the suction cup to open the phone.
-
-
-
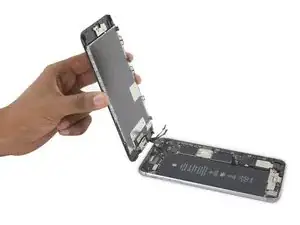
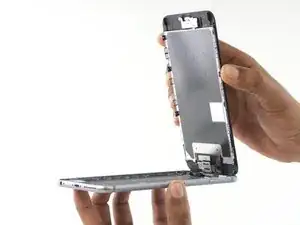
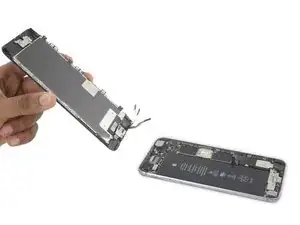
Gently grasp the display assembly and lift it up to open the phone, using the clips at the top of the front panel as a hinge.
-
Open the display to about a 90º angle, and lean it against something to keep it propped up while you're working on the phone.
-
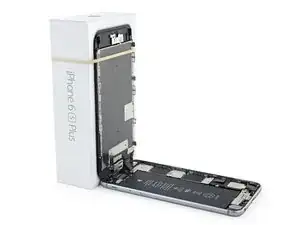
Add a rubber band to keep the display securely in place while you work. This prevents undue strain on the display cables.
-
-
-
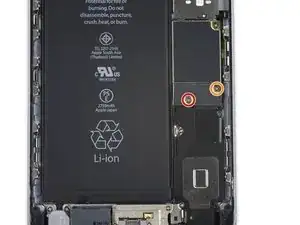
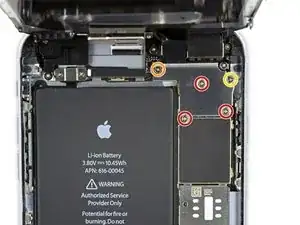
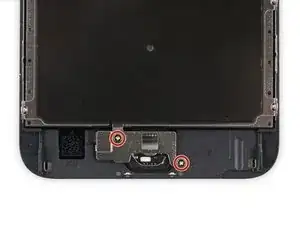
Remove two Phillips screws securing the battery connector bracket to the logic board, of the following lengths:
-
One 2.9 mm screw
-
One 2.3 mm screw
-
-
-
Use a spudger or a clean fingernail to disconnect the battery connector by prying it straight up off the logic board.
-
-
-
Bend the connector back to ensure it doesn't make contact and power the iPhone on while you're working on it.
-
-
-
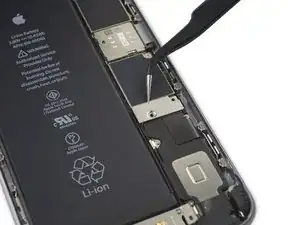
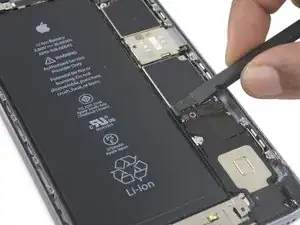
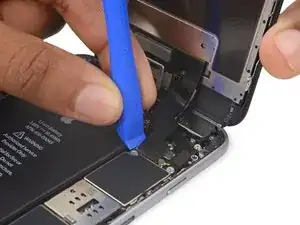
Use a plastic opening tool to disconnect the front-facing camera and sensor cable connector.
-
-
-
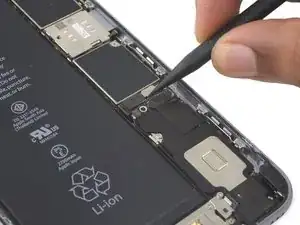
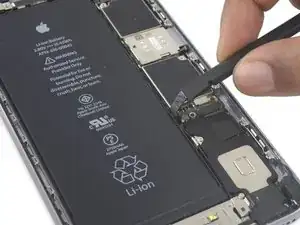
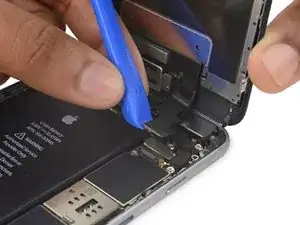
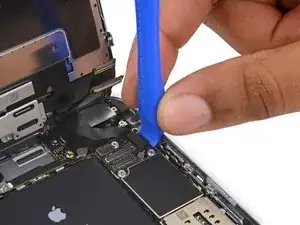
Use a plastic opening tool to disconnect the digitizer cable by prying it straight up from its socket on the logic board.
-
-
-
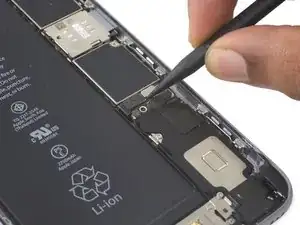
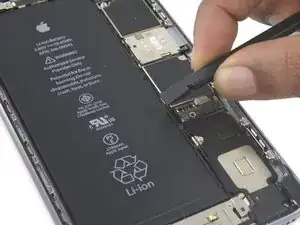
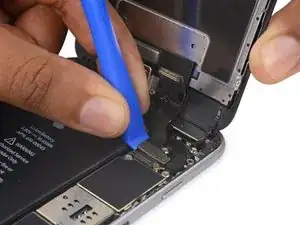
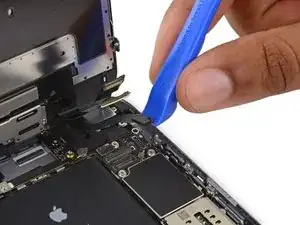
Disconnect the home button/fingerprint sensor cable by prying it straight up from its socket on the logic board.
-
-
-
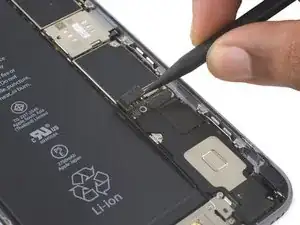
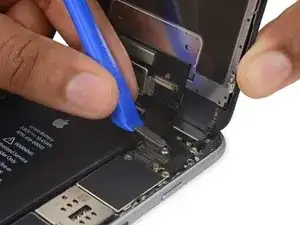
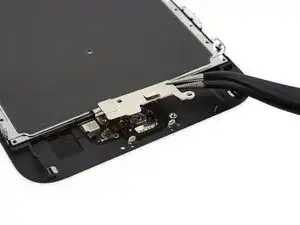
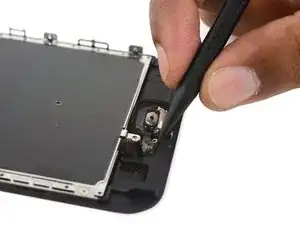
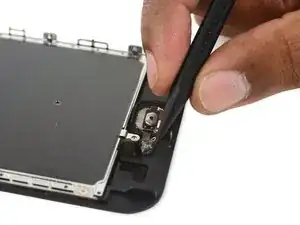
Use the pointed tip of a spudger to disconnect the home button cable from its connector on the display assembly.
-
-
-
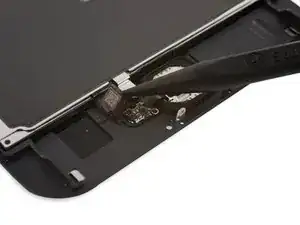
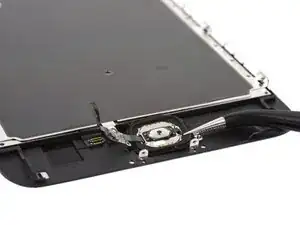
Apply mild heat (with an iOpener, heat gun, or hair dryer) to soften the adhesive securing the home button gasket.
-
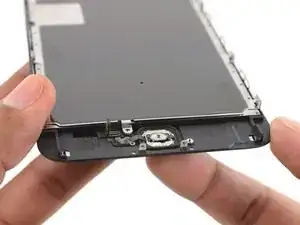
Using your fingertip, gently press up on the home button from the front side of the display assembly. Use firm, constant pressure to slowly separate the home button's rubber gasket from the front panel.
-
-
-
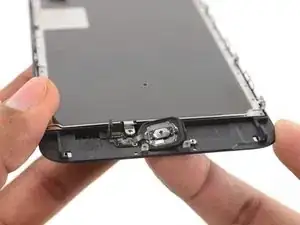
Use the pointed end of a spudger to pry the lightly-adhered home button flex cable off the display assembly.
-


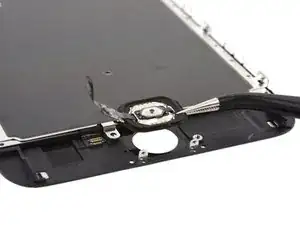
To reassemble your device, follow these instructions in reverse order.

73 comments
What do you do about the 3D touch?
The 3D Touch sensor should be integrated into the replacement part that you buy. If you check out our display teardown you can see that it's embedded two layers deep in the display assembly, so there are no discrete parts you need to worry about.
it's great, thanks
sharonsl -
And if you replace the home button with a new one the finger sensor usually don't work again
This is because the home button that originally comes with the phone is "married" is married to the phone. This connection can never be returned if home button is broken or replaced. That in turn makes touch id not work because its not coded to the phone. Apple can not remarry phones in case anybody was wondering. Take good care of your home button
Make sure you use the correct screw driver tip to remove these screws, which for the iPhone 6s Plus is the P2, otherwise you may strip the tip of the screw making it 10 times harder to remove. If once the screw is lose, it will not come off, use a magnet to remove it.
Miguel Perez -
If I do it by myself, will it damage the water resistant strip?
I know iphone 7 have it ,but I am not sure 6s plus have it.
Ganqian Zhu -
iPhone 6s has an adhesive gasket under the display, similar to the iPhone 7—however, it doesn’t add much in the way of waterproofing since the 6s has non-sealed openings in other parts of the phone. Water resistance on the 6s is primarily internal (seals around the logic board connectors, etc.). It may still be worthwhile to replace the adhesive on the 6s in order to help keep the display firmly seated so it doesn’t move/wobble at all under pressure, but the phone will continue to work fine whether you replace the adhesive or not.
Jeff Suovanen -
Salve nella procedura iniziale di smontaggio display con la ventosa non è menzionato il fatto di scaldare i lati del display per “ammorbidire” la striscia che incolla il display alla scocca.
Non è necessaria la cosa o è consigliabile ?
grazie
Hello, in the initial disassembling procedure with the suction cup, it is not mentioned how to heat the sides of the display to "soften" the strip that glues the display to the body.
Is not the thing necessary or is it advisable?
thank you
Daniele -
You’ve probably received your answer by now but for future enquirers, it does help the process of taking the screen off if heat is applied to the screen. If you have a hair Dryer use that on a low setting to heat the edges of the screen until it’s almost too hot to touch then slip very thin metal spudger around the edge to cut the adhesive. The carefully lift the screen with the help of the spudger and continue with your repair
Cheers Wayne
Wayne Lyell -
How do I know that the Battery has ZERO Charging Cycles on it when it arrives ? Is there a (downside) to Higher Capacity batteries ? It is INCREDIBLY DIFFICULT to maintain a “Zero Chinese Products Lifestyle”, so how do I know that I’m not getting a deficient Chinese battery, potentially a refurb. battery ?
integritybuilders -
When your repair is complete, you can use coconutBattery to check your new battery stats and cycle count. (A properly tested battery may already have a charge cycle or two on it.) Avoid higher capacity batteries on iPhones—they’re generally either gimmicks, unsafe, or both. As far as the quality of the part, that comes down to how much you trust your supplier and whether they guarantee the product.
Jeff Suovanen -
So I need to empty the battery to zero percent?
johnpatrickanat -
Below 25%, exactly as stated in the instructions. There’s no benefit to draining it further than that, and in fact you’ll slightly shorten the service life of the battery by draining it all the way to zero. Follow the instructions exactly as written—if you go off-script, you’re a lot more likely to break something.
Jeff Suovanen -
So my screen shattered completely and the screen first had colored lines on tge while right side then it went out completely. If i get an lcd and digitizer replacement I'd that oing to fix it
shellietheleo -
I would initially recommend a well-lit, comfortable area and placing the screws on a white piece of paper with the screw sizes written down (apparently there are magnetic mats, also). Also, I found placing the phone on a paper towel is good so that if a screw is dropped, it will lessen the likelihood of bouncing away.
Lou Fazio -