Introduction
Follow this guide to replace the speaker in your iPhone 6s Plus.
-
-
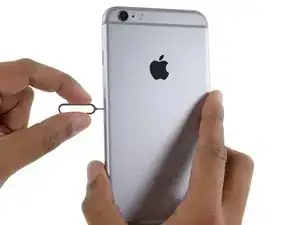
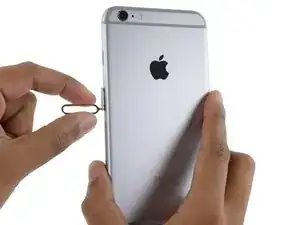
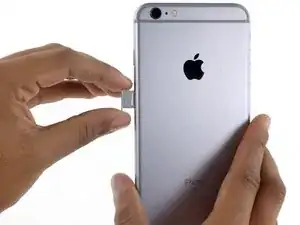
Power off your iPhone before beginning disassembly.
-
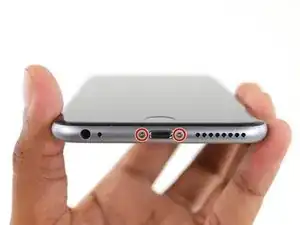
Remove the two 3.4 mm Pentalobe screws on either side of the Lightning port.
-
-
-
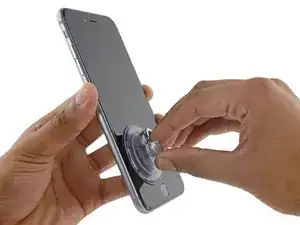
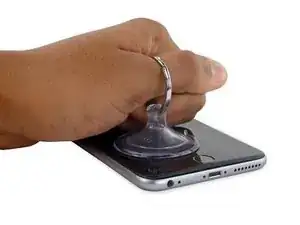
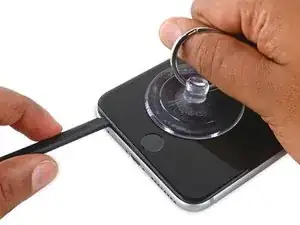
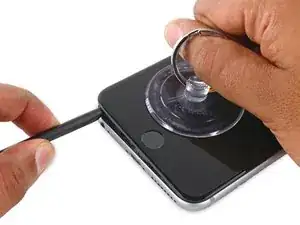
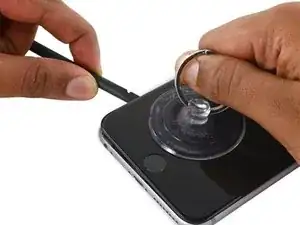
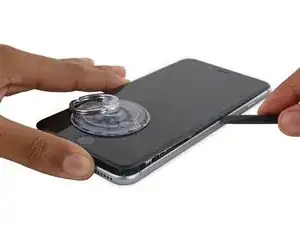
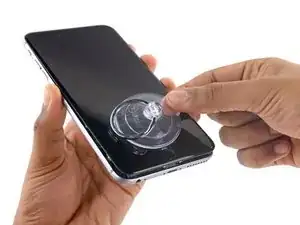
Pull up on the suction cup with firm, constant pressure to create a slight gap between the front panel and rear case.
-
-
-
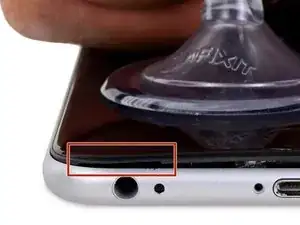
The safest place to pry from is the notch in the front panel above the headphone jack.
-
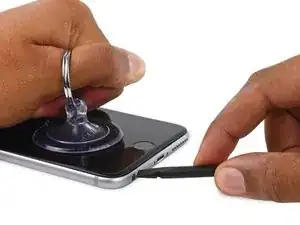
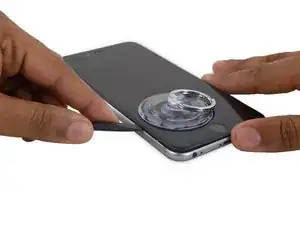
While still maintaining pressure on the suction cup, insert the flat tip of a spudger into the gap, directly above the headphone jack.
-
-
-
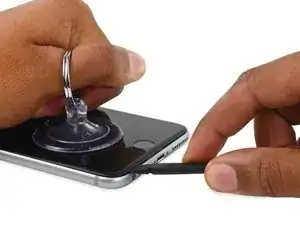
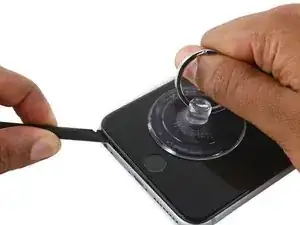
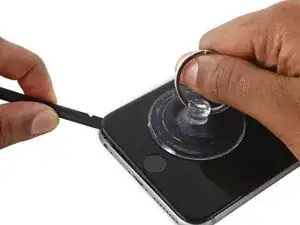
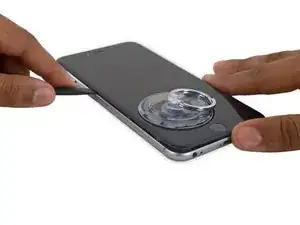
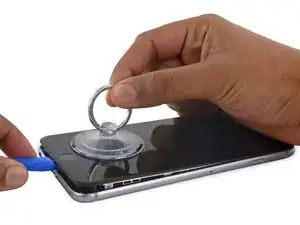
While firmly pulling up on the suction cup, slide the edge of the spudger under the bottom left corner of the display.
-
-
-
Slide the tip of the spudger up the left side of the phone, between the front panel and the rear case.
-
-
-
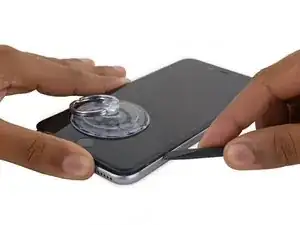
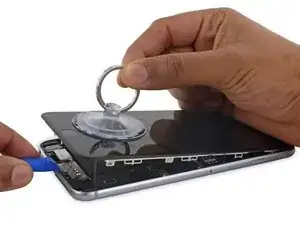
Insert the flat tip of the spudger under the right edge of the display.
-
Slide the spudger up the right side.
-
-
-
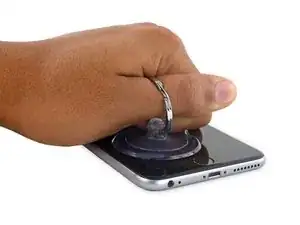
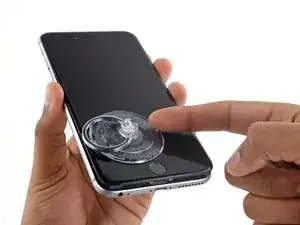
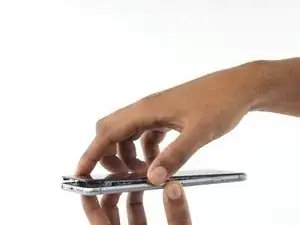
Use a plastic opening tool to hold down the rear case while pulling up the suction cup to open the phone.
-
-
-
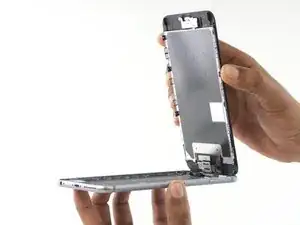
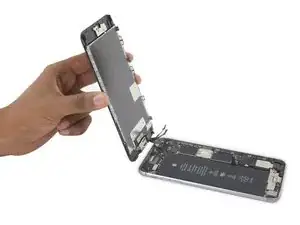
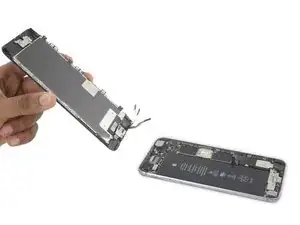
Gently grasp the display assembly and lift it up to open the phone, using the clips at the top of the front panel as a hinge.
-
Open the display to about a 90º angle, and lean it against something to keep it propped up while you're working on the phone.
-
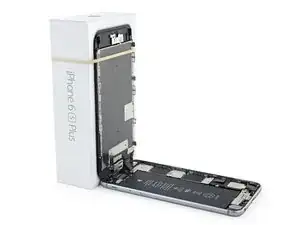
Add a rubber band to keep the display securely in place while you work. This prevents undue strain on the display cables.
-
-
-
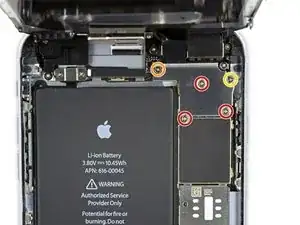
Remove two Phillips screws securing the battery connector bracket to the logic board, of the following lengths:
-
One 2.9 mm screw
-
One 2.3 mm screw
-
-
-
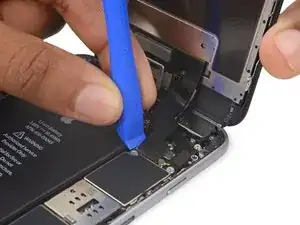
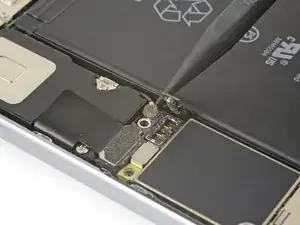
Use a spudger or a clean fingernail to disconnect the battery connector by prying it straight up off the logic board.
-
-
-
Bend the connector back to ensure it doesn't make contact and power the iPhone on while you're working on it.
-
-
-
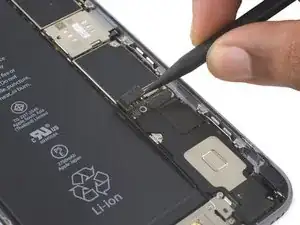
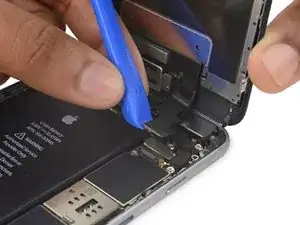
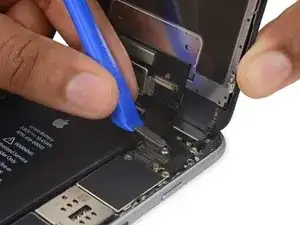
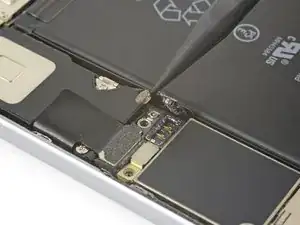
Use a plastic opening tool to disconnect the front-facing camera and sensor cable connector.
-
-
-
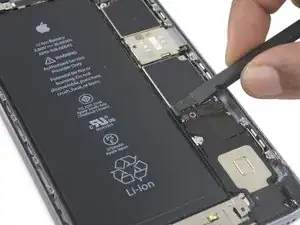
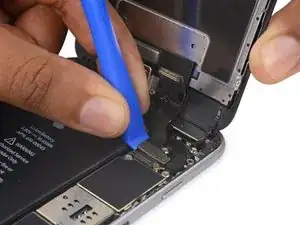
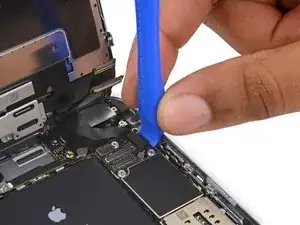
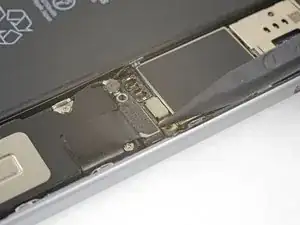
Use a plastic opening tool to disconnect the digitizer cable by prying it straight up from its socket on the logic board.
-
-
-
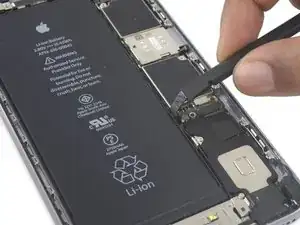
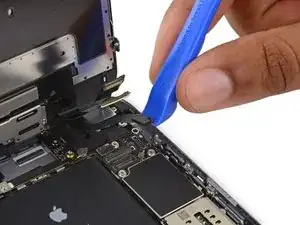
Disconnect the home button/fingerprint sensor cable by prying it straight up from its socket on the logic board.
-
-
-
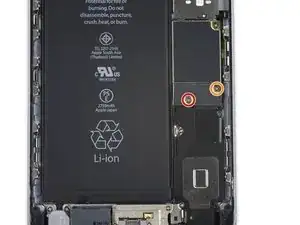
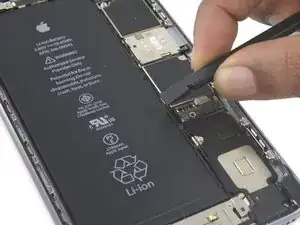
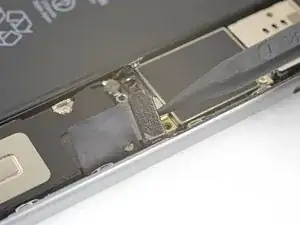
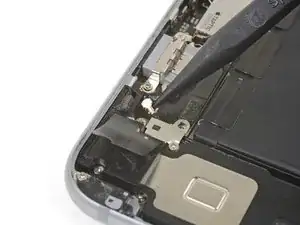
Use the point of a spudger to pry up and disconnect the antenna cable from the bottom of the logic board.
-
-
-
Use the point of a spudger to pry up and disconnect the Lightning connector cable from the logic board.
-
-
-
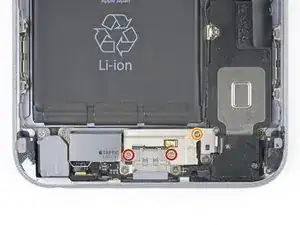
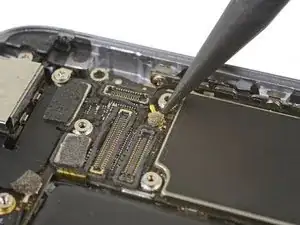
Remove the three Phillips screws securing the Lightning connector bracket:
-
Two 3.5 mm screws
-
One 2.7 mm screw
-
Remove the bracket.
-
-
-
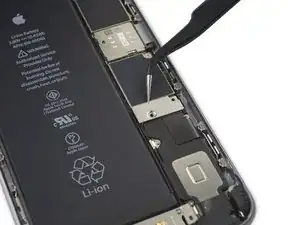
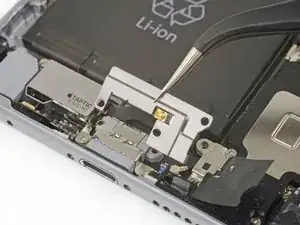
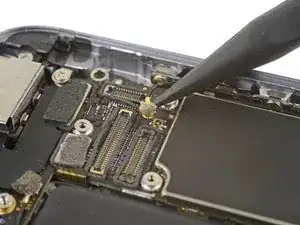
Use the point of a spudger to pry up and disconnect the antenna cable from the Lightning connector assembly.
-
-
-
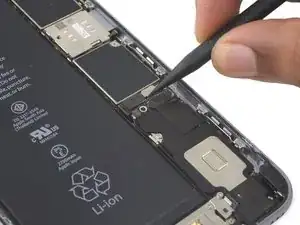
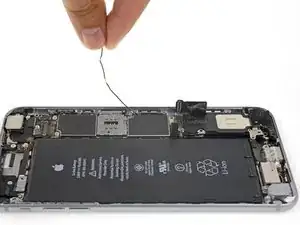
Use the point of a spudger to pry up and disconnect the antenna cable from the top of the logic board.
-
-
-
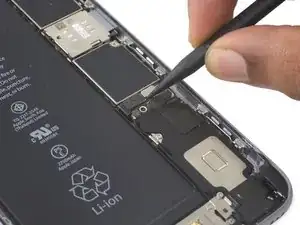
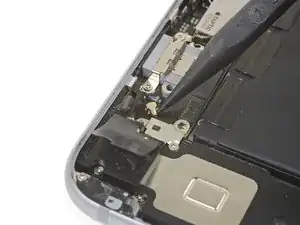
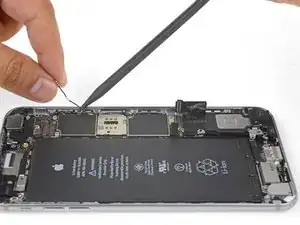
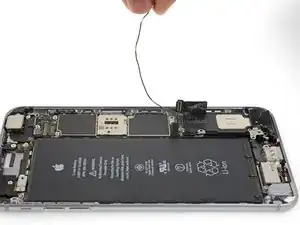
Carefully lift the antenna cable and de-route it from the edge of the phone. Use the point of a spudger to help lift the cable free it from the retaining clips.
-
-
-
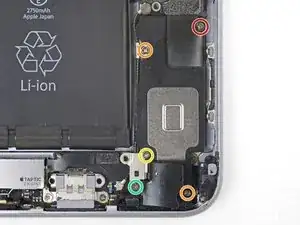
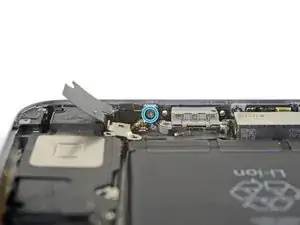
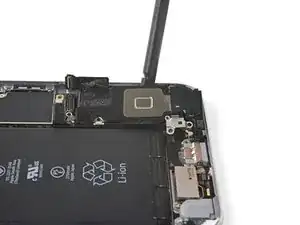
Remove the six Phillips screws securing the speaker to the rear case:
-
One 2.5 mm screw
-
Two 2.7 mm screws
-
One 1.5 mm screw
-
One 1.7 mm screw
-
One 2.6 mm screw securing the speaker to the bottom edge of the rear case.
-
-
-
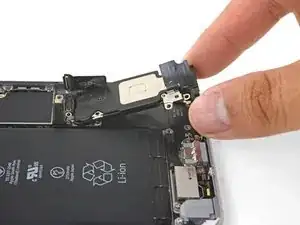
Insert the flat end of a spudger between the long edge of the speaker module and the case wall.
-
Pry gently to loosen the speaker module.
-
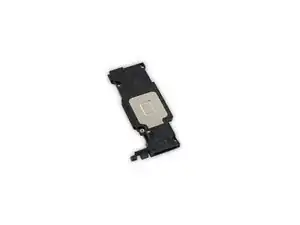
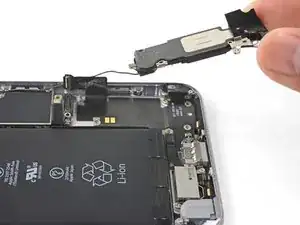
Once the module is loose, lift and remove the speaker module and the attached antenna cable from the phone.
-
-
-
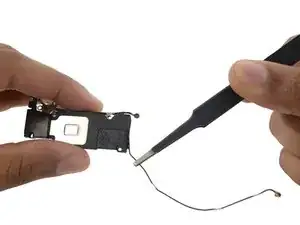
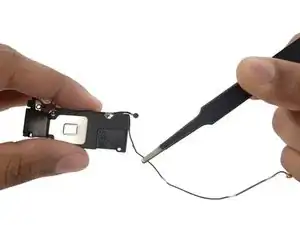
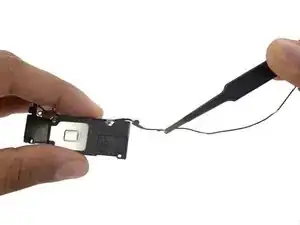
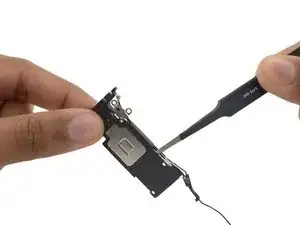
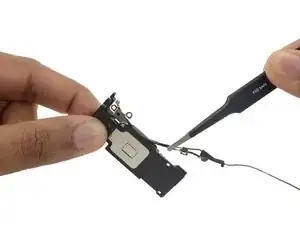
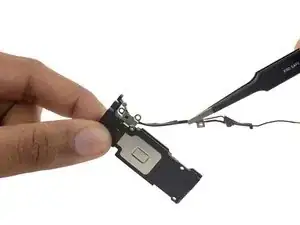
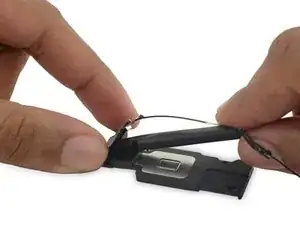
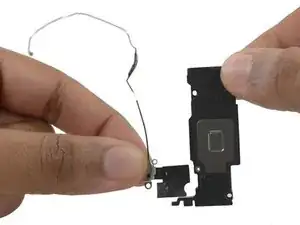
Use the flat end of a spudger to pry the Wi-Fi diversity antenna off the speaker.
-
Remove the antenna.
-


Compare your new replacement part to the original part. You may need to transfer remaining components or remove adhesive backings from the new part before installing.
To reassemble your device, follow these instructions in reverse order.
Take your e-waste to an R2 or e-Stewards certified recycler.
Repair didn’t go as planned? Check out our iPhone 6s Plus Answers community for troubleshooting help.

4 comments
It is possible to perform this repair without separating the display from the back, and without removing the logic board (which means you need not remove the camera, cellular antenna cabling, audio cabling, and other components). I carefully completed steps 1-15, 38-39, 50-52, and 54-60. It's also not necessary to disconnect the WiFi diversity cable from the logic board . This saves a lot of time and greatly reduces the risk of damaging delicate parts.
I second Mark's comment. In fact, if you are inexperienced with repairing small electronics, I highly advise against removing (or even touching) the logic board, as it is certainly the most expensive part, and among the most easily damaged.
Talon -
Agree with the other commenters. It would be insane to perform all of these repair steps for just the loudspeaker. Press the back button in your browser and watch the Loudspeaker repair video, not this ridiculous guide. Or use this guide and after removing the display, skip to step 50. This is like taking the engine out of your car to change the wipers.
Peter G -