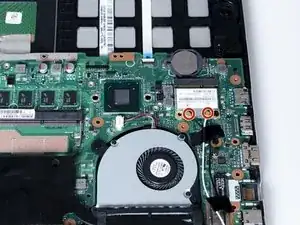
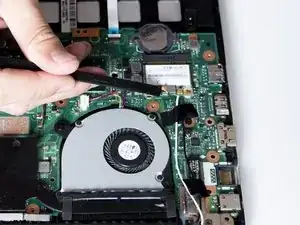
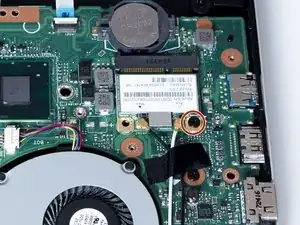
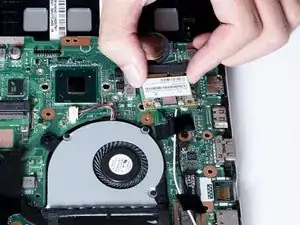
Einleitung
Werkzeuge
Ersatzteile
-
-
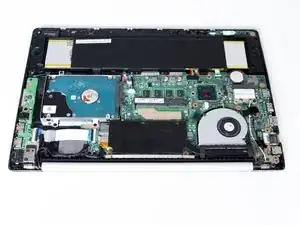
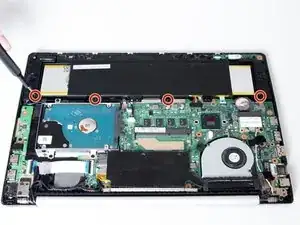
With a Phillips #0 screwdriver, remove the four 5.7 mm screws holding the battery to the laptop.
-
-
-
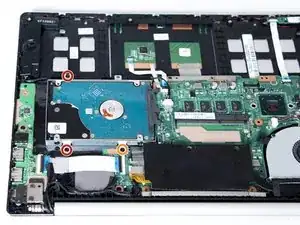
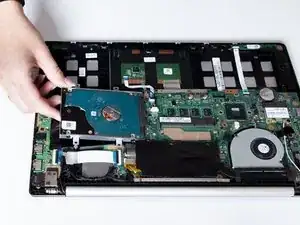
Remove the three Phillips #0 screws holding the the hard drive in place:
-
Two 3.8 mm screws.
-
One 5.7 mm screw.
-
-
-
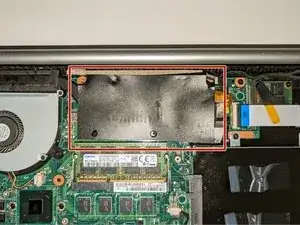
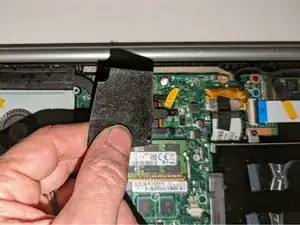
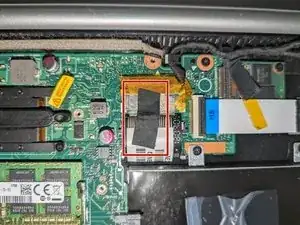
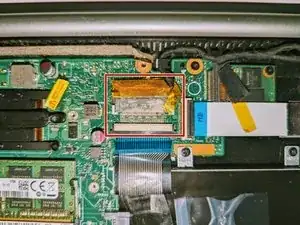
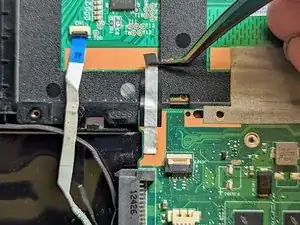
Remove the black tape securing the keyboard ribbon cable to the display connector.
-
Fold the ribbon cable the opposite way, resecuring it to the hard drive to keep it out of the way.
-
-
-
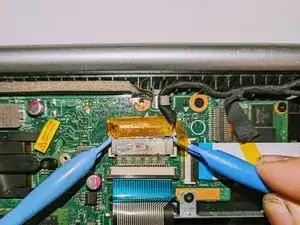
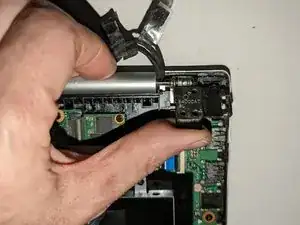
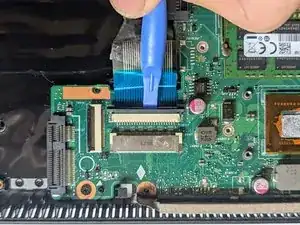
Position spudgers on the white tabs on either side of the connector and push evenly to unplug the display.
-
-
-
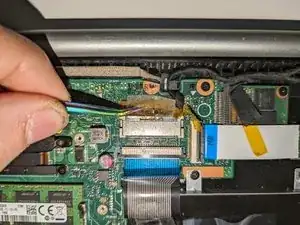
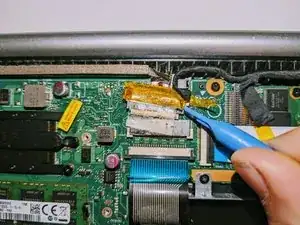
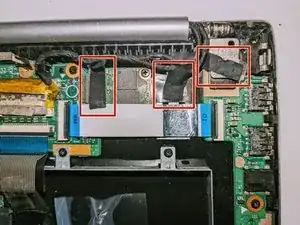
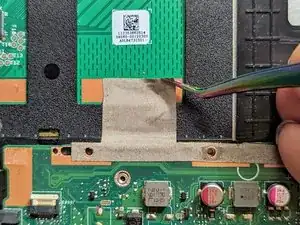
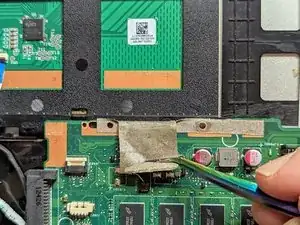
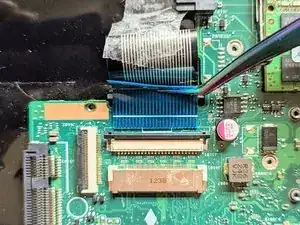
Peel off the three pieces of black tape securing the display cable to the motherboard.
-
Deroute the cable from the channel it sits in.
-
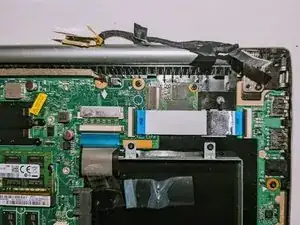
Move the cable to the side, out of the way.
-
-
-
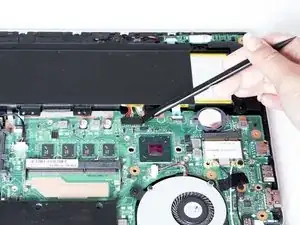
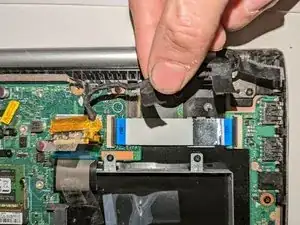
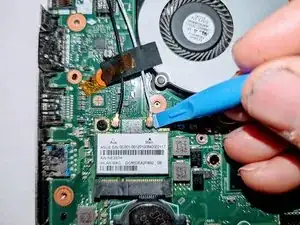
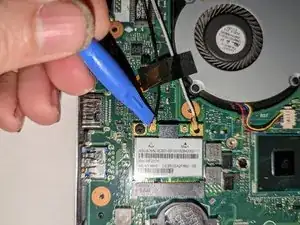
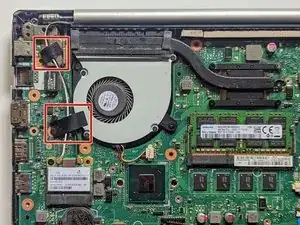
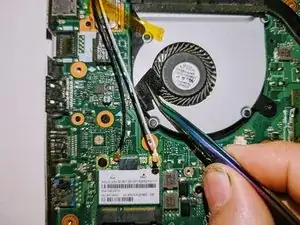
Lift the tapes securing the wires to the motherboard.
-
Move the wires to the side out of the way.
-
-
-
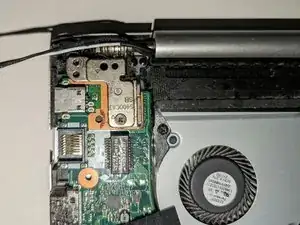
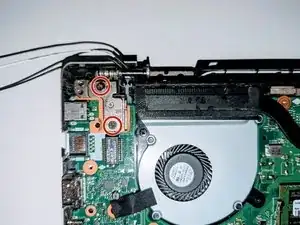
Remove the two screws securing the hinge on the left.
-
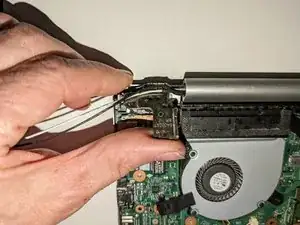
Pry the hinge up by hand to a 90 degree angle.
-
-
-
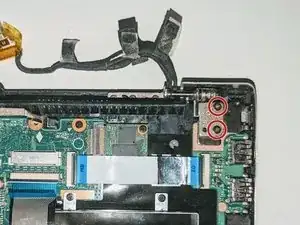
Remove the two screws securing the hinge on the right.
-
Pry the hinge up by hand to a 90 degree angle.
-
-
-
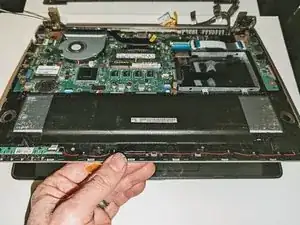
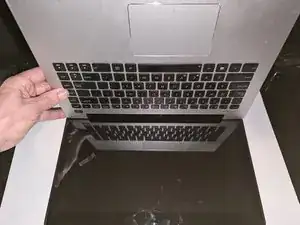
Lift the base of the laptop from the front.
-
Raise it to a 90 degree angle.
-
Slide it forward slightly to clear the hinges.
-
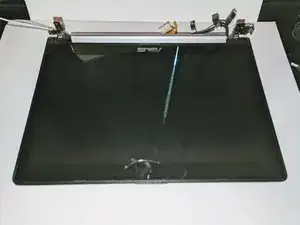
The display is now free.
-
-
-
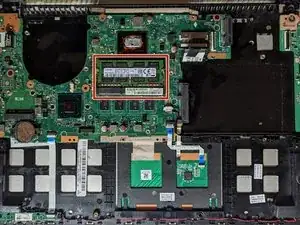
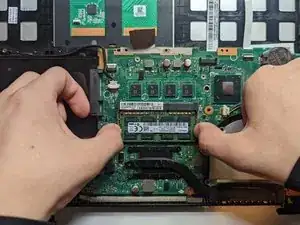
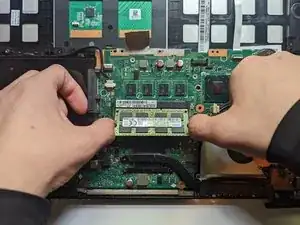
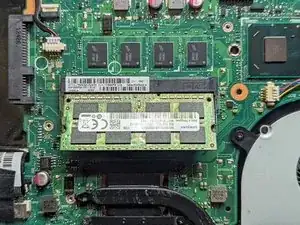
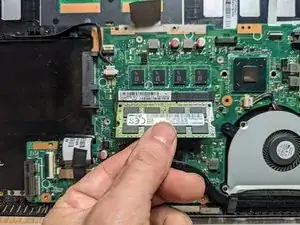
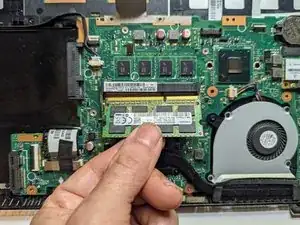
Hook a thumbnail in each of the metal retainers on either side of the RAM module and spread them apart slightly.
-
The RAM module will pop up at an angle.
-
-
-
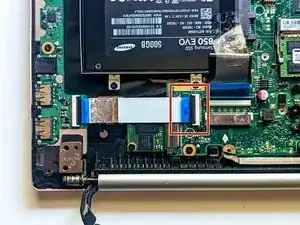
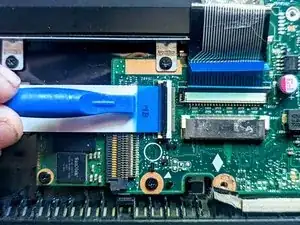
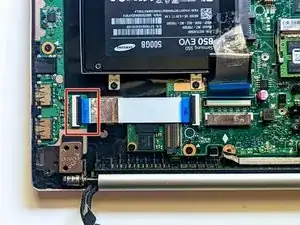
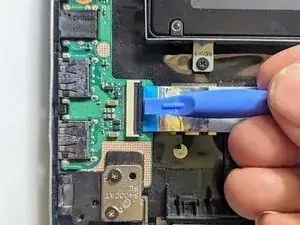
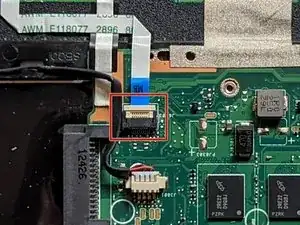
Disconnect the I/O Board ribbon cable from the motherboard.
-
Flip up the retaining latch with a spudger.
-
-
-
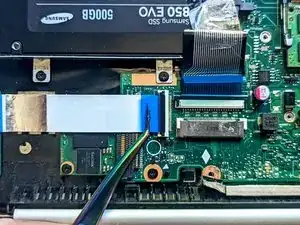
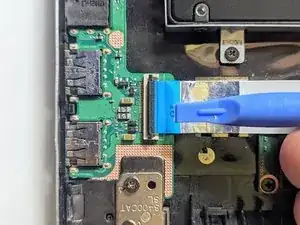
Disconnect the I/O Board ribbon cable from the I/O board.
-
Flip up the latch with a spudger.
-
-
-
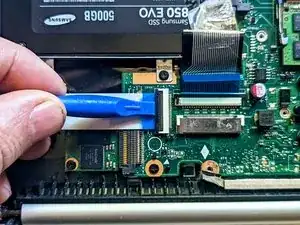
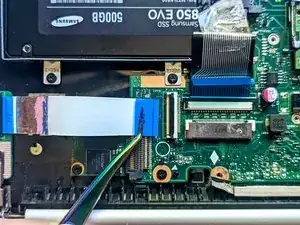
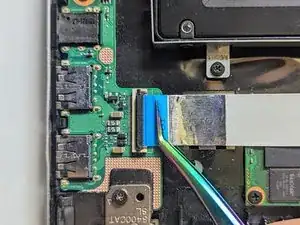
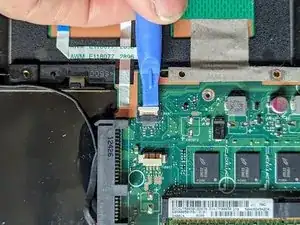
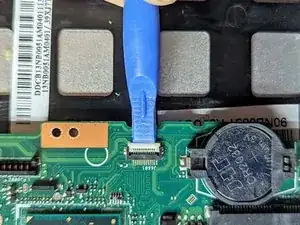
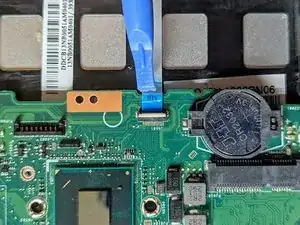
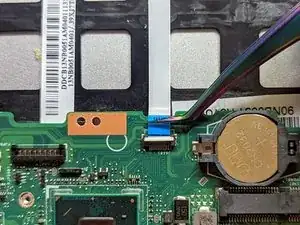
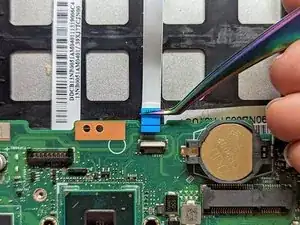
Grasp the ribbon cable by the blue tab and pull it straight out from the connector.
-
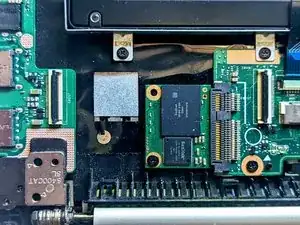
Remove the ribbon cable to expose the SSD device.
-
-
-
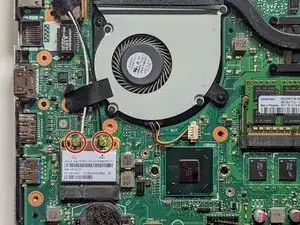
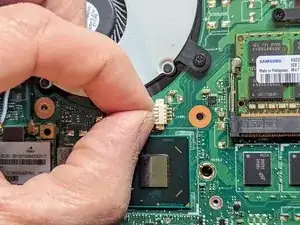
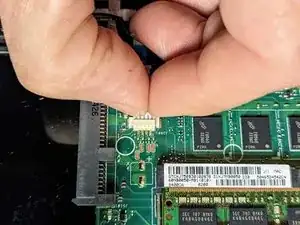
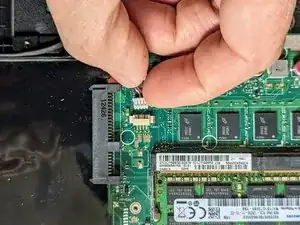
Unplug the fan.
-
Grasp the plug with a fingernail on either side and pull it straight out from the connector.
-
-
-
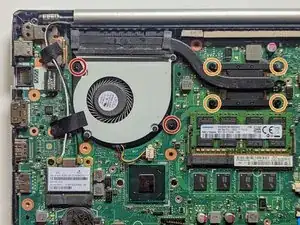
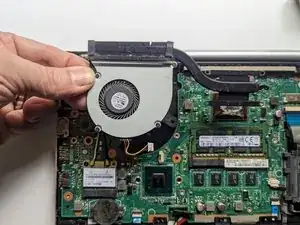
Remove the two 5 mm screws securing the fan.
-
Remove the four 3 mm screws securing the heat sink.
-
-
-
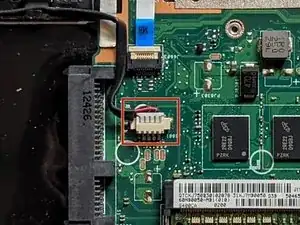
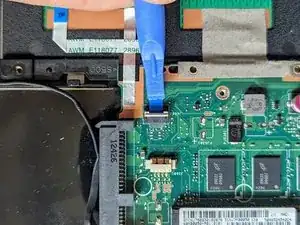
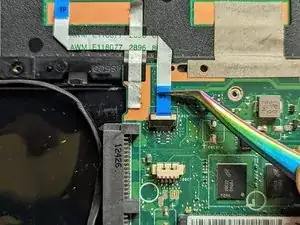
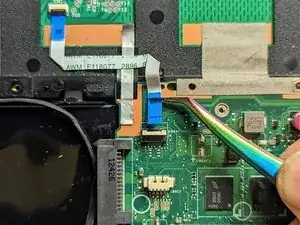
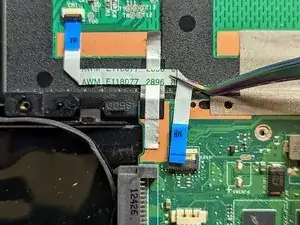
Pull the cable straight out from the connector.
-
Peel the trackpad cable off the conductive tape strip below it.
-
-
-
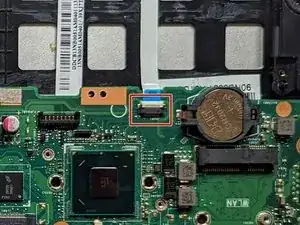
Place a spudger on the ears on either side of the keyboard ribbon cable connector and push evenly on both sides to release it.
-
Lift it slightly to relieve the tension.
-
-
-
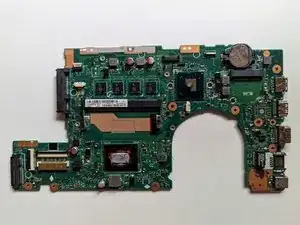
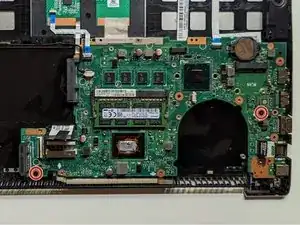
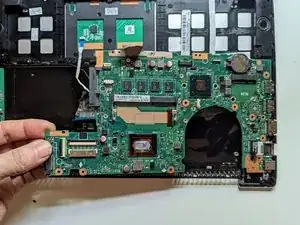
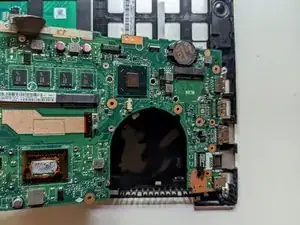
Lift and slide the motherboard toward the hard drive to clear the connectors on the opposite side from the case.
-
To reassemble your device, follow these instructions in reverse order.
