Einleitung

If you notice your Acer Predator G9-791 laptop is silent and there is no airflow by the laptop vents, try replacing the fan using this guide.

This guide can also help if your laptop is overheating and you need to remove the fan to clean it or replace the thermal paste.

  1. hQHL3Ks1iE2Yc3bO
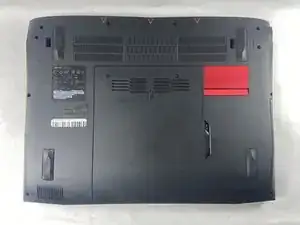
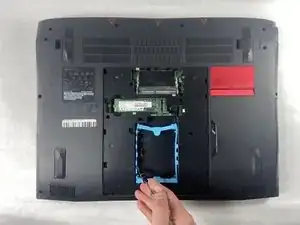
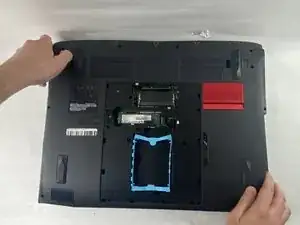
    • The service panel can be located on the bottom of the device. It is shown here as the panel located in the middle of the device, going from the upper vents to the bottom of the device.

  2. OEC52xhEVDQjPjkR
    OEC52xhEVDQjPjkR
    toYEURSZ5lXnMHOF
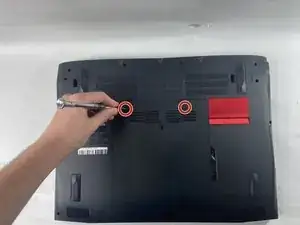
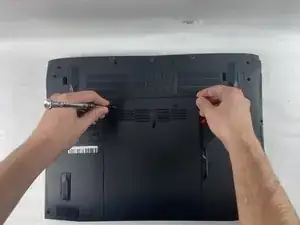
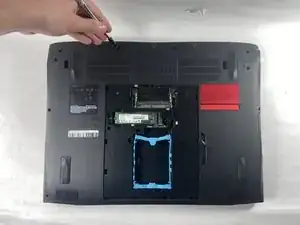
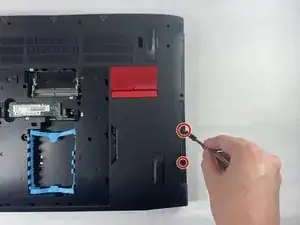
    • Loosen the two Phillips #0 screws.

    • Pull up slightly on the top of the panel to help fully separate the screws from the rest of the device.

  3. g2k6N2R5iFqQkCN4
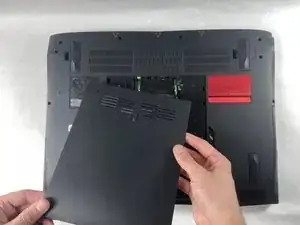
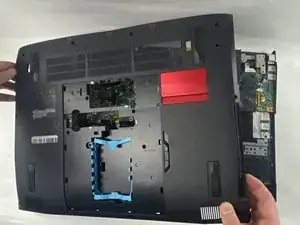
    • Continue pulling up on the panel to separate it from the laptop and remove it.

  4. HRE5dPNAKiyrWIBB
    HRE5dPNAKiyrWIBB
    VKTej1CvmcWduCdX
    sIrMttVHnTlMSsth
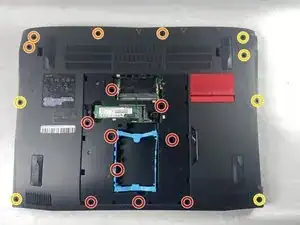
    • Remove the nine 4.5 mm Phillips #0 screws from the panel.

    • Remove four 14 mm Phillips #0 screws.

    • Remove six 7 mm Phillips #0 screws.

  5. YhTVJ22jTLekCseZ
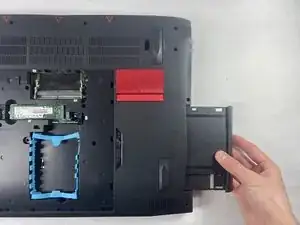
    • Slide the "unlock" slider up located to the right of the service panel and pull the disc tray out.

  6. VAOiVJUVwFNSOhpF
    • Remove the two 4.5 mm Phillips #0 screws located underneath the removed optical drive.

  7. OPBWPemTGplvXdfK
    OPBWPemTGplvXdfK
    aRu6uISmKwDgQEc3
    • Pry up on the edges of the bottom cover and lift the bottom case off of the device.

  8. AaSB2k2hqHkOdA5s
    • Remove the six 4 mm Phillips #0 screws from the battery.

  9. UXerqVJIBK2NeGSn
    UXerqVJIBK2NeGSn
    vZAeBBbgZxtvkSvS
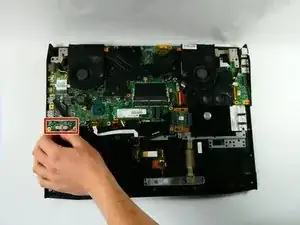
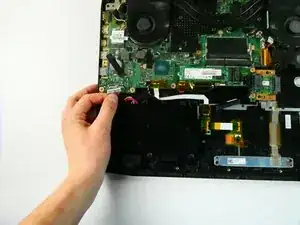
    • Disconnect the battery connector from the motherboard.

  10. NK3pGPQyVaHSv1eC
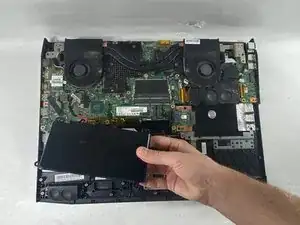
    • Gently lift the battery and remove it from the device.

  11. PKSrmuJX4wMnC1Uj
    PKSrmuJX4wMnC1Uj
    NQMO2dWguodkYQe2
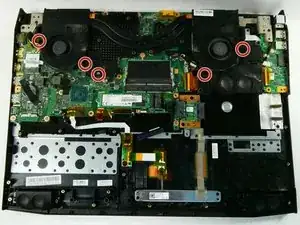
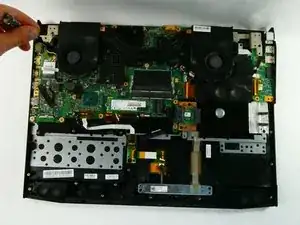
    • Remove the five 4.5 mm Phillips #0 screws located on the perimeter of the fans.

  12. ccnwdSyljmJNaweG
    ccnwdSyljmJNaweG
    CyDUyHsvLxirVLnW
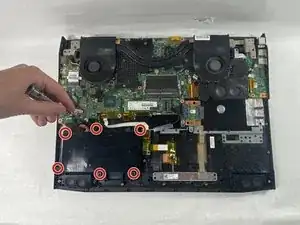
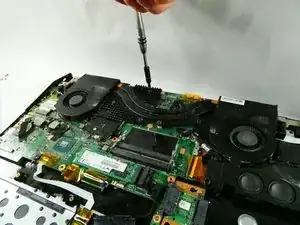
    • Unscrew the six Phillips #0 screws enough to loosen the assembly from the motherboard.

  13. NLNdurAWYNJsGmcp
    NLNdurAWYNJsGmcp
    dgeSGaxPyHUdR4HO
    JM44WnmuJKEqMxCB
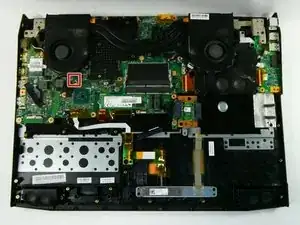
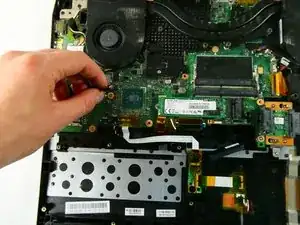
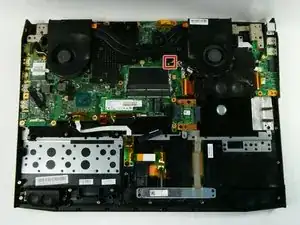
    • Detach the left fan's cord from the motherboard.

  14. vG12VC1qWIrgIaCq
    vG12VC1qWIrgIaCq
    46BFGBvaEH5eKi5K
    65pUgLYsjPvAZiR2
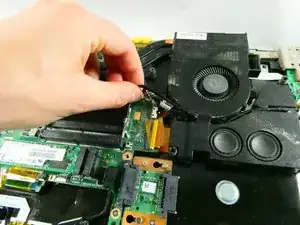
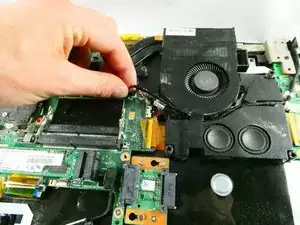
    • Detach the right fan's cord from the motherboard.

  15. fiQXw2DBKJRR3dsm
    fiQXw2DBKJRR3dsm
    5yKdWowlPsgbqfCs
    pgMnVfy5paT5CnV4
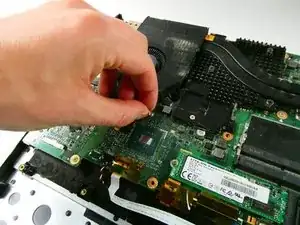
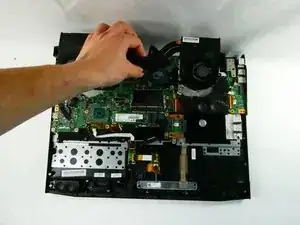
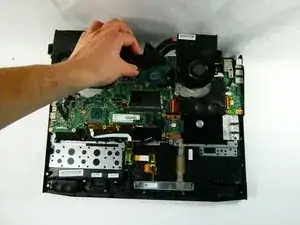
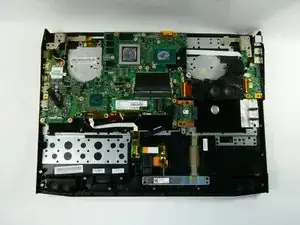
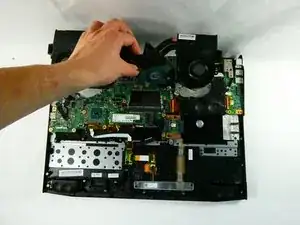
    • Lift the fan assembly up and out.

Abschluss

To reassemble your device, follow these instructions in reverse order.
Grant Maffei

Mitglied seit: 25/10/22

121 Reputation

0 Kommentare