Einleitung
Diese Anleitung wurde von iFixit-Mitarbeitern erstellt und nicht von Google unterstützt. Erfahre hier mehr zu unseren Reparaturanleitungen.
Diese Anleitung zeigt dir, wie du den Fingerabdrucksensor ausbauen und austauschen kannst.
Werkzeuge
Ersatzteile
-
-
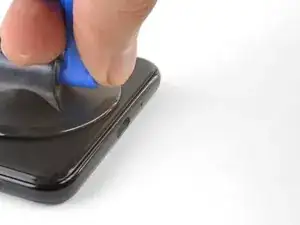
Bringe einen Saugheber am erwärmten unteren Rand der Rückseite an.
-
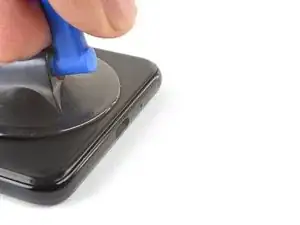
Hebe den Saugheber kräftig und gleichmäßig nach oben, bis ein Spalt entsteht.
-
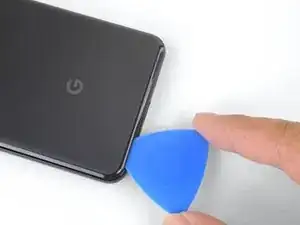
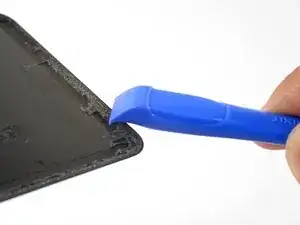
Setze ein Plektrum in den Spalt ein.
-
-
-
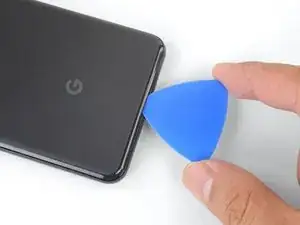
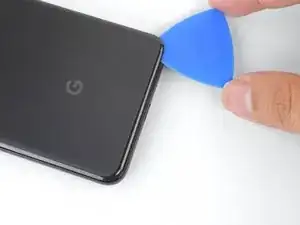
Trenne den Kleber an der Unterkante des Smartphones und um die rechte Ecke herum auf.
-
Lasse ein Plektrum in der Unterkante stecken, damit sich der Kleber nicht wieder verbindet.
-
-
-
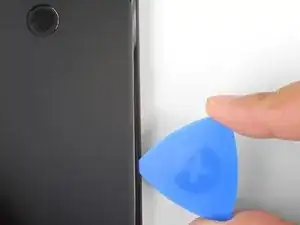
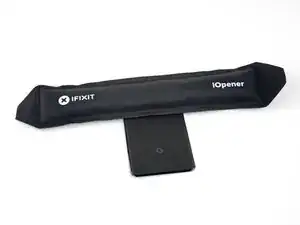
Erwärme die rechte Kante mit einem iOpener und trenne den Kleber weiter mit dem Plektrum auf.
-
-
-
Erwärme ringsherum das ganze Smartphone und trenne weiter auf. Lasse in jeder Kante ein Plektrum stecken, so dass sich der Kleber nicht wieder verbinden kann.
-
-
-
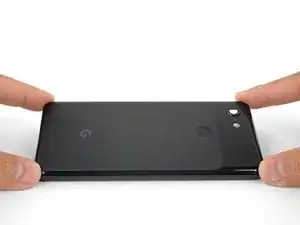
Wenn du den Kleber ringsum aufgetrennt hast, dann hebe vorsichtig die linke Kante der Rückabdeckung an.
-
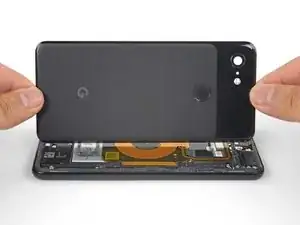
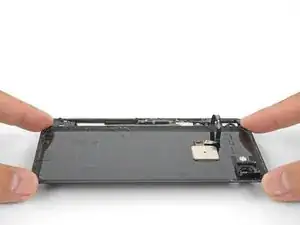
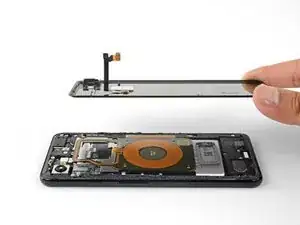
Klappe die Rückabdeckung entlang ihrer langen Achse um und lege sie so hin, dass das Kabel zum Fingerabdrucksensor nicht angespannt wird.
-
-
-
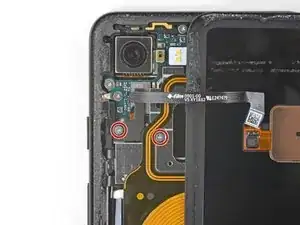
Entferne die beiden 4,1 mm Kreuzschlitzschrauben, mit denen die Halterung des Steckers des Fingerabdrucksensors befestigt ist.
-
-
-
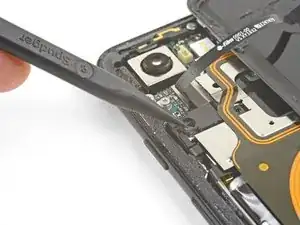
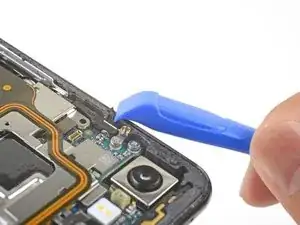
Lasse die Halterung des Fingerabdrucksensors mit der Spudgerspitze unter der NFC-Spule herausgleiten.
-
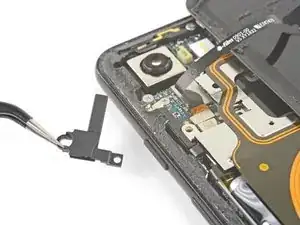
Entferne die Halterung des Fingerabdrucksensors.
-
-
-
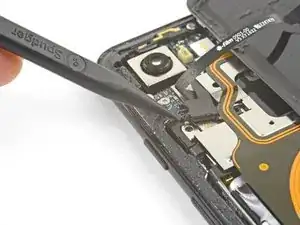
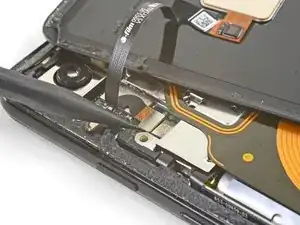
Heble den Stecker des Fingerabdrucksensors mit der Spudgerspitze hoch und löse ihn aus seinem Anschluss heraus.
-
-
-
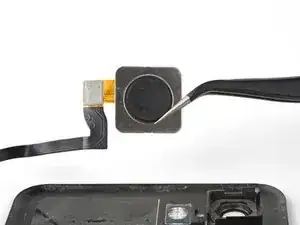
Erwärme einen iOpener und lege ihn eine Minute lang auf den Fingerabdrucksensor, um den Kleber aufzuweichen, mit dem er befestigt ist.
-
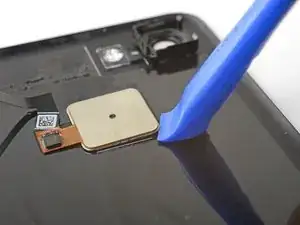
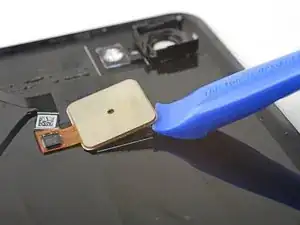
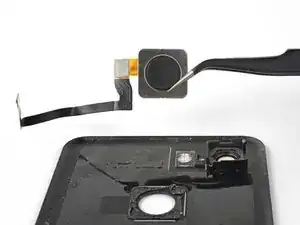
Setze die Kante eines Plastiköffnungswerkzeugs unter den Rand des Fingerabdrucksensors. Heble nach oben, bis sich der Sensor von der Rückabdeckung löst.
-
Um dein Gerät wieder zusammenzubauen, folge den Anweisungen in umgekehrter Reihenfolge.
Deine Reparatur klappte nicht, wie geplant? In unserem Google Pixel 3a Forum findest du Hilfe bei der Fehlersuche.
4 Kommentare
Is there any steps to be done on the software side? I did the replacement but I cannot see an option to setup fingerprint unlock.
Moe -
Hi Moe,
The fingerprint sensor setup should still remain the same. If you can’t any software setup option, it may mean that the phone doesn’t detect the fingerprint sensor hardware. Look over step 9 and carefully check that the connector is fully seated.
My NFC stopped working at the same time as the fingerprint sensor, because I accidentally broke the fingerprint sensor flexcable when replacing the battery.
I've now replaced the fingerprint sensor and flexcable, and it's working again -- but the NFC still doesn't work. I have no idea what to try next!
Hi Lisa!
The NFC and wireless coil attaches to the phone with spring contacts. I'd suggest checking if the contact pads clean and correctly aligned. Here's a step depicting them. Since they're spring contacts, they also require some force to keep them connected to the phone. If you have the back cover open, you can press against the area where the spring contacts are as you test to see if it's a contact issue.
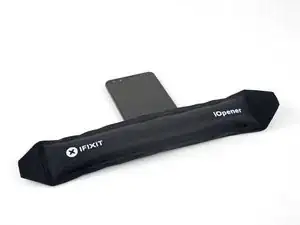


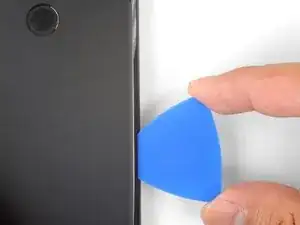
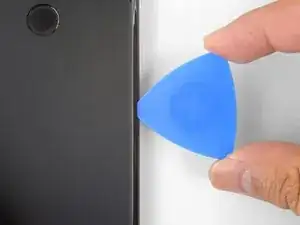
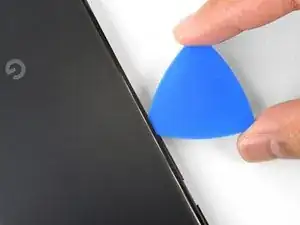
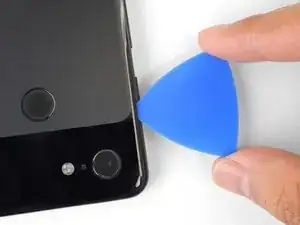
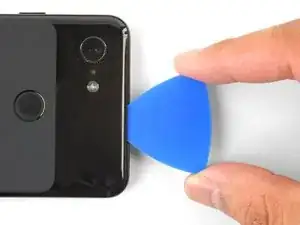


Older devices may require 2 or more minutes with a very hot iOpener. Also note, the photo shows the opener on the FRONT of the phone. The heat needs to be applied to the back of the device!
Rick Johnson -
I just realized that I was trying to pry apart the front of my Pixel 3… and have separated the class from the display. ??♂️ Even though the rest of the directions show the back, it would be nice for the first picture to also show the back, just to be safe.
JR Raith -
Agreed, I’ve done exactly the same and completely broken my display. I probably should’ve paid more attention to the initial steps before diving in but the step could do with a new picture for sure.
Daniel Fryer -
Thanks for the comments! I’ll add a note in the step warning people to make sure to pry the back cover, not the screen.
Arthur Shi -
I prefer my favorite opening method with something like this. Dental floss. So thin it can slide in the gap. A little sawing to get it far enough past the edge to lift and get the first pick in.
John Hoffstetter -
I found another wonderful tool. I used something like medicine packaging which is aluminum foil with plastic. It’s thin and strong enough!
Christie Lin -
I also went for the hairdryer, dental floss, and then the provided picks and this worked. Not easy to get that initial seal broken but once that's done the rest is pretty easy.
James -
I needed 20 nerve wracking minutes with a hairdryer
Amy schneider -
My battery had bulged and opened the case for me!
Warmed it up a bit with hairdryer
Floss helped also.
David Lincer -