Einleitung
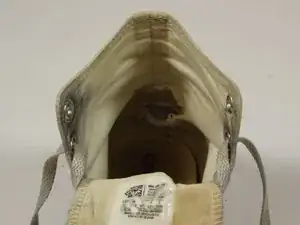
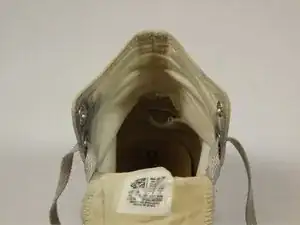
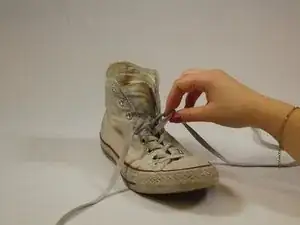
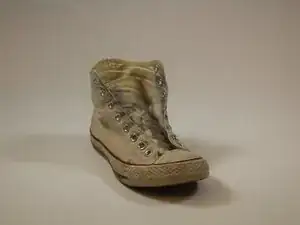
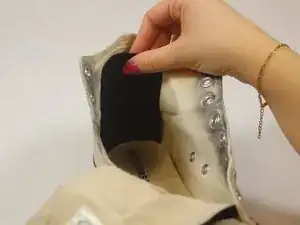
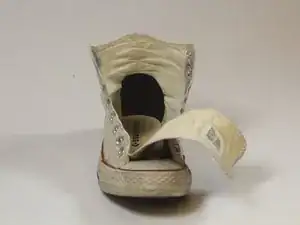
If the inner lining or guard of your canvas shoes is torn and/or exposed, use this guide to reinforce the inside of your canvas shoes.
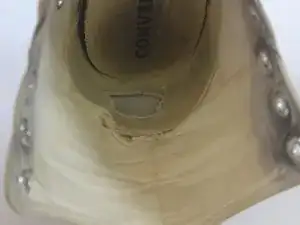
Over time repeated use and strain can cause rips and holes in the canvas. These holes, if not treated properly, can grow larger over time. The lining and heel guard may become exposed. This can cause discomfort and pain to the user. Therefore, making the shoes unwearable.
If you have noticed rips, frays, or tears in your shoes, follow this guide to solve that problem. By repairing the holes, you can extend the lifetime of your shoes and avoid having to buy a new pair immediately. With the popular demand of canvas shoes due to their flexibility and durability, you can save a lot of money using this guide to repair your canvas shoes.
Werkzeuge
-
-
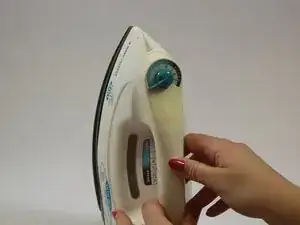
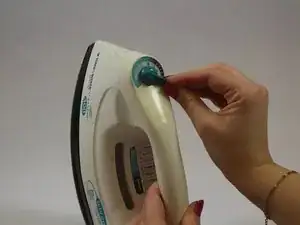
Preheat the iron to the highest setting without steam. In most cases this will be the cotton or linen setting.
-
-
-
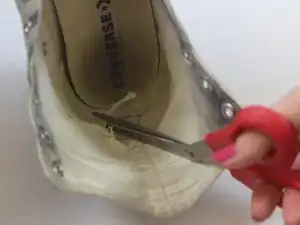
Cut away loose threads and frayed edges to leave a smooth surface for the patch to adhere to.
-
-
-
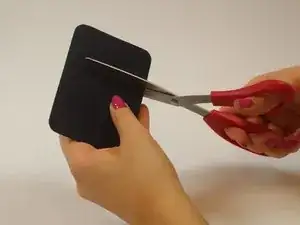
Measure and cut patch to slightly larger than the size of the hole, this can be eye-balled.
-
-
-
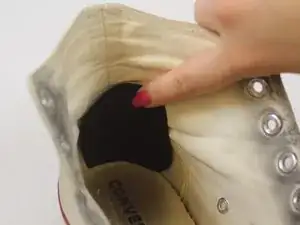
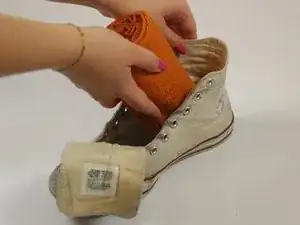
Make sure the patch is as flat as possible against the shoe.
-
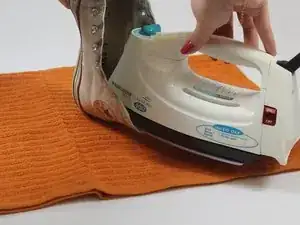
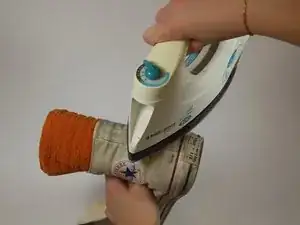
Iron over the patch for 60 seconds.
-
-
-
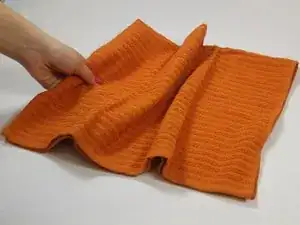
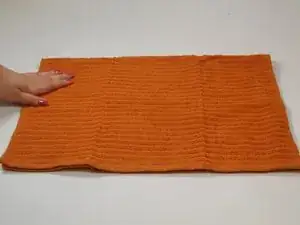
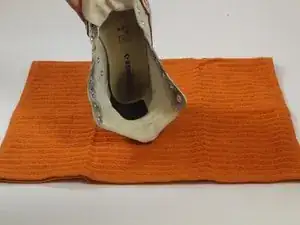
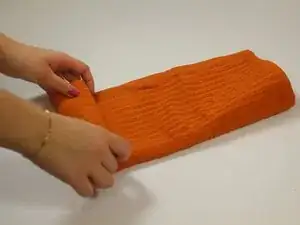
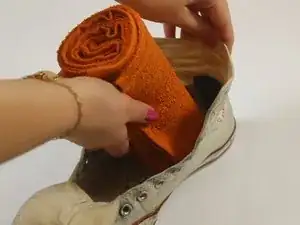
Use the rolled towel to support the shoe where you just ironed the patch.
-
Iron the location of the patch from the other side for 30 seconds.
-
Try on your shoe. If there are edges that are not flattened, iron on a lower heat for 30 seconds on those spots. Be careful not to heat the patch too much, as the glue on the patch could dry out. Once cooled, re-lace the shoe, and it will be ready to wear again!
If you desire extra security, you can reinforce your patch using this guide.
