Einleitung
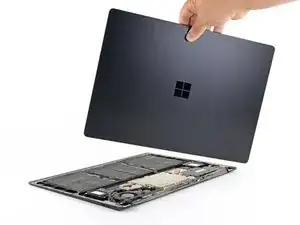
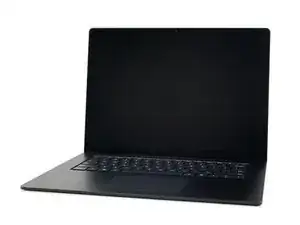
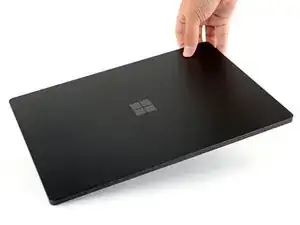
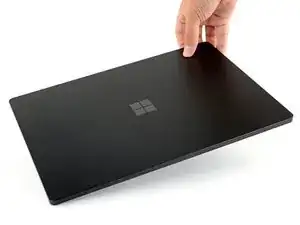
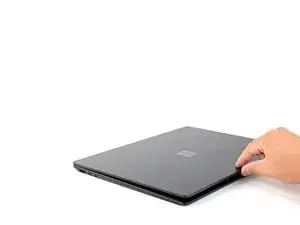
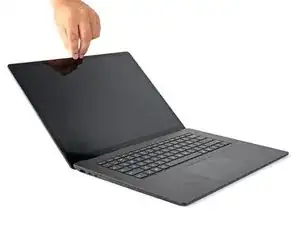
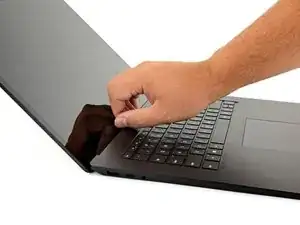
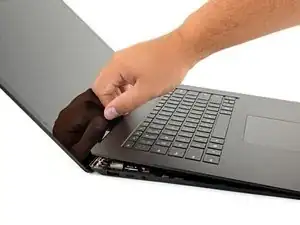
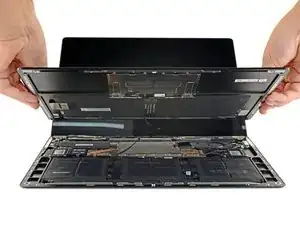
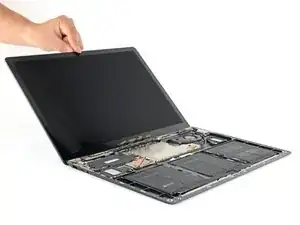
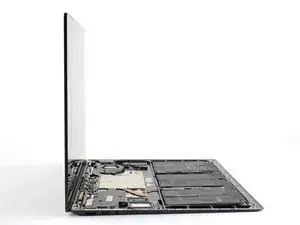
Use this guide to remove or replace the screen on a Microsoft Surface Laptop 3 (15").
Note: This guide is for replacing the entire screen assembly, not just the display panel. Make sure you have the correct replacement part before starting this procedure.
Remember: follow general electrostatic discharge (ESD) safety procedures while repairing your device.
Werkzeuge
-
-
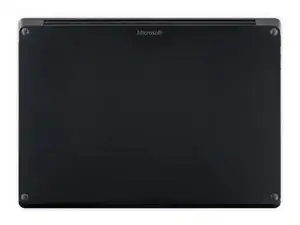
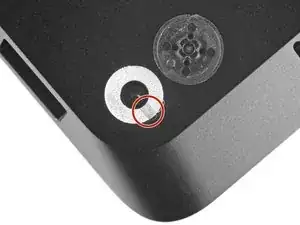
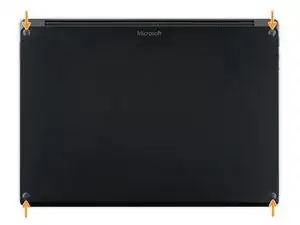
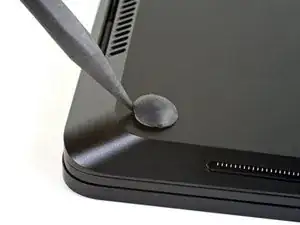
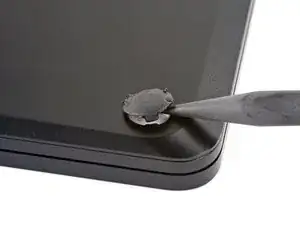
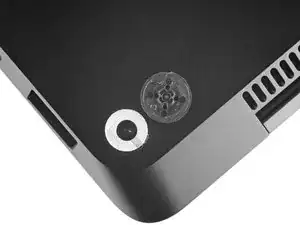
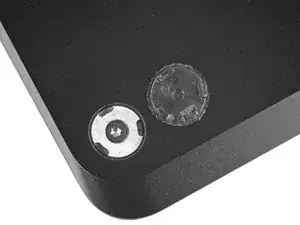
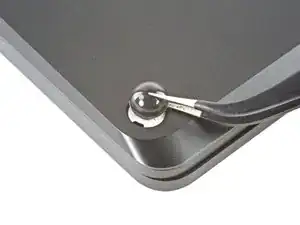
Each foot has a hidden indent that will simplify removal.
-
To make sure the spudger is in the indent, insert it at the nearest long edge, pushing parallel to the short edges of the laptop, as shown.
-
-
-
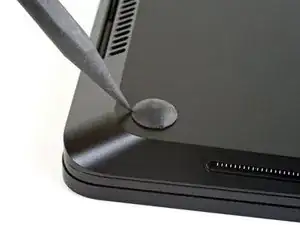
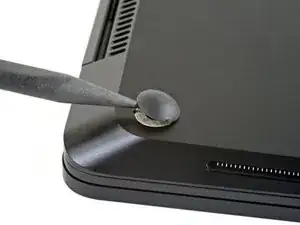
Insert the pointed end of a spudger underneath one of the two rear feet, at its rear edge.
-
Push the spudger underneath the foot and pry up to release it.
-
Repeat to remove the second rear foot.
-
-
-
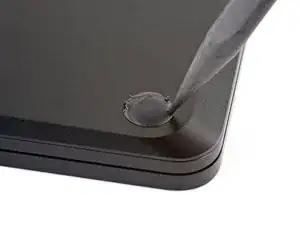
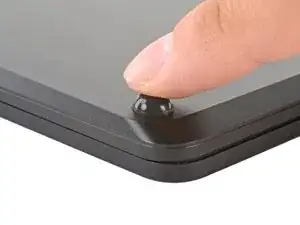
Insert the pointed end of a spudger underneath one of the two front feet, at its front edge.
-
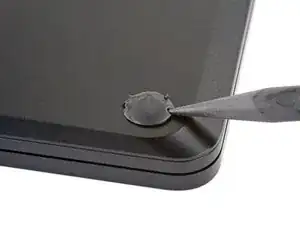
Push the spudger underneath the foot and pry up to release it.
-
Repeat to remove the second front foot.
-
-
-
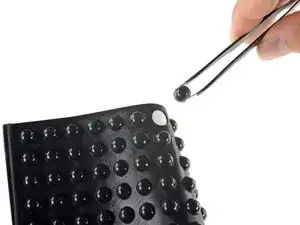
Note that the front and rear feet are different.
-
Note that the front feet are directional and only clip in one way.
-
-
-
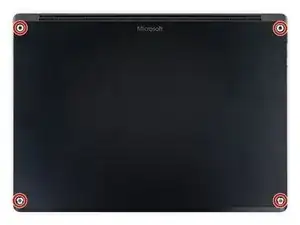
Use a T5 Torx driver to remove the four 3 mm screws in the foot cavities securing the upper case to the device.
-
-
-
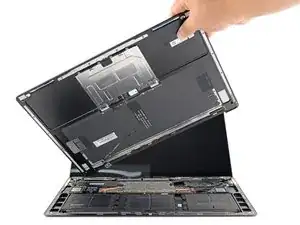
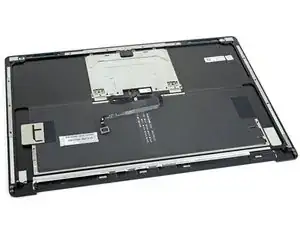
Grip the top edge of upper case above the keyboard and lift straight up to release it.
-
Lift the front edge of the upper case up and away from the laptop, taking care to not strain the keyboard and touchpad ribbon cable underneath.
-
-
-
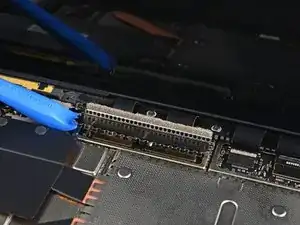
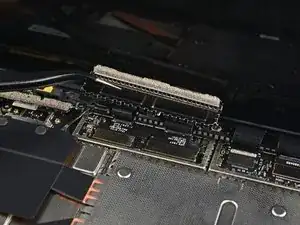
Insert the flat end of a spudger underneath one edge of the ribbon cable connector, and pry up to release it.
-
Remove the ribbon cable from the motherboard.
-
-
-
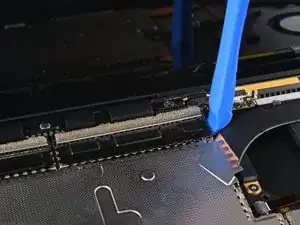
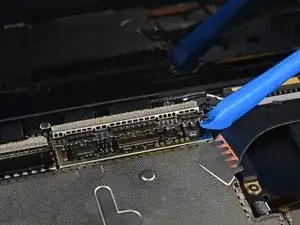
Use an opening tool to pry up the black shield covering the right bank of display connectors.
-
Repeat at different points around the shield until it becomes loose.
-
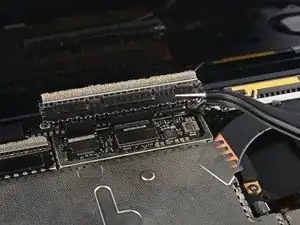
Remove the shield.
-
-
-
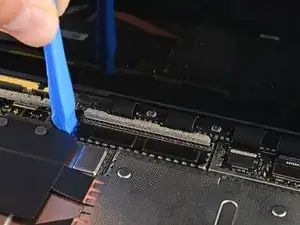
Repeat the previous step to remove the remaining shield from the left bank of display connectors.
-
-
-
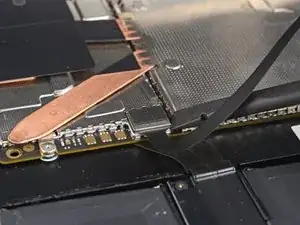
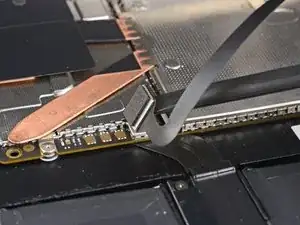
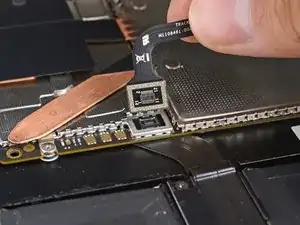
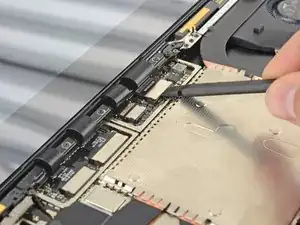
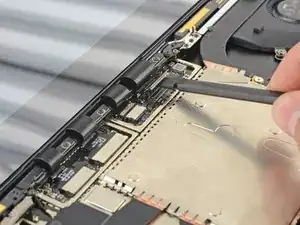
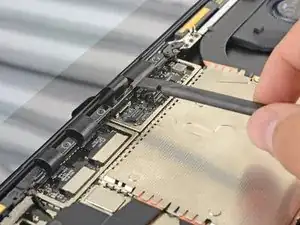
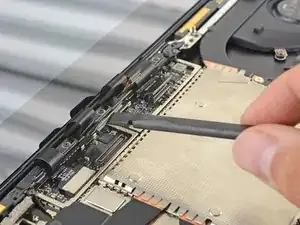
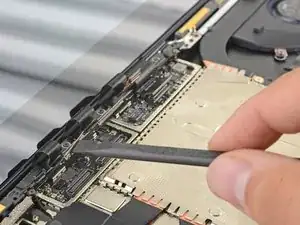
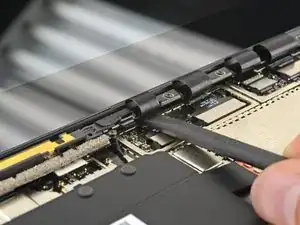
Use the flat end of a spudger to pry the first display cable up and out of its socket on the motherboard to disconnect it.
-
-
-
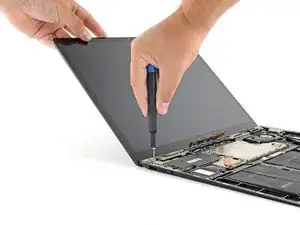
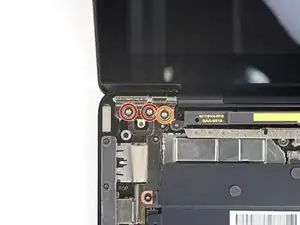
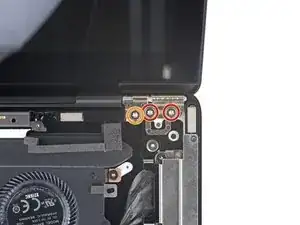
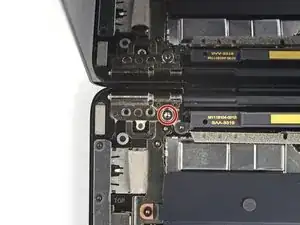
While holding the screen steady, use a T6 Torx driver to remove the four outermost 5.9 mm screws securing the screen, two on each side.
-
Leave the two innermost hinge screws in place for now, one on each side.
-
-
-
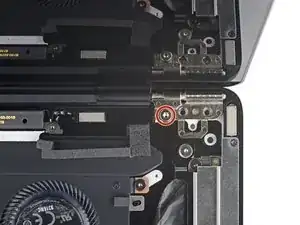
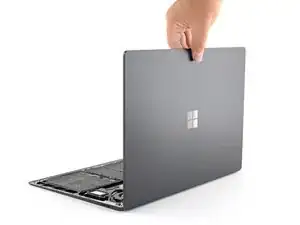
While holding the screen steady, use a T6 Torx driver to remove the two remaining 5.9 mm screws securing the screen, one on each side.
-
Compare your new replacement part to the original part—you may need to transfer remaining components or remove adhesive backings from the new part before installing.
To reassemble your device, follow the above steps in reverse order.
Take your e-waste to an R2 or e-Stewards certified recycler.
Repair didn’t go as planned? Try some basic troubleshooting or search our Answers community for help.
9 Kommentare
This is not a display replacement but just disconnecting.
So far so good! nice job!
This is not a screen replacement but rather the lid/screen/hinge assembly replacement.
Neither Microsoft nor iFixit sell the entire lid assembly (which actually includes the front camera/microphones/Windows Hello sensors). All the replacement screens I've been able to find elsewhere are just the bare screen/LCD panel.
Andrew,
Correct! This guide is for replacing the Surface Laptop 3's entire 15" screen assembly. Keep an eye out for a standalone display panel guide in the future—in the meantime, happy fixing!
Hi,
I've got a 15" model with a cracked screen too.
I'm also struggling for a guide.
I have seen a guide for the 13.5" model: Microsoft Surface Laptop 3 13.5" LCD Assembly Replacement
It looks similar and it might help.
I have seen a youtube video but I have no idea who they were able to separate the screen with a heat gun so fast:
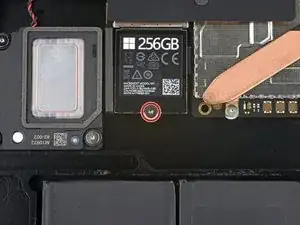
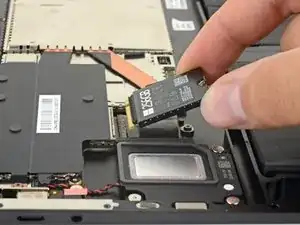
Both of the guides you've linked miss a pretty crucial step - SSD removal that acts as a battery disconnect as per Step 13 of the guide above:
Microsoft Surface Laptop 3 15" Screen Replacement
In their defence though Microsoft shouldn't have been that quirky and just let us explicitly disconnect the battery from the top side of the motherboard.
