Einleitung

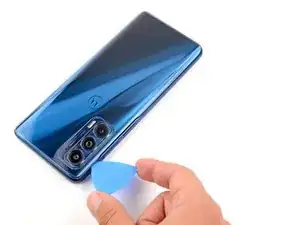
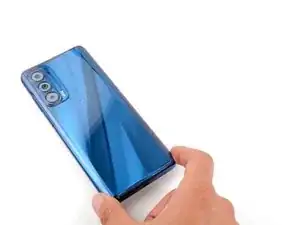
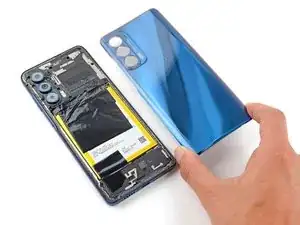
Use this guide to remove or replace the back cover on your Motorola Edge 5G UW (2022).

You'll need replacement adhesive to complete this repair.

  1. xLsBXZmv3ogqEF6j
    • Completely power off your phone before you begin.

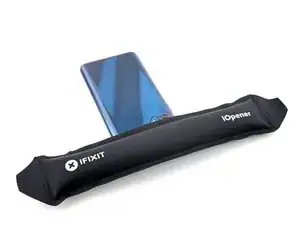
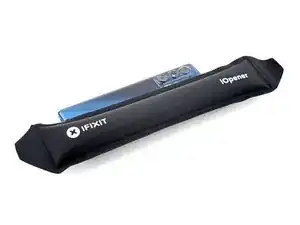
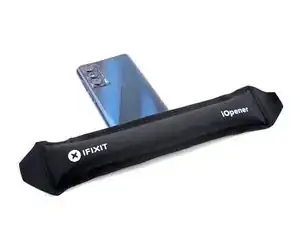
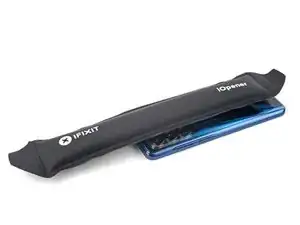
    • Heat an iOpener and apply it to the back cover's left edge for two minutes.

    • A hair dryer, heat gun, or hot plate may also be used, but be careful not to overheat the phone—the back cover and internal battery are both susceptible to heat damage.

  2. LxWYySKdhlpcRZDA
    LxWYySKdhlpcRZDA
    YIWiKq4niHBDpDAf
    POUjAwPLS55yqcUu
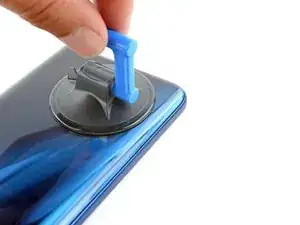
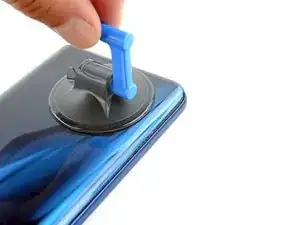
    • Apply a suction cup to the back of the phone, as close to the bottom left corner as possible.

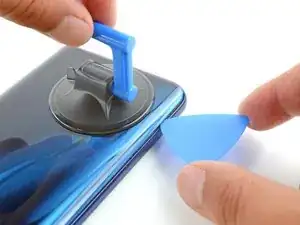
    • Pull up on the suction cup with a strong, steady force to create a gap between the back cover and the midframe on the left edge.

    • Depending on the age of your phone, this may be difficult. If you're having trouble, apply more heat to the edge and try again.

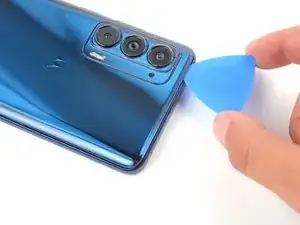
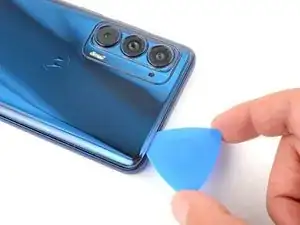
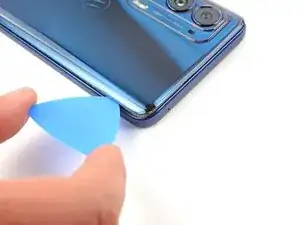
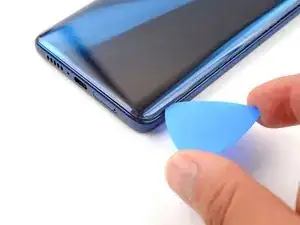
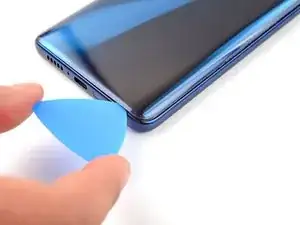
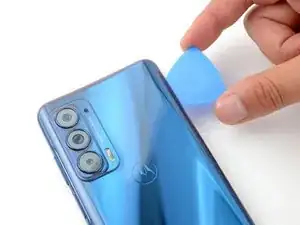
    • Insert an opening pick into the gap.

  3. 6w2XkMWTYUkLx2oP
    6w2XkMWTYUkLx2oP
    XPDlT6yX2kSsaVeX
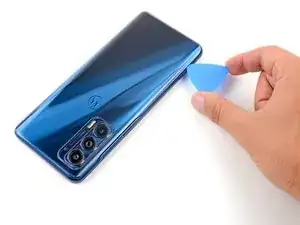
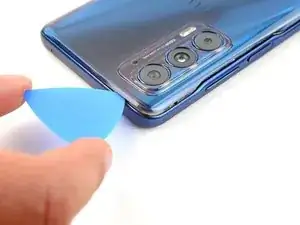
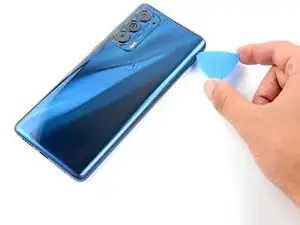
    • Slide the pick along the left edge of the phone to slice the adhesive securing the back cover to the frame.

    • Leave the pick inserted in the top left corner to prevent the adhesive from resealing.

  4. qBSEvvlSyjfhD5fw
    • Apply a heated iOpener to the back cover's top edge for two minutes.

  5. 51hOuBRIw5bbPJV6
    51hOuBRIw5bbPJV6
    lxGuUCk5DJaSI2AV
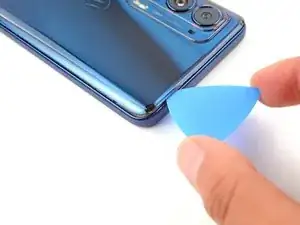
    • Rotate the pick around the top left corner to slice the adhesive.

  6. mTSNowaDZoqOYLsn
    mTSNowaDZoqOYLsn
    cEJxNRq3lyjHErUP
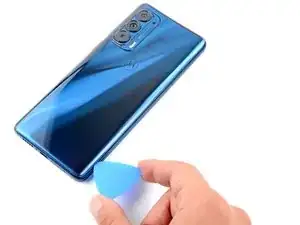
    • Slide the pick along the top edge to slice the adhesive.

    • Leave the opening pick inserted in the top right corner to prevent the adhesive from resealing.

  7. NYbRlOVptKIU3vHf
    • Apply a heated iOpener to the back cover's right edge for two minutes.

  8. vQVMtqMGTRFEeQVb
    vQVMtqMGTRFEeQVb
    YYCUq2sKV6sUxywe
    • Rotate the pick around the top right corner to slice the adhesive.

  9. AXCyIkQUnDq5QrR2
    AXCyIkQUnDq5QrR2
    Y5yUEXYKXfytqMil
    • Slide the pick along the right edge to slice the adhesive.

    • Leave the pick inserted in the bottom right corner to prevent the adhesive from resealing.

  10. KHbEQJ51uAKLKcWL
    • Apply a heated iOpener to the back cover's bottom edge for two minutes.

  11. ixNvqXlOTImv5Fyg
    ixNvqXlOTImv5Fyg
    CN1j44mVUpCIG1XE
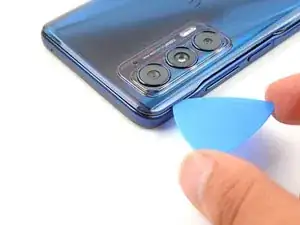
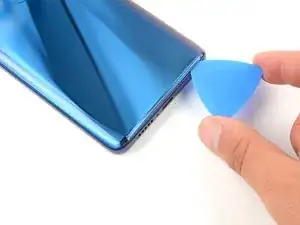
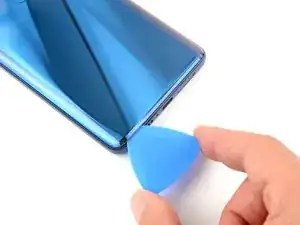
    • Rotate the pick around the bottom right corner to slice the adhesive.

  12. HS1J6HJmiqSEAY2l
    HS1J6HJmiqSEAY2l
    ESbXuVFOCoH5ykQZ
    • Slide the pick along the bottom edge to slice the adhesive.

  13. FhLQ3xTuJSOMV3IV
    FhLQ3xTuJSOMV3IV
    PLPBCbvXFP2txS3m
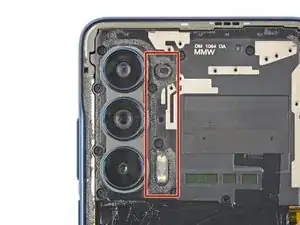
    • There's a significant amount of adhesive to the right of the cameras that secures the back cover to the motherboard cover.

    • Apply a heated iOpener to the right of the cameras for two minutes.

  14. Cx3crU3YPxvZiHot
    Cx3crU3YPxvZiHot
    yaHxkPGLpX1yH6MN
    • Insert an opening pick between the back cover and motherboard cover on the top right edge.

    • Gently pull up on the back cover while sliding the opening pick back and forth along the right side of the cameras to slice the adhesive.

    • The back cover should detach from the phone at this point.

  15. DyXbbpLyDeEbYvaI
    DyXbbpLyDeEbYvaI
    P3HyJtxCJpqPgaLA
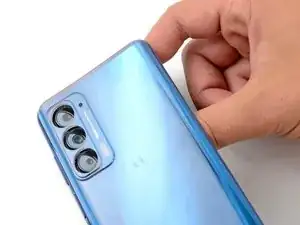
    • Lift the back cover from the phone and remove it.

    • If the back cover is still stuck to the midframe, slide an opening pick around the edges of the phone until the cover separates completely.

    • During reassembly:

    • This is a good point to test your phone's functionality before sealing it up. Use this guide to run a hardware test. Be sure to power your phone back down completely before you continue working.

    • Follow this guide to replace the back cover adhesive.

Abschluss

To reassemble your device, follow the instructions in reverse order.

Take your e-waste to an R2 or e-Stewards certified recycler.

Repair didn’t go as planned? Try some basic troubleshooting, or ask our Answers community for help.
Spencer Day

Mitglied seit: 14/09/22

17445 Reputation

0 Kommentare