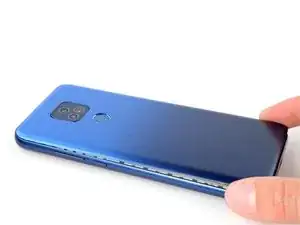
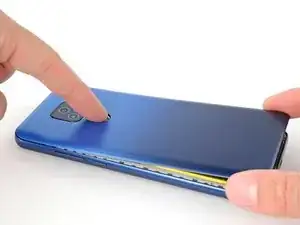
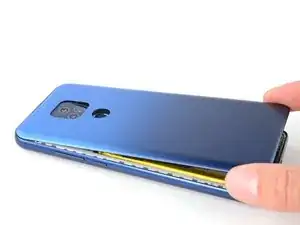
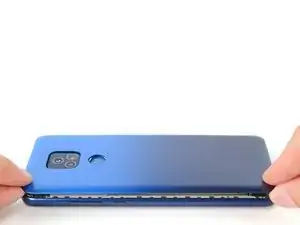
Einleitung

This is a prerequisite-only guide! This guide is part of another procedure and isn't meant to be used alone.

  1. byDqSDo4rONRYCgL
    byDqSDo4rONRYCgL
    nPuuXgLfWLBemsnm
    opLMXDAeakxmAadD
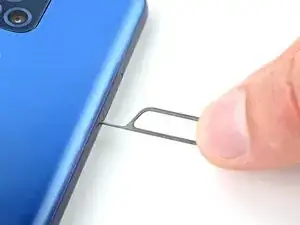
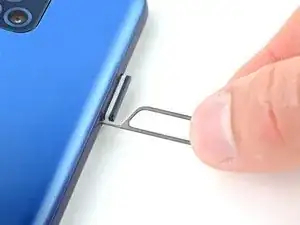
    • Insert a SIM card eject tool or a straightened paperclip into the hole adjacent to the SIM card tray.

    • Press firmly to eject the tray.

    • The SIM card may fall out.

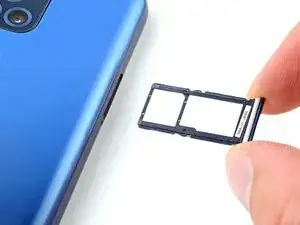
    • Grab and remove the SIM card tray from the phone.

    • Reinsert the SIM card tray with the SIM card recess facing the screen.

  2. qgQ1lHBRnuCrMf4A
    • Discharge your battery to 25% or lower and power off your phone before you begin.

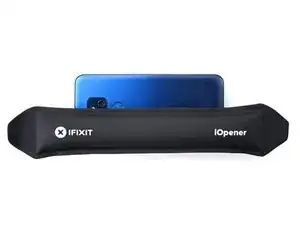
    • Heat an iOpener and apply it to the left edge of the cover for two minutes.

    • A hair dryer or heat gun may also be used, but be careful not to overheat the phone—the display and internal battery are both susceptible to heat damage.

  3. kBSAWhijB31MWsUt
    kBSAWhijB31MWsUt
    tfVQLJVGTNtuigH2
    133WPNrZdCOAOXYg
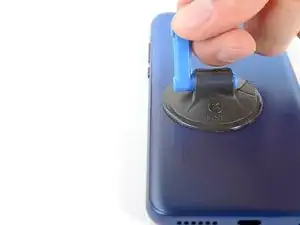
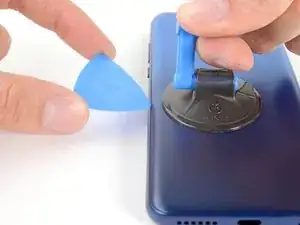
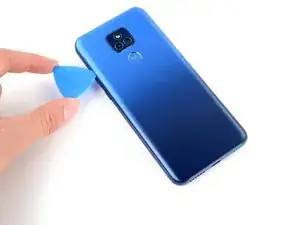
    • Apply a suction cup to the back cover, as close to the center of the left edge as possible.

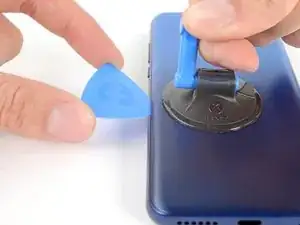
    • Pull up on the suction cup with strong, steady force to create a gap between the cover and the frame.

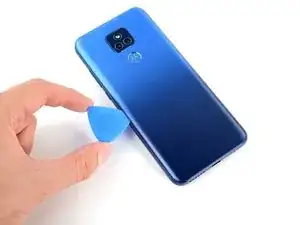
    • Insert an opening pick into the gap.

  4. jTCbwSHbPbJjmxoi
    jTCbwSHbPbJjmxoi
    UKi1UMeCaXbJSvMg
    VbCijygl1nakCe41
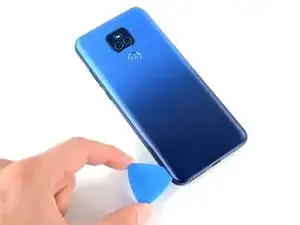
    • Slide your opening pick back and forth along the left edge to slice through the adhesive.

    • Leave the pick in at the bottom left corner to prevent the adhesive from resealing.

  5. n3vVVrshSlhKUOo5
    n3vVVrshSlhKUOo5
    ZjQGODHwtoSQJWQ6
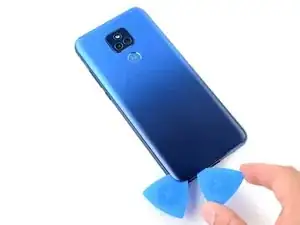
    • Insert and slide a second opening pick to the bottom right corner to slice through the adhesive.

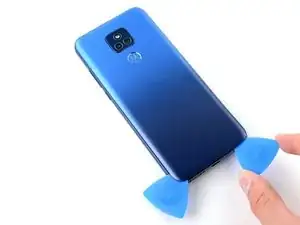
    • Leave the pick inserted to prevent the bottom edge from resealing.

    • Repeat this process for the right and top edges of the cover.

  6. uqQuRoos4vFKrKGB
    uqQuRoos4vFKrKGB
    U6MYCaXqBWNMGBL1
    UXJHlk2FMdHpxxHA
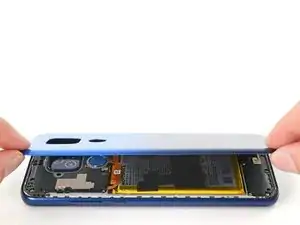
    • The fingerprint reader is connected to the motherboard by a fragile cable. You must free it before pulling the cover off.

    • Grab and lift the bottom edge of the cover.

    • As you lift the back cover, press and unstick the fingerprint reader from it.

  7. DyJLOQrMUIsErS3b
    DyJLOQrMUIsErS3b
    ebyguh2aDUOGFdkF
    laQRGQXtRLeTren4
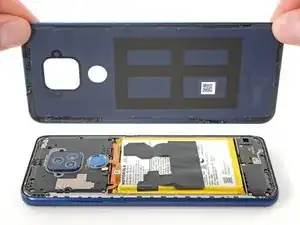
    • Grab and remove the back cover.

    • If your back cover is still sticking to the frame, slide the pick around the edges of the phone to slice through any remaining adhesive.

    • Reassembly notes:

    • This is a good point to test your phone before sealing it up. Follow this guide to perform a hardware test. Be sure to power your phone back down completely before you continue working.

    • To adhere the back cover with custom-cut adhesives, follow this guide.

    • To adhere the back cover with tape, follow this guide.

  8. Y6aCq5DFtLBKpJuw
    Y6aCq5DFtLBKpJuw
    hH3NfEPeHxcCKKMk
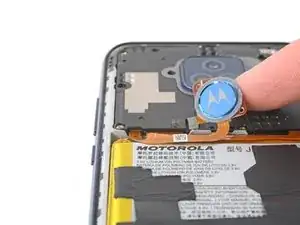
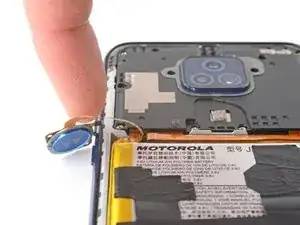
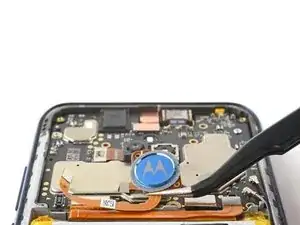
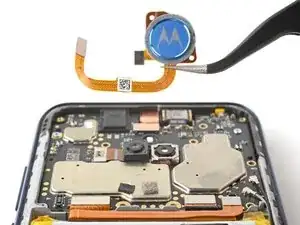
    • Flip the fingerprint reader to the left, away from the phone.

    • Don't fold or sharply bend the ribbon cable.

  9. vuhLCmIG1PmKIQMS
    vuhLCmIG1PmKIQMS
    dtBoOYajXXhpjCyY
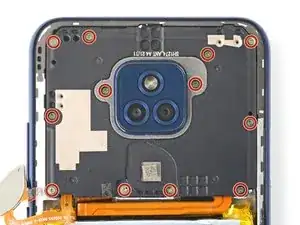
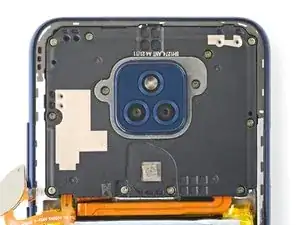
    • Use your Phillips screwdriver to remove the twelve 3.9 mm-long screws securing the motherboard cover.

  10. X4ow4ygsRaka22s1
    X4ow4ygsRaka22s1
    RKqLJXDNgPqqWOuO
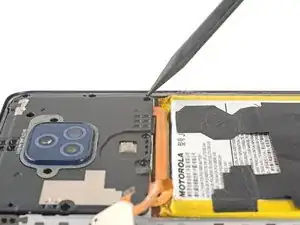
    • Insert the pointed end of a spudger between the bottom right corner of the motherboard cover and the frame.

    • Pry the cover upward until you can grab it with your fingers.

  11. rQ4c34OHNEGUOTtd
    rQ4c34OHNEGUOTtd
    MFcjhoSCZEHqgExO
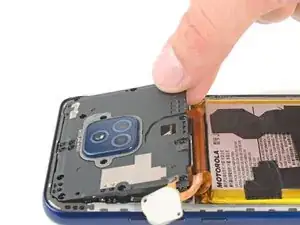
    • Grab the bottom edge of the motherboard cover and remove it from the frame.

  12. EFFHRxF5emOtURkC
    EFFHRxF5emOtURkC
    x4rrLgshsKlcJWcC
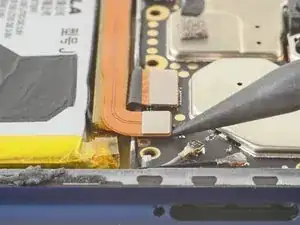
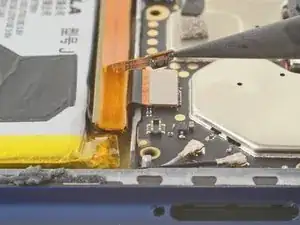
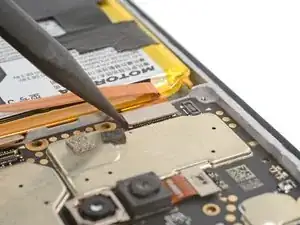
    • Use the pointed end of your spudger to pry and disconnect the battery's press connector.

    • To re-attach press connectors, carefully align and press down on one side until it clicks into place, then repeat on the other side. Don't press down on the middle. If the connector is misaligned, the pins can bend and cause permanent damage.

  13. AVteICXoiV1jS3ow
    AVteICXoiV1jS3ow
    NPjDMNxyRSRsxGVj
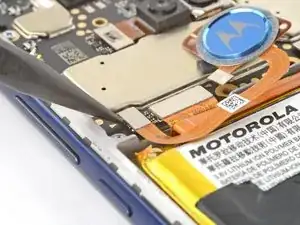
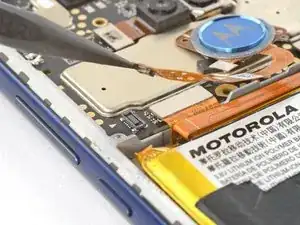
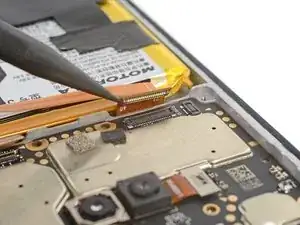
    • Use the pointed end of your spudger to pry and disconnect the fingerprint reader's press connector.

    • The gold arrow indicates the direction to pry from.

  14. P6ROhipdikMYXcWX
    P6ROhipdikMYXcWX
    Sx1cvawo1HBlCdPL
    • Use your fingers or tweezers to remove the fingerprint reader.

    • Be careful while handling the fragile ribbon cable.

  15. T34l15UFqfyGrSNI
    T34l15UFqfyGrSNI
    yBZN2R3NJVP3xX6V
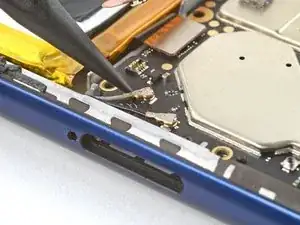
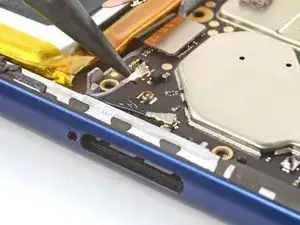
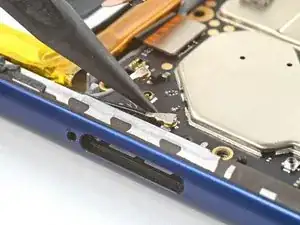
    • Use the pointed end of your spudger to pry and disconnect the gray antenna cable.

    • Pry on the metal head of the connector only. Avoid lifting the cable itself as much as possible.

    • During reassembly, these can be tricky to reconnect. Hold the connector in place over its socket and press down with the flat end of a spudger. The connector should snap into place.

  16. hS2xoxeCenfkoVtw
    hS2xoxeCenfkoVtw
    UfkRKpP1PPoRpIUV
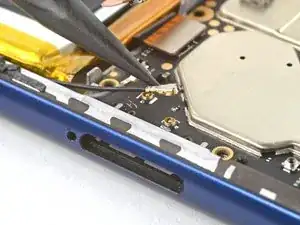
    • Repeat the previous step for the black antenna cable.

  17. ddM4gVJoJuPIF1FH
    ddM4gVJoJuPIF1FH
    nDNAHsjUg1OLaBNM
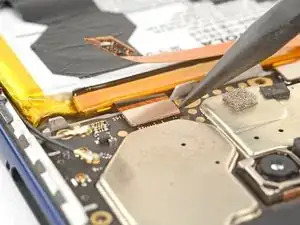
    • Use the pointed end of your spudger to pry and disconnect the board cable's press connector.

  18. UgrXYtkoOCiDaAqF
    UgrXYtkoOCiDaAqF
    KxwnpHxLIp6FxxiW
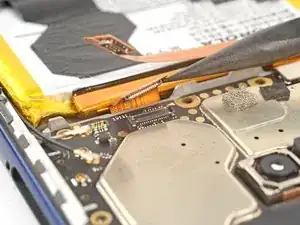
    • Use the pointed end of your spudger to pry and disconnect the display's press connector.

  19. 5ZwAbkibxiIPqajy
    5ZwAbkibxiIPqajy
    wpLa4bqqQJly5whJ
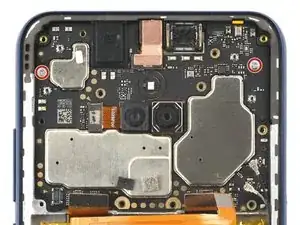
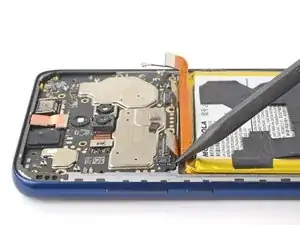
    • Use your Phillips screwdriver to remove the two 2.5 mm-long screws securing the motherboard.

  20. vnXUh4xVOGn2PrTU
    vnXUh4xVOGn2PrTU
    LDhfN1JT2pfKc63E
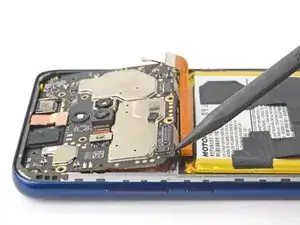
    • Insert the pointed end of your spudger between the bottom left edge of the motherboard and the frame.

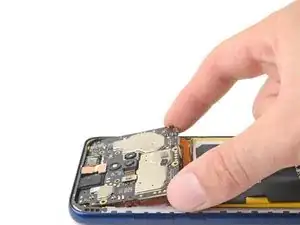
    • Lift the motherboard from its recess.

    • Be sure the loose cables don't catch on the motherboard as it's removed.

  21. dGlX42baKMriLhSa
    dGlX42baKMriLhSa
    BIIBAhrFwHug4p2C
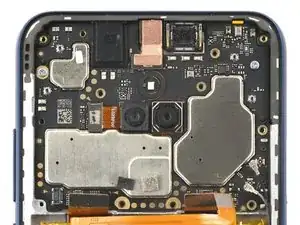
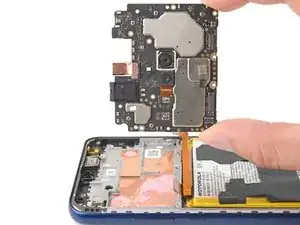
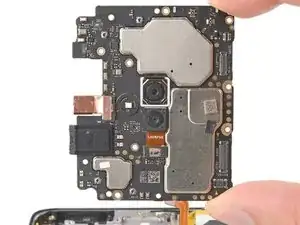
    • Grab the motherboard by its bottom corners and remove it.

    • During reassembly, make sure no cables or connectors become trapped underneath the motherboard.

  22. TctAsBVwVQNUHevd
    TctAsBVwVQNUHevd
    bF2WqoF3pHWoZbvA
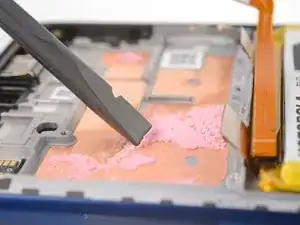
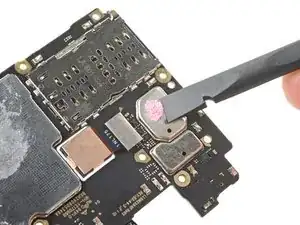
    • Follow this guide to remove excess thermal paste and prepare the frame and motherboard for reassembly.

Abschluss

To reassemble your device, follow these instructions in reverse order.
Clay Eickemeyer

Mitglied seit: 19/09/22

23447 Reputation

0 Kommentare