Einleitung
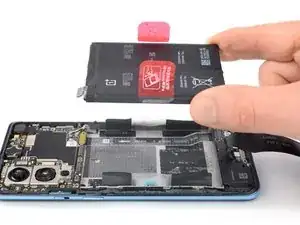
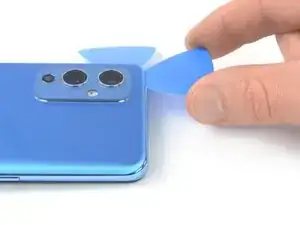
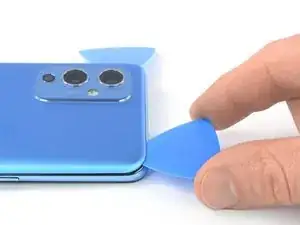
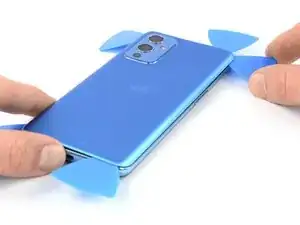
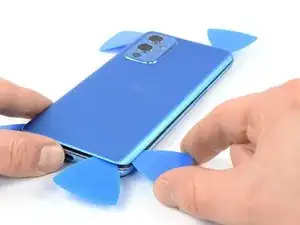
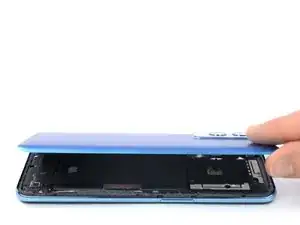
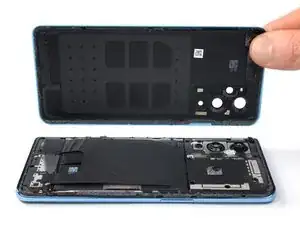
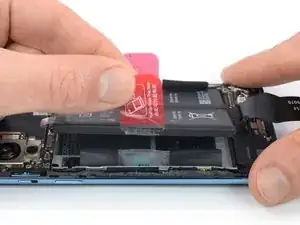
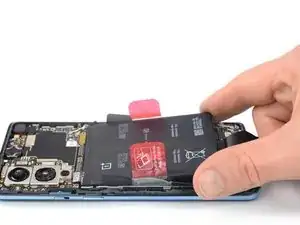
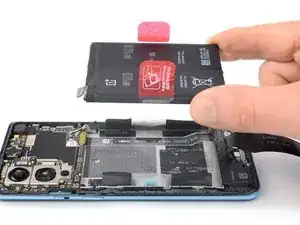
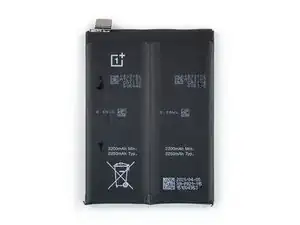
Use this guide to replace the battery in your OnePlus 9 5G.
For your safety, discharge the battery below 25% before disassembling your phone. This reduces the risk of fire if the battery is accidentally damaged during the repair. If your battery is swollen, take appropriate precautions.
It isn't mandatory to remove the daughterboard cover and the interconnect cable in order to replace the battery. However, doing so reduces the risk of damaging surrounding components. If you're experienced in repairs and decide not to do so, deal with the interconnect cable like with the charging port cable in step 25 of this guide.
You'll need replacement adhesive for the battery and the rear glass in order to complete this repair.
Note: Retaining water resistance after the repair depends on how clean the mating surfaces are and how accurately the adhesive is reapplied. Your device will lose its factory-given IP (Ingress Protection) rating, however, only the T-Mobile versions of the OnePlus 9 5G offer an IP rating.
Werkzeuge
Ersatzteile
-
-
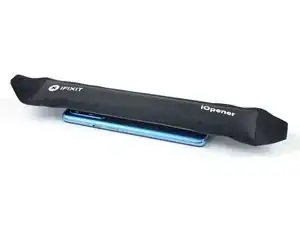
Prepare an iOpener and apply it to the rear glass for at least three minutes to loosen the adhesive underneath.
-
-
-
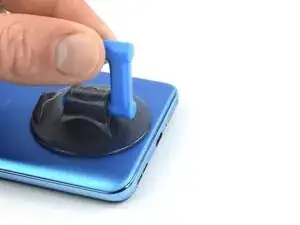
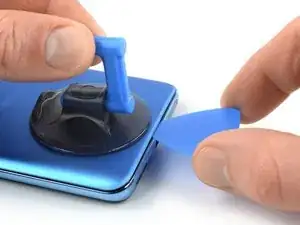
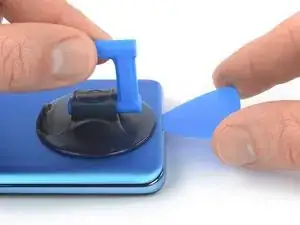
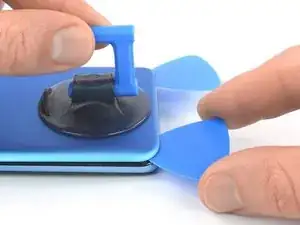
Apply a suction handle to the rear glass, as close to the bottom edge as possible.
-
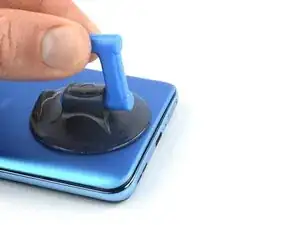
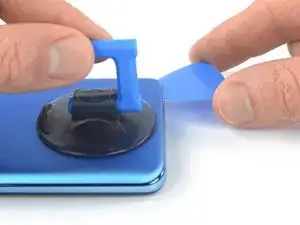
Pull up on the suction handle with strong, steady force to create a gap between the glass and the frame.
-
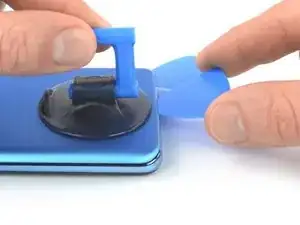
Insert an opening pick into the gap.
-
-
-
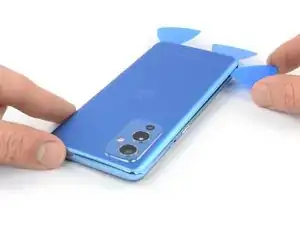
Slide the opening pick to the bottom right corner to slice the adhesive.
-
Leave the opening pick in place to prevent the adhesive from resealing.
-
-
-
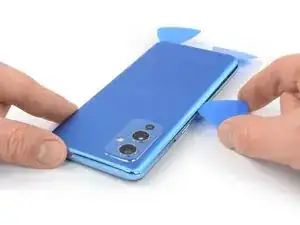
Insert a second opening pick underneath the bottom edge of the rear glass.
-
Slide the opening pick to the bottom left corner to slice the adhesive.
-
Leave the opening picks in place to prevent the adhesive from resealing.
-
-
-
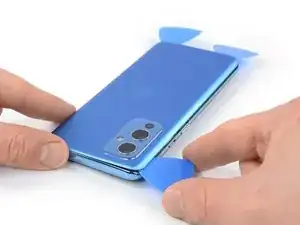
Insert a third opening pick underneath the bottom left corner of the rear glass.
-
Slide the opening pick along the left edge of your phone to slice the adhesive.
-
Leave the opening pick in the top left corner to prevent the adhesive from resealing.
-
-
-
Insert a fourth opening pick underneath the top left corner of the rear glass.
-
Slide the opening pick along the top edge to slice the adhesive.
-
Leave the opening pick in the top right corner to prevent the adhesive from resealing.
-
-
-
Insert a fifth and final opening pick underneath the top right corner of the rear glass.
-
Slide the opening pick along the right edge of the back cover to slice the remaining adhesive.
-
-
-
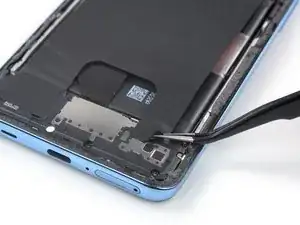
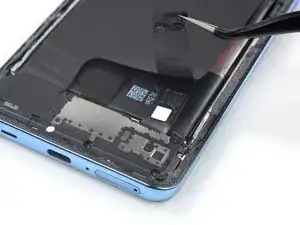
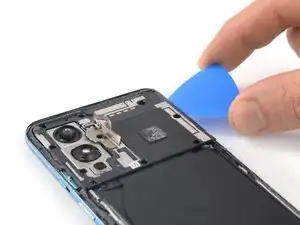
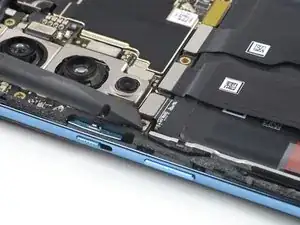
Use a pair of tweezers to carefully peel the bottom right corner of the charging coil tape off of the daughterboard cover.
-
-
-
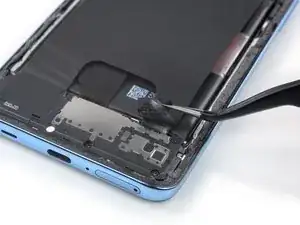
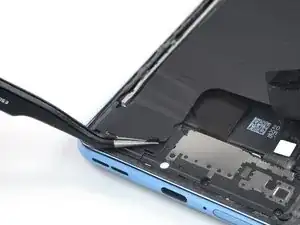
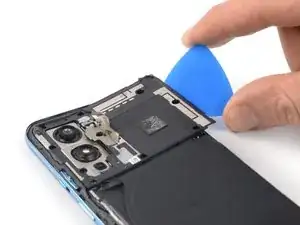
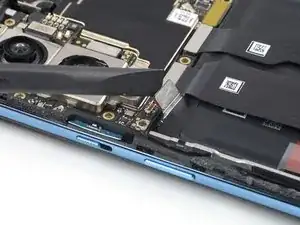
Use a pair of tweezers to carefully peel the bottom left corner of the charging coil tape off of the loudspeaker.
-
-
-
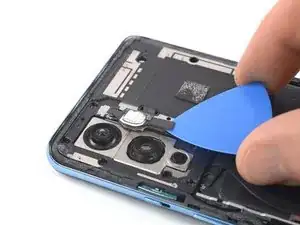
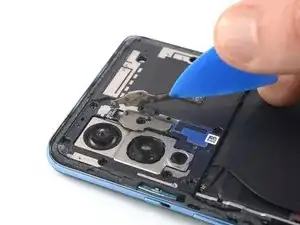
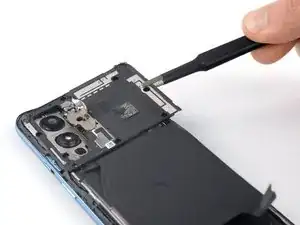
Carefully slide an opening pick underneath the bottom edge of the flash assembly.
-
Use your opening pick to pry up the flash assembly.
-
-
-
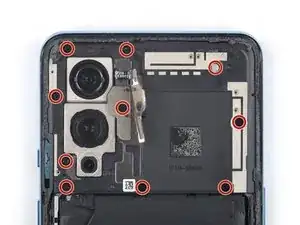
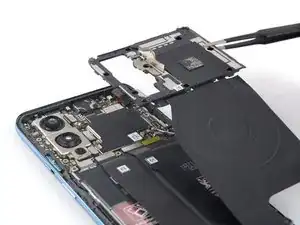
Use a Phillips screwdriver to remove the ten 3.8 mm-long screws securing the motherboard cover.
-
-
-
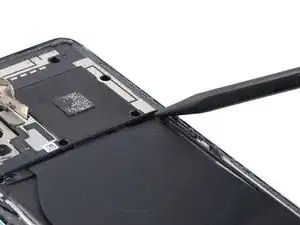
Insert a spudger underneath the bottom right edge of the motherboard cover.
-
Pry upwards to loosen the motherboard cover and create a gap.
-
-
-
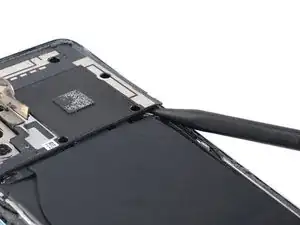
Insert an opening pick underneath the bottom right edge of the motherboard cover.
-
Slide the opening pick up along the right edge of the motherboard cover.
-
Twist the opening pick to release the plastic clips and pry up the motherboard cover.
-
-
-
Use a spudger to disconnect the battery cable by prying the connector straight up from its socket on the bottom left corner of the motherboard.
-
-
-
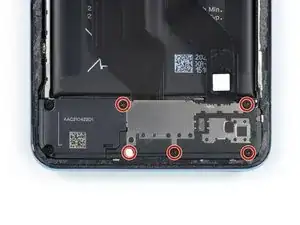
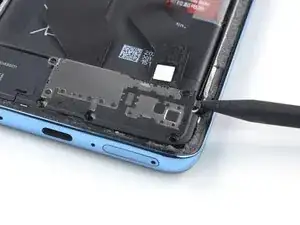
Use a Phillips screwdriver to remove the five 3.8 mm-long screws securing the daugtherboard cover.
-
-
-
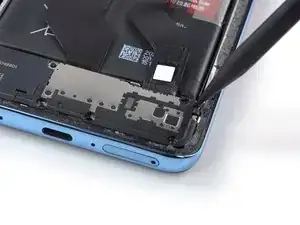
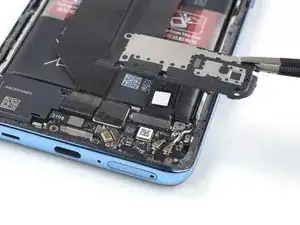
Insert the point of a spudger underneath the top right edge of the daughterboard cover.
-
Pry upwards to loosen the daughterboard cover.
-
-
-
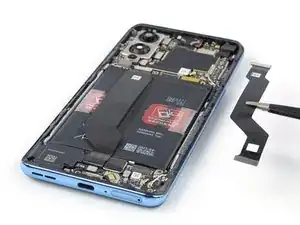
Use a spudger to disconnect the interconnect cable from the motherboard by prying the connector straight up from its socket.
-
-
-
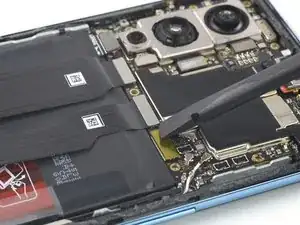
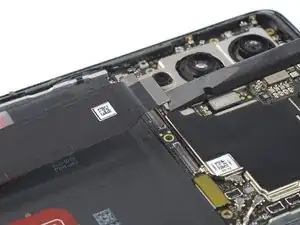
Slide one arm of a pair of tweezers underneath the metal bracket covering the interconnect cable.
-
Use your tweezers to lift and unhinge the metal bracket.
-
Remove the metal bracket.
-
-
-
Use a spudger to disconnect the interconnect cable from the daughterboard by prying the connector straight up from its socket.
-
-
-
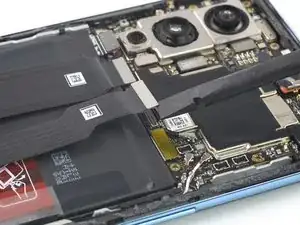
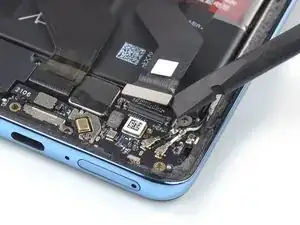
Use a spudger to disconnect the charging port cable by prying the connector straight up from its socket on the bottom edge of the motherboard.
-
-
-
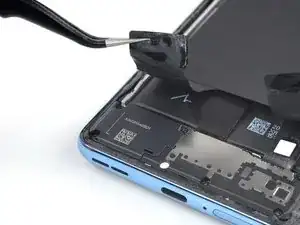
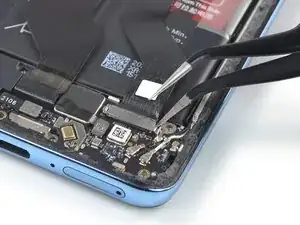
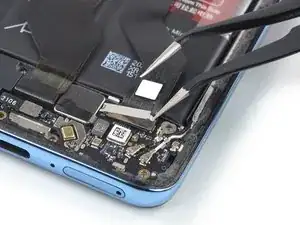
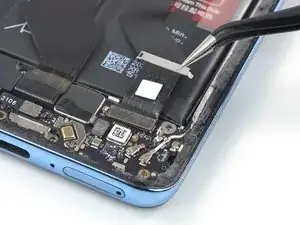
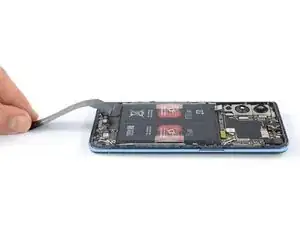
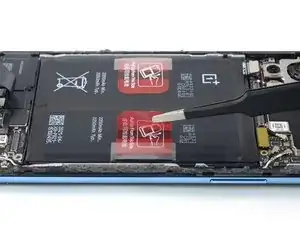
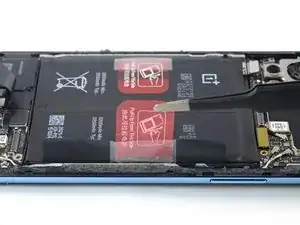
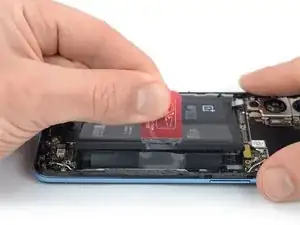
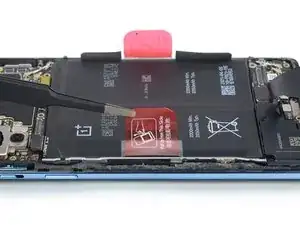
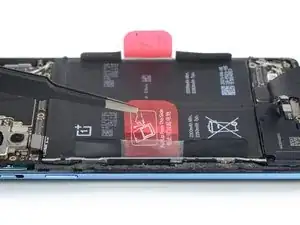
Use a pair of blunt nose tweezers to peel the right pull tab off of the battery until you can grip it with your fingers.
-
-
-
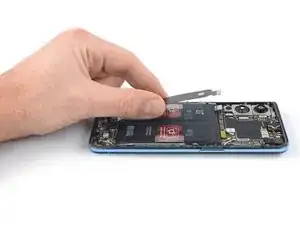
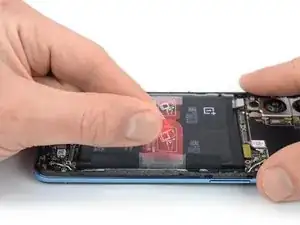
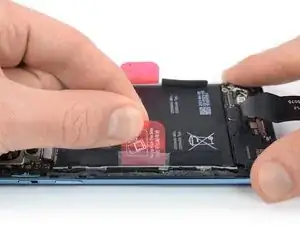
Grab and lift the right pull tab to remove the right side of the battery from its recess.
-
-
-
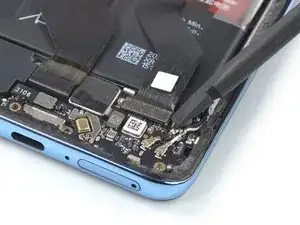
Use a pair of blunt nose tweezers to peel the left pull tab off of the battery until you can grip it with your fingers.
-
To reassemble your device, follow these instructions in reverse order.
During reassembly, apply new adhesive where it's necessary after cleaning the relevant areas with isopropyl alcohol (>90%).
For optimal performance, calibrate your newly installed battery after completing this guide.
Take your e-waste to an R2 or e-Stewards certified recycler.
Repair didn’t go as planned? Try some basic troubleshooting, or ask our OnePlus 9 5G answers community for help.
