Einleitung

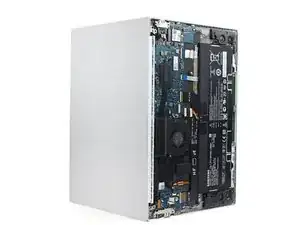
Use this guide to replace the screen in your Galaxy Book Pro 15" Laptop with a genuine Samsung part.

This guide is written for the genuine Samsung screen. The screen consists of the display, WLAN antenna, and front-facing camera all in one part. Be sure you have the right part before you begin the repair.

Before you begin, refer to the Samsung PC Repair Guide for safety information.

For your safety, discharge the battery below 25% before disassembling your device. This reduces the risk of a thermal event if the battery is accidentally damaged during the repair. If your battery is swollen, take appropriate precautions.

  1. HTyDgbiLsTi2wgNM
    HTyDgbiLsTi2wgNM
    5aE4tSww6TYMyDLj
    aRGCQqZ4CrH2GU42
    • Before you begin, power down your laptop and unplug it.

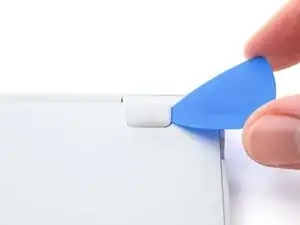
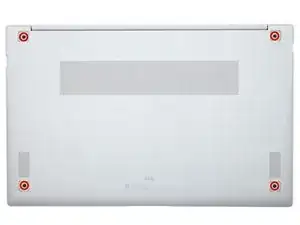
    • There are two kinds of rubber feet along the top and bottom of the rear case. Keep track of their position as you remove them.

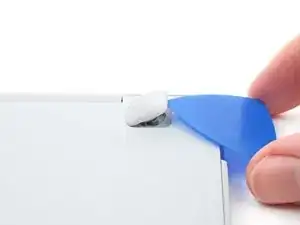
    • Insert an opening pick between the rubber foot and the rear case.

    • Pry up with the opening pick to release the clips securing the foot.

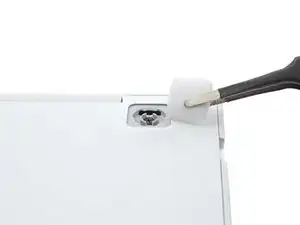
    • Remove the foot.

    • Repeat this procedure for the three remaining feet.

    • During reassembly, press the feet into their correct slot to reinsert them. Mismatched feet won't fit correctly.

  2. jLcXiL1IG2511Ytk
    jLcXiL1IG2511Ytk
    SYUMGMUY1JZ5IDBo
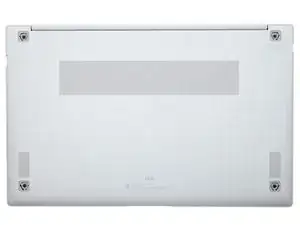
    • Use a Phillips screwdriver to remove the four 4.5 mm-long screws securing the rear case.

    • If you're reassembling with the Samsung Self-Repair kit, be sure to replace the screws with new ones labeled #3313.

  3. dZ15UHrTO2rDYrW4
    dZ15UHrTO2rDYrW4
    utVDfO3wyKKNEnT4
    WEwAYSWxSMHrXvFr
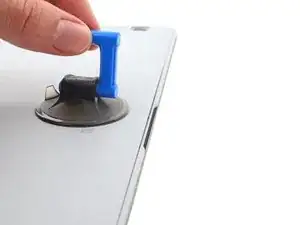
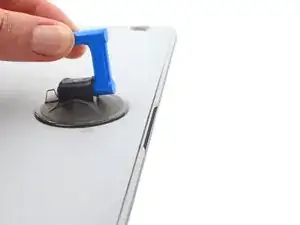
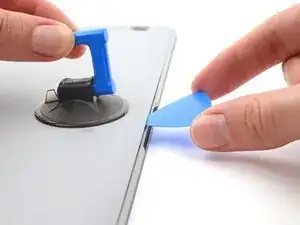
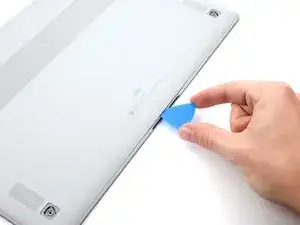
    • Apply a suction cup to the rear case, as close to the center of the bottom edge as possible.

    • Pull up on the suction cup with strong, steady force to create a gap between the rear case and the frame.

    • Insert an opening pick into the gap.

  4. Y2kHCiQhGT6GoIy2
    Y2kHCiQhGT6GoIy2
    tVWucyBNEdF5pSJg
    ukgx5LvtimGNGDOJ
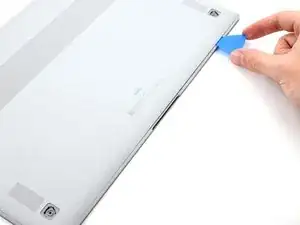
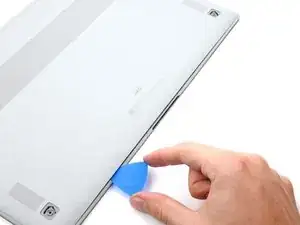
    • Slide the pick along the bottom edge of the rear case to release its plastic clips.

    • Repeat this process for the left and right edges, but stop before reaching the top edge.

  5. KeNh3JiLb2hYVUxH
    KeNh3JiLb2hYVUxH
    4W2uOnJGDkvmPCRj
    wXFQvLmBfuvEFOS6
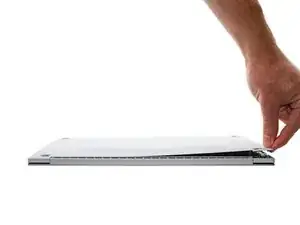
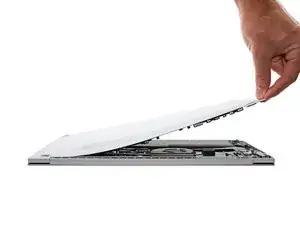
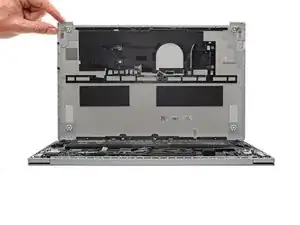
    • The top edge of the rear case is lightly adhered to the frame.

    • Pull the top of the rear case away from the frame to separate the adhesive and release the remaining clips.

    • If you're having trouble separating the adhesive, use an iOpener, hair dryer, or heat gun to soften it.

    • Remove the rear case.

    • During reassembly, perform the following:

    • If you're using a using a genuine Samsung replacement rear case, be sure to peel off any adhesive liners from the rear case before securing the top edge's clips.

    • If you're reusing your rear case, you can use some pre-cut adhesive to re-adhere the top edge if your existing adhesive is no longer sticky.

    • This is a good point to power on your laptop and test all functions before sealing it up. Be sure to power your laptop back down completely before you continue working.

  6. MAARGWltOuSoyXI3
    MAARGWltOuSoyXI3
    ePOaLgYQuOR2Cw1a
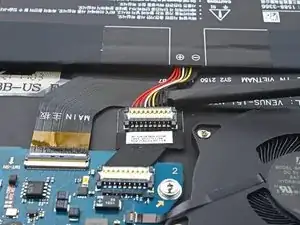
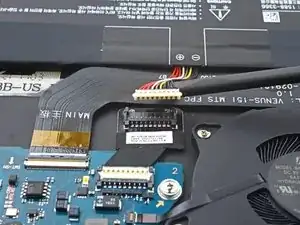
    • Insert a spudger between the frame and the bottom of the battery cable connector.

    • Pry up and disconnect the battery cable connector.

  7. LA4DfnKTcwqjZJWS
    LA4DfnKTcwqjZJWS
    LINOqnAO42RVKqZ1
  8. CnpEgdNDlfpZW1Mo
    CnpEgdNDlfpZW1Mo
    cdPRxrE1qBgQo3ee
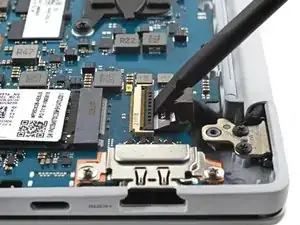
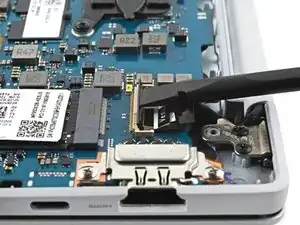
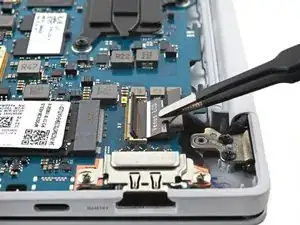
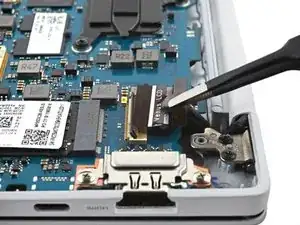
    • Disconnect the display cable by sliding it out from its socket on the motherboard.

  9. 6I4bs5e2ZHJIUNVk
    6I4bs5e2ZHJIUNVk
    4nDnBCXUWBjSR1J5
    4WLObd4aaayOPAXW
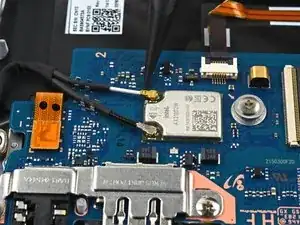
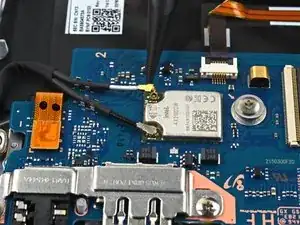
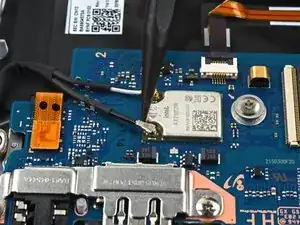
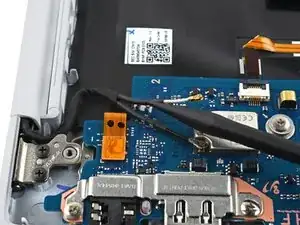
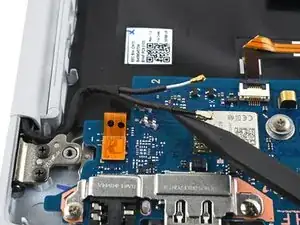
    • Use the tip of a spudger to pry up and disconnect the two WLAN antenna cables.

    • Pry under the bottom of the cable's metal head and not the cable itself.

    • During reassembly, these can be tricky to reconnect. One at a time, hold each connector in place over its socket and press down with the flat end of a spudger. The connector should snap into place.

  10. LIU6qhWRuSTWErlp
    LIU6qhWRuSTWErlp
    1sTBBkTOCIdgeQGs
    nRESsuBNrfUCHLat
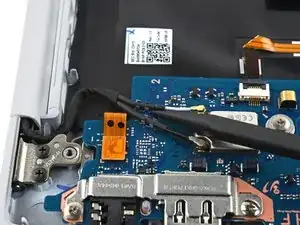
    • Use a spudger to pry up and unclip the antenna cables from their clips on the daughterboard.

  11. EpSdHholn5oSujH4
    EpSdHholn5oSujH4
    G5ZjmVYci4Dy6KA5
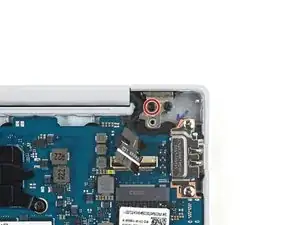
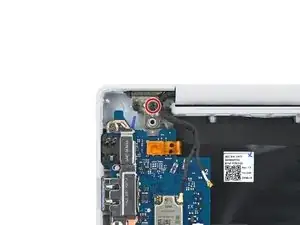
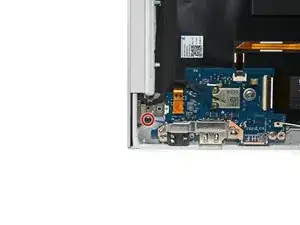
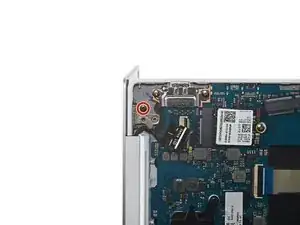
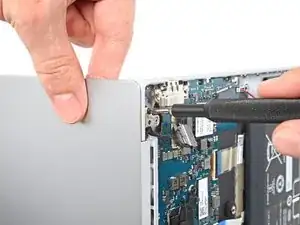
    • Use a Phillips screwdriver to remove one 4.5 mm-long screw securing each screen hinge (two screws total).

    • Each hinge has a second screw, which you should leave in place for now.

    • If you're reassembling with the Samsung Self-Repair kit, be sure to replace the screws with new ones labeled #1650.

  12. NWhQYTnKZfTvIp1k
    • Fully open the screen and stand your laptop up on one side.

  13. AbGpmORxgdS1m3Sg
    AbGpmORxgdS1m3Sg
    AOkrtWGv35OPYUEC
    xqIoZCpSwT4TQUVG
    • Use a Phillips screwdriver to remove the two remaining 4.5 mm screws (one from each hinge).

    • Remove the topmost screw last, using one hand to steady both halves of the laptop to make sure they don't separate and fall over unexpectedly.

    • If you're reassembling with the Samsung Self-Repair kit, be sure to replace the screws with new ones labeled #1650.

  14. VNKDy6ILIgXtBAVZ
    VNKDy6ILIgXtBAVZ
    wBMhuVitItBZV11R
    mxEJdFAujtURItdM
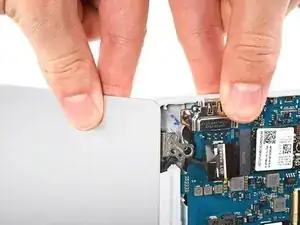
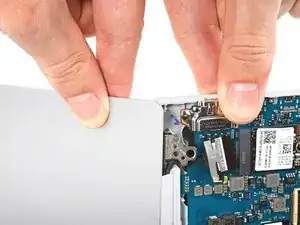
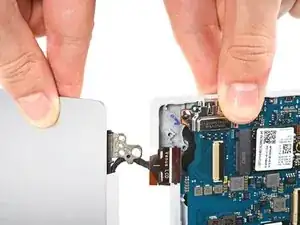
    • Keep a firm grip on both the screen and frame of the laptop. Either half can fall unexpectedly during this step.

    • Push both halves of the laptop together so that the hinges can be lifted clear of their recesses in the frame.

    • Push the frame of the laptop away from you while pulling the screen toward you to separate it.

  15. RwtD2B6gXvWtFYS6
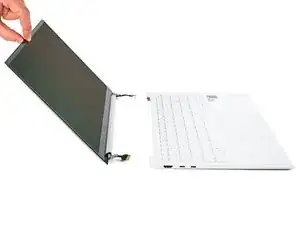
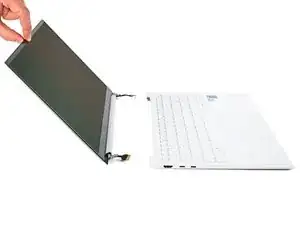
    • Remove the screen.

    • During reassembly, first install the hinge screws without tightening them fully. Then adjust the screen until it's correctly centered and aligned on each side. Finally, tighten the screws.

Abschluss

To reassemble your device, follow the instructions in reverse order and perform the opposite actions, e.g., "reattach" instead of "removing." Skip steps that use heating and prying, and pay close attention to the 📌 bullets as you work through the steps.

Take your e-waste to an R2 or e-Stewards certified recycler.

Repair didn’t go as planned? Check out our Answers community for troubleshooting help.
Alex Diaz-Kokaisl

Mitglied seit: 16/01/22

69204 Reputation

0 Kommentare