Einleitung
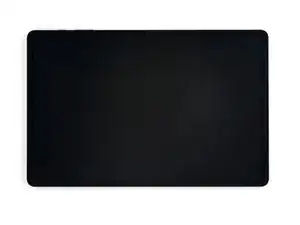
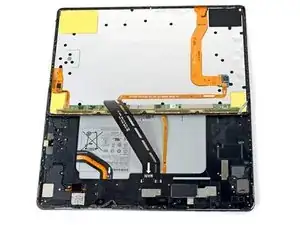
Use this guide to replace the frame bracket and disconnect the battery in your Samsung Galaxy Tab S7+.
This is a prerequisite-only guide! This guide is part of another procedure and is not meant to be used alone.
Werkzeuge
Ersatzteile
-
-
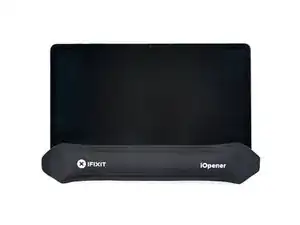
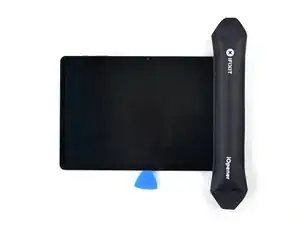
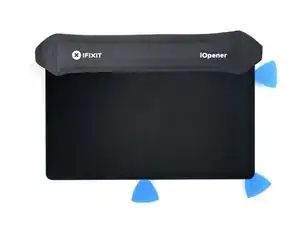
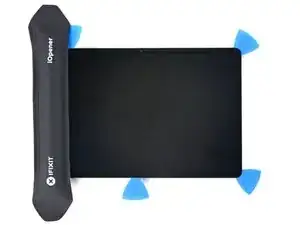
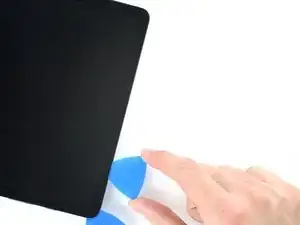
Apply a heated iOpener to the bottom edge of the device to loosen the adhesive underneath.
-
-
-
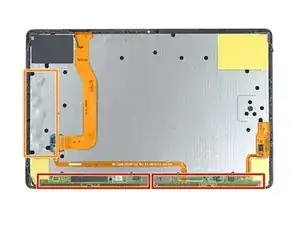
While you're waiting for the adhesive to loosen, note the following:
-
There's a long circuit board attached to the screen that sits parallel to the bottom edge.
-
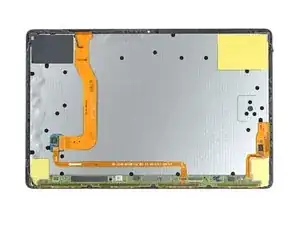
This image shows an example of the display separating from the glass panel.
-
-
-
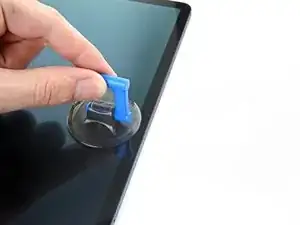
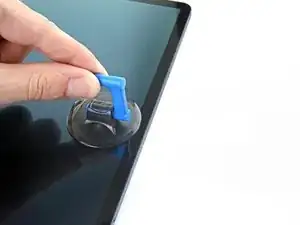
Once the screen is warm to touch, apply a suction handle to the bottom edge of the screen and as close to the edge as possible.
-
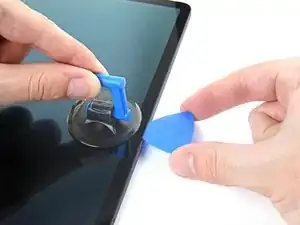
Lift the screen with the suction handle to create a small gap between the screen and the frame.
-
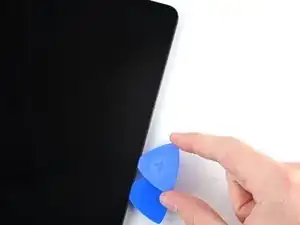
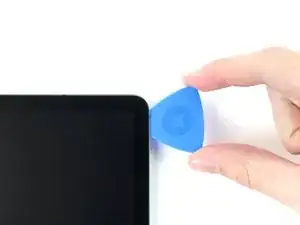
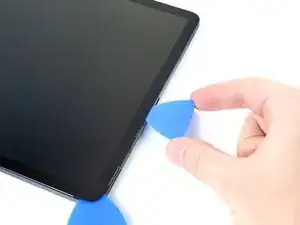
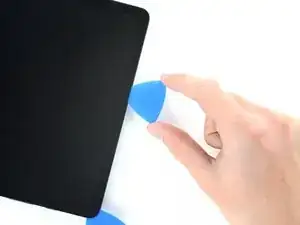
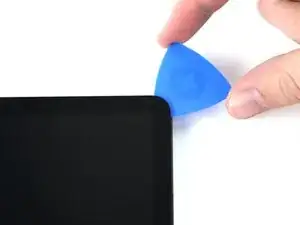
Insert an opening pick into the gap between the frame and the screen.
-
Leave the opening pick in place to prevent the adhesive from resealing.
-
-
-
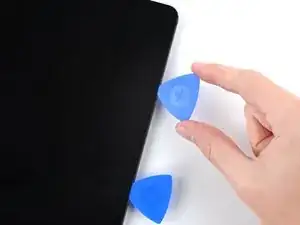
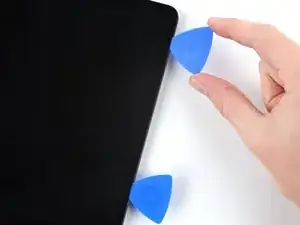
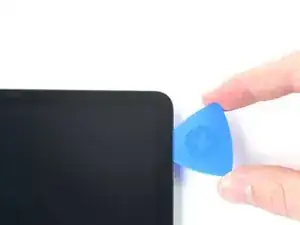
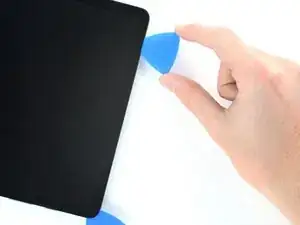
Insert a new opening pick into the gap you created.
-
Slide the new pick along the bottom edge of the device towards the bottom-right corner.
-
-
-
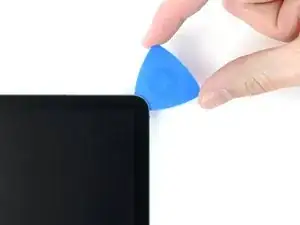
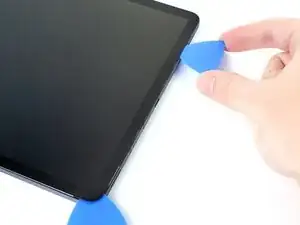
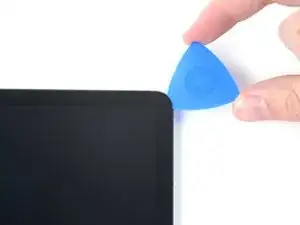
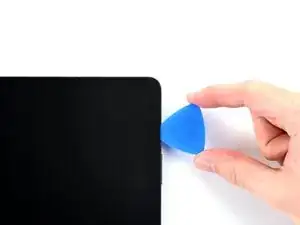
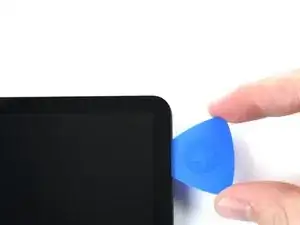
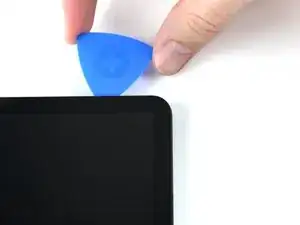
Rotate the opening pick around the bottom-right corner of the device.
-
Leave the opening pick in place to prevent the adhesive from resealing.
-
-
-
Insert a new opening pick into the gap you created.
-
Slide the new pick along the right edge of the device towards the top-right corner.
-
-
-
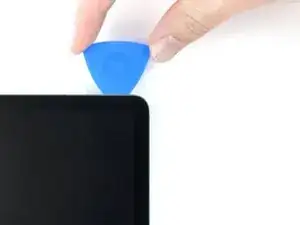
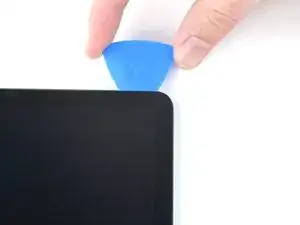
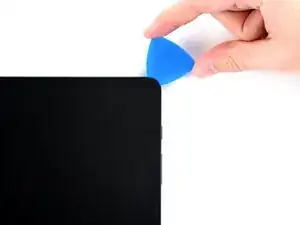
Rotate the opening pick around the top-right corner of the device.
-
Leave the opening pick in place to prevent the adhesive from resealing.
-
-
-
Insert a new opening pick into the gap you created.
-
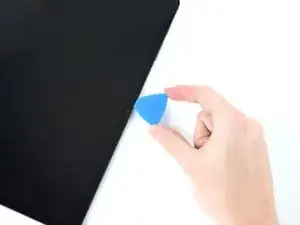
Slide the new pick along the top edge of the device towards the top-left corner.
-
-
-
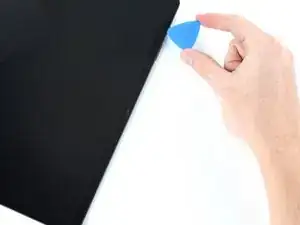
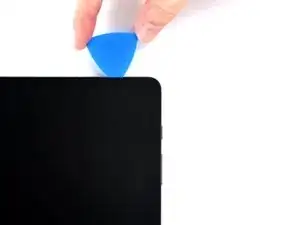
Rotate the opening pick around the top-left corner of the device.
-
Leave the opening pick in place to prevent the adhesive from resealing.
-
-
-
Insert a new opening pick into the gap you created.
-
Slide the new pick along the left edge of the device towards the bottom-left corner.
-
-
-
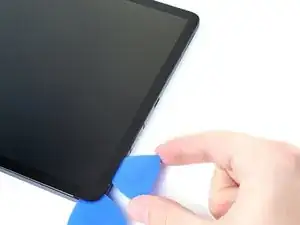
Rotate the opening pick around the bottom-left corner of the device.
-
Leave the opening pick in place to prevent the adhesive from resealing.
-
-
-
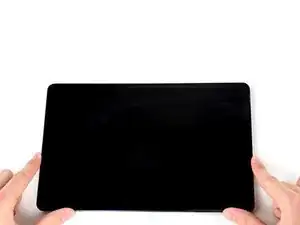
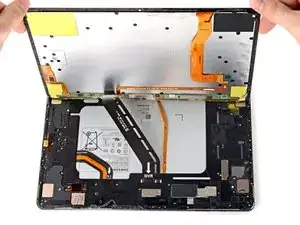
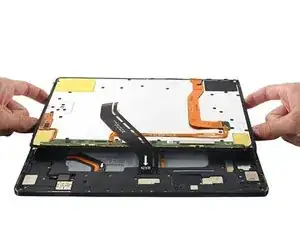
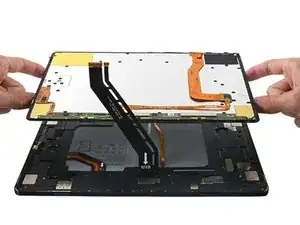
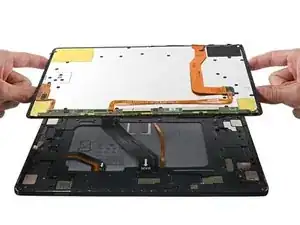
With the top of the device facing you, pull the screen up and away from you like you're opening a book.
-
Rest the screen upside down and parallel to the frame before continuing.
-
This is a good point to power on your tablet and test all functions before sealing it up. Be sure to power your tablet back down completely before you continue working.
-
Remove any adhesive chunks with a pair of tweezers or your fingers. Use some high concentration (over 90%) isopropyl alcohol to wipe away any adhesive residue.
-
If you're using Samsung custom-cut adhesives, follow this guide. If you're using double-sided tape, follow this guide.
-
-
-
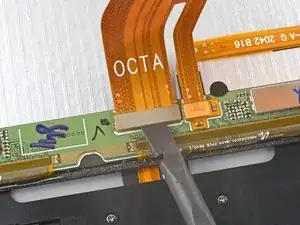
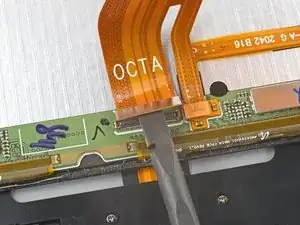
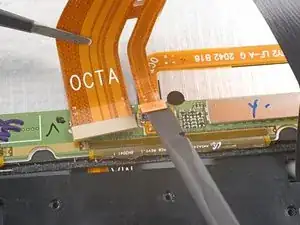
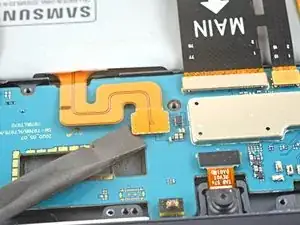
Use the flat end of a spudger to pry up and disconnect the display cable's press connector secured to the screen.
-
-
-
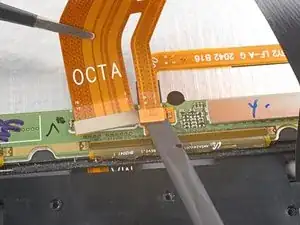
Use tweezers, or you fingers, to hold the display cable in place.
-
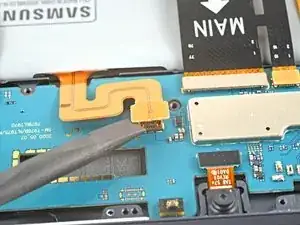
Use the flat end of a spudger to pry up and disconnect the fingerprint sensor's press connector attached to the display cable.
-
-
-
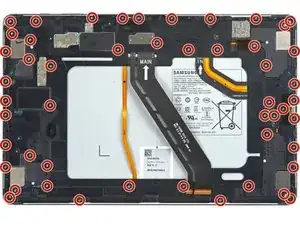
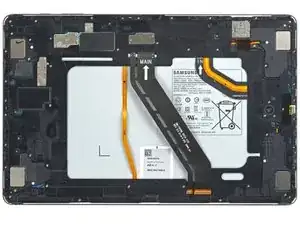
Use a Phillips #00 screwdriver to remove the fifty 3 mm-long screws securing the frame bracket to the frame.
-
Bottom-left = 9 screws
-
Bottom-right = 14 screws
-
Top-right = 12 screws
-
Top-left = 15 screws
-
-
-
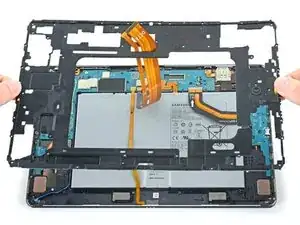
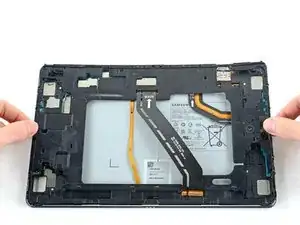
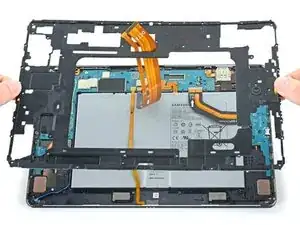
Lift the frame bracket away from the frame, making sure to thread the display cable through its socket.
-
-
-
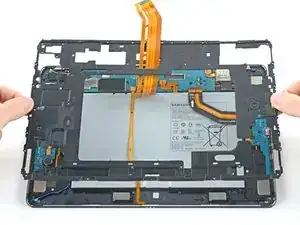
Use the flat end of a spudger to pry up and disconnect the battery's press connector secured to the motherboard.
-
To reassemble your device, follow these instructions in reverse order.
