Einleitung
Follow this guide to replace the screen and remove the fingerprint scanner cable in your Samsung Galaxy Tab S7+ Wi-Fi only.
Note: this guide is for the Wi-Fi version. For the 5G version, click here.
The screen has sensitive components, so there's a risk you'll damage it during the procedure. Be sure to apply plenty of heat and be extremely careful during the prying stage.
Before you begin, refer to the Samsung Self-Repair document for safety information.
For your safety, fully discharge the battery before disassembling your tablet. This reduces the risk of fire if the battery is accidentally damaged during the repair. If your battery is swollen, take appropriate precautions.
Note: Retaining water resistance after the repair will depend on how well you reapply the adhesive, but your device will lose its IP (Ingress Protection) rating.
Some photos in this guide are from a different model and may contain slight visual discrepancies, but they won't affect the guide procedure.
Werkzeuge
Ersatzteile
-
-
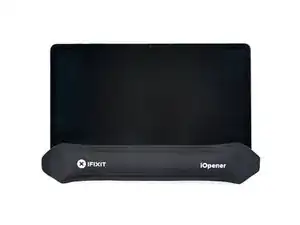
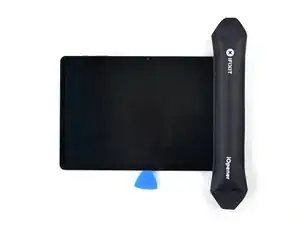
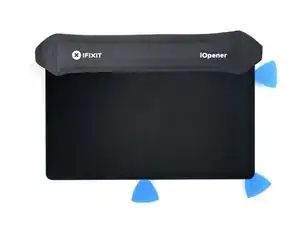
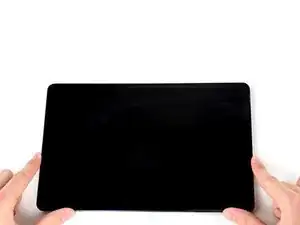
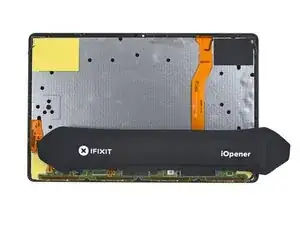
Apply a heated iOpener to the bottom edge of the device to loosen the adhesive underneath.
-
-
-
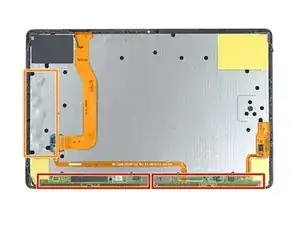
While you're waiting for the adhesive to loosen, note the following:
-
There's a long circuit board attached to the screen that sits parallel to the bottom edge.
-
This image shows an example of the display separating from the glass panel.
-
-
-
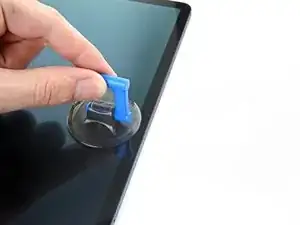
Once the screen is warm to touch, apply a suction handle to the bottom edge of the screen and as close to the edge as possible.
-
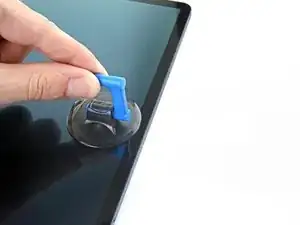
Lift the screen with the suction handle to create a small gap between the screen and the frame.
-
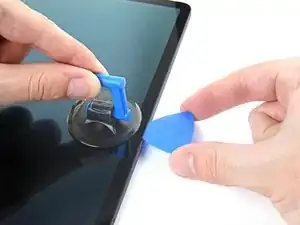
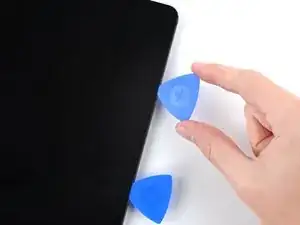
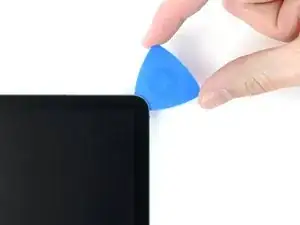
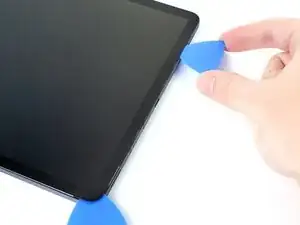
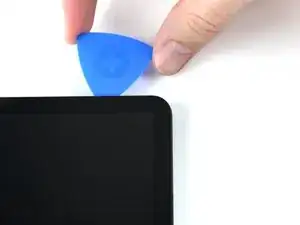
Insert an opening pick into the gap between the frame and the screen.
-
Leave the opening pick in place to prevent the adhesive from resealing.
-
-
-
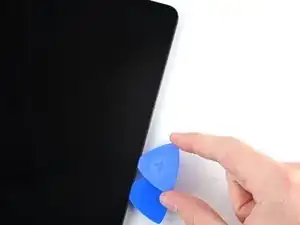
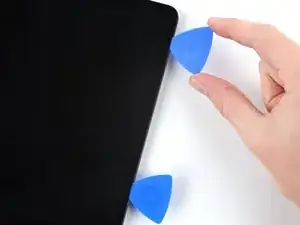
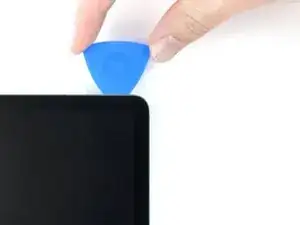
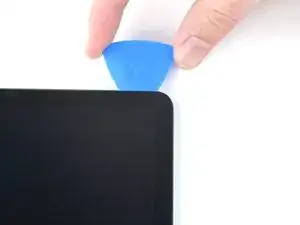
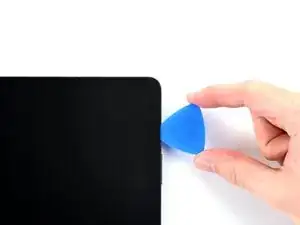
Insert a new opening pick into the gap you created.
-
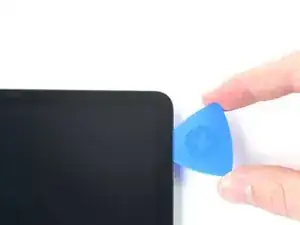
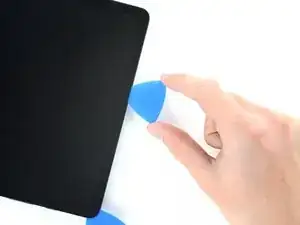
Slide the new pick along the bottom edge of the device towards the bottom-right corner.
-
-
-
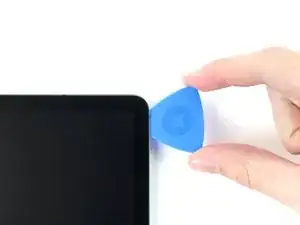
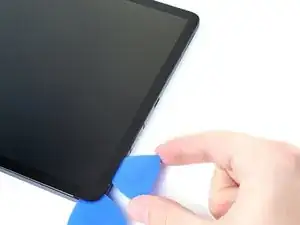
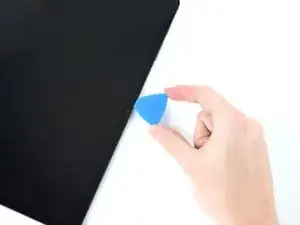
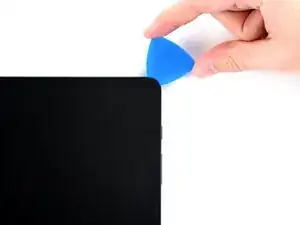
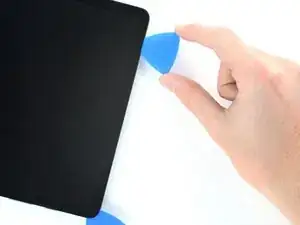
Rotate the opening pick around the bottom-right corner of the device.
-
Leave the opening pick in place to prevent the adhesive from resealing.
-
-
-
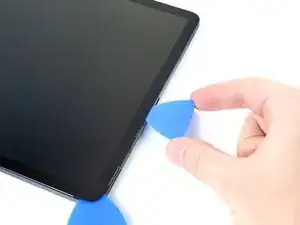
Insert a new opening pick into the gap you created.
-
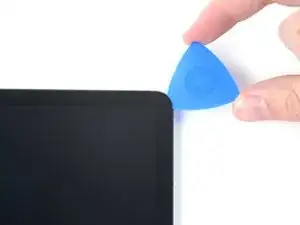
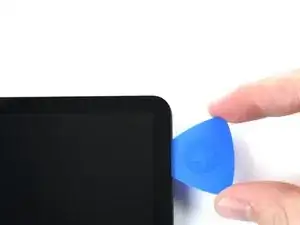
Slide the new pick along the right edge of the device towards the top-right corner.
-
-
-
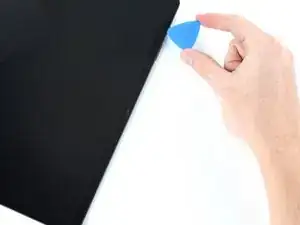
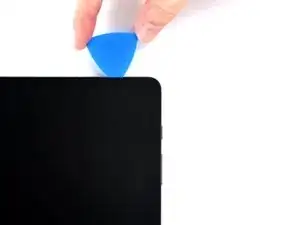
Rotate the opening pick around the top-right corner of the device.
-
Leave the opening pick in place to prevent the adhesive from resealing.
-
-
-
Insert a new opening pick into the gap you created.
-
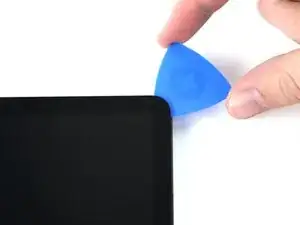
Slide the new pick along the top edge of the device towards the top-left corner.
-
-
-
Rotate the opening pick around the top-left corner of the device.
-
Leave the opening pick in place to prevent the adhesive from resealing.
-
-
-
Insert a new opening pick into the gap you created.
-
Slide the new pick along the left edge of the device towards the bottom-left corner.
-
-
-
Rotate the opening pick around the bottom-left corner of the device.
-
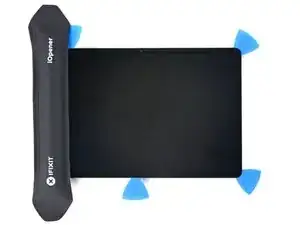
Leave the opening pick in place to prevent the adhesive from resealing.
-
-
-
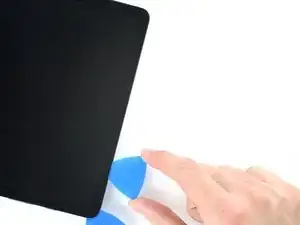
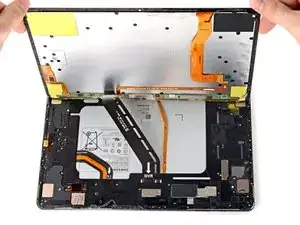
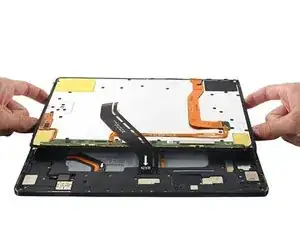
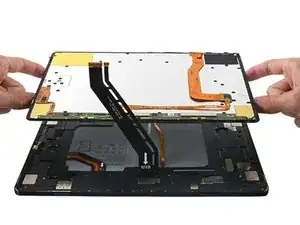
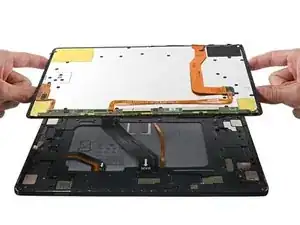
With the top of the device facing you, pull the screen up and away from you like you're opening a book.
-
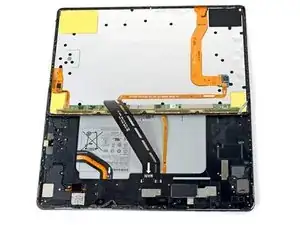
Rest the screen upside down and parallel to the frame before continuing.
-
This is a good point to power on your tablet and test all functions before sealing it up. Be sure to power your tablet back down completely before you continue working.
-
Remove any adhesive chunks with a pair of tweezers or your fingers. Use some high concentration (over 90%) isopropyl alcohol to wipe away any adhesive residue.
-
If you're using Samsung custom-cut adhesives, follow this guide. If you're using double-sided tape, follow this guide.
-
-
-
Use the flat end of a spudger to pry up and disconnect the display cable's press connector secured to the screen.
-
-
-
Use tweezers, or you fingers, to hold the display cable in place.
-
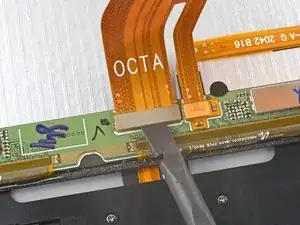
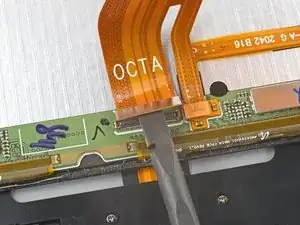
Use the flat end of a spudger to pry up and disconnect the fingerprint sensor's press connector attached to the display cable.
-
-
-
Use the flat end of a spudger to pry up and disconnect the fingerprint scanner cable's press connector.
-
-
-
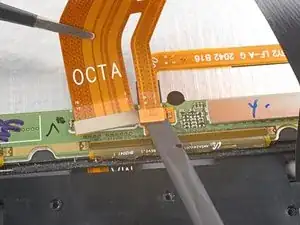
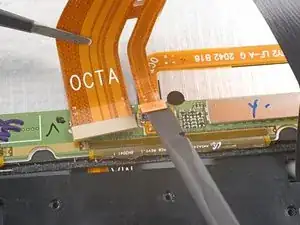
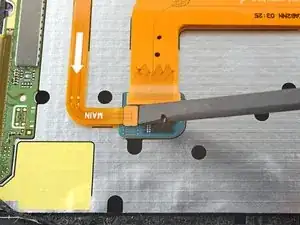
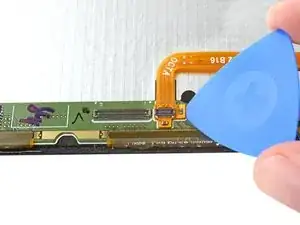
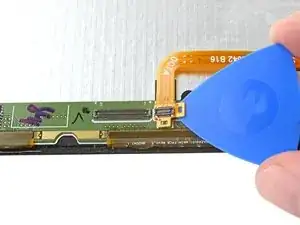
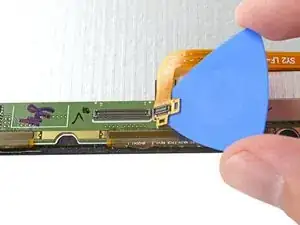
Insert an opening pick between the fingerprint cable's press connector and the circuit board near the bottom of the screen.
-
Slice the adhesive while prying up with the pick to separate the press connector from the screen.
-
-
-
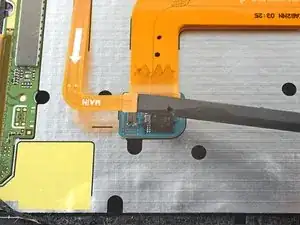
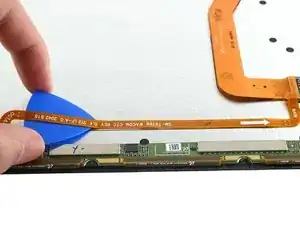
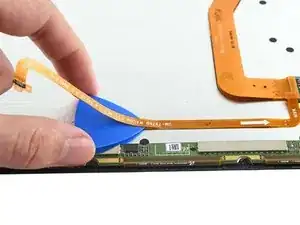
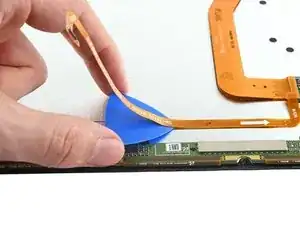
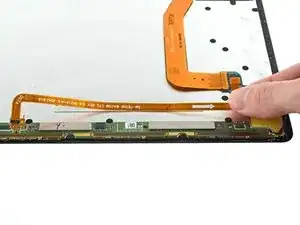
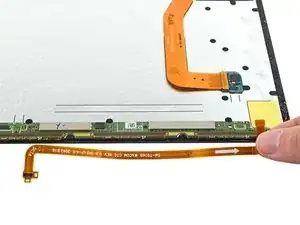
Slice with an opening pick along the bottom of the fingerprint sensor's cable to separate it from the screen.
-
-
-
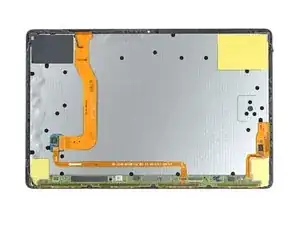
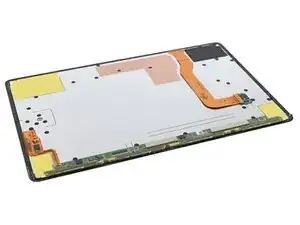
You're now left with the screen.
-
Download the Galaxy Cal app on your device.
-
-
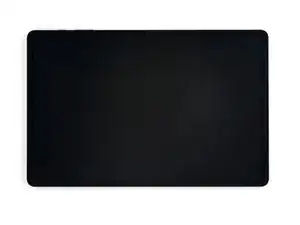
Compare your new replacement part to the original part—you may need to transfer remaining components or remove adhesive backings from the new part before you install it.
To reassemble your device, follow the instructions in reverse order and perform the opposite actions, e.g., "reattach" instead of "removing." Skip steps that use heating and prying, and pay close attention to the 📌 bullets as you work through the steps.
After you've completed the repair, download the Samsung Members App from the Galaxy Store or the Play Store, and follow the Samsung Self-Repair document (beginning page 9) to make sure your device is fully functional.
Take your e-waste to an R2 or e-Stewards certified recycler.
Repair didn’t go as planned? Try some basic troubleshooting, or ask our Samsung Galaxy Tab S7+ Answers community for help.
3 Kommentare
is the process for the Tab S7 FE the same as this one? and are the screens interchangeable?
Moe -
Hi Moe!
I'm not sure about the FE version. Based on the differences, I would wager the screen removal procedure is similar but not identical; however, it's unlikely that the screens are compatible.
does this come with the adhesive needed to reapply on the body

