Einleitung
Hier wird gezeigt, wie du deine Festplatte austauschen oder aufrüsten kannst.
Werkzeuge
Ersatzteile
-
-
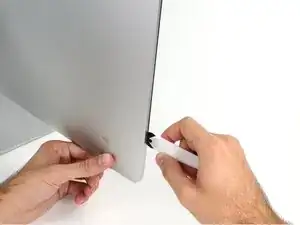
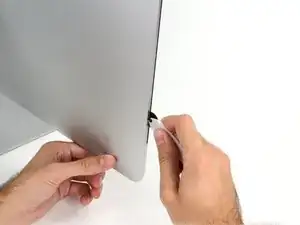
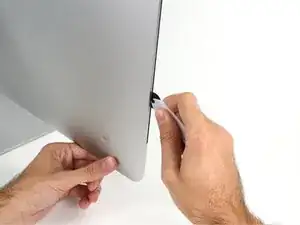
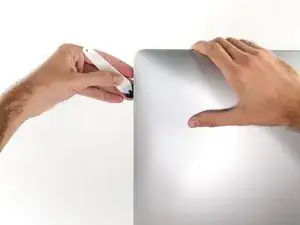
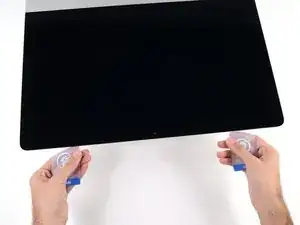
Beginne an der linken Seite des Displays, auf der Seite der Ein-/Aus-Taste, und schiebe das iMac Opening Tool zwischen Das Glaspanel und das Rückgehäuse.
-
Arbeite vorsichtig! Das Glas bricht leicht, wenn es zu stark belastet wird. Erwärme die Kanten mit einem Haartrockner und löse das Klebeband ab, wenn die Raumtemperaturen niedrig sind.
-
-
-
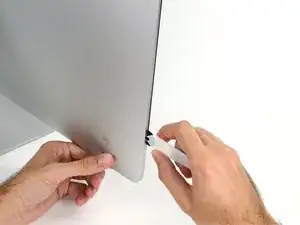
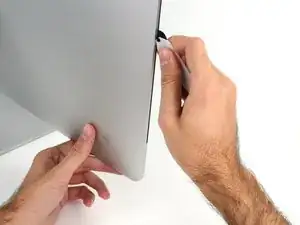
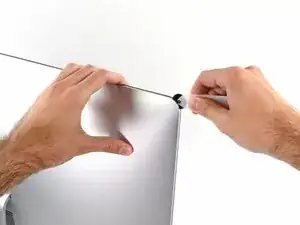
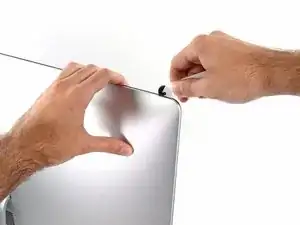
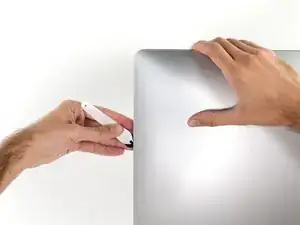
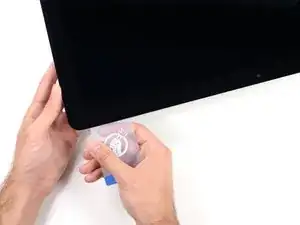
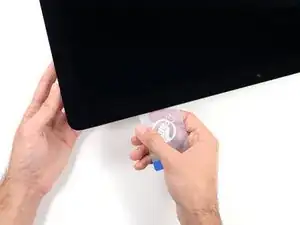
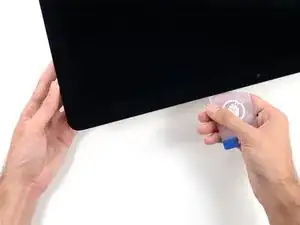
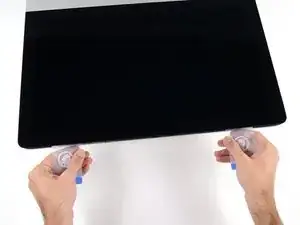
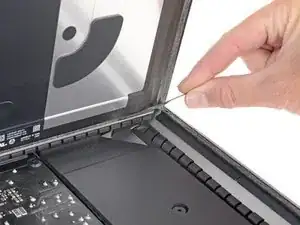
Benutze das Werkzeug wie einen Pizzaschneider - rolle es entlang des Schlitzes und es wird den Schaumkleber in der Mitte durchschneiden.
-
Fahre mit dem Werkzeug entlang der linken Displayseite.
-
-
-
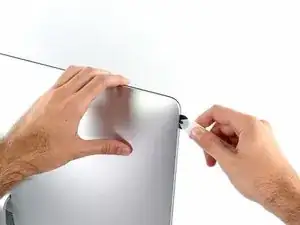
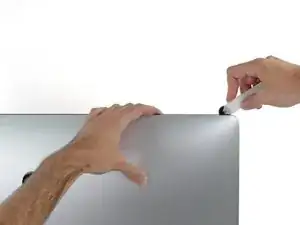
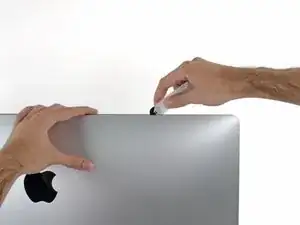
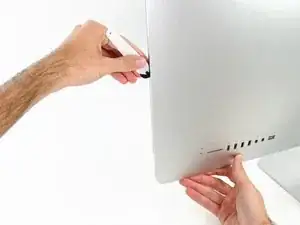
Schneide den Kleber entlang der oberen Displayseite durch.
-
Du solltest mit dem Gerät immer etwas durch den Teil vor- und zurückrollen, den du bereits durchgeschnitten hast, um so viel wie möglich von dem Kleber zu lösen.
-
-
-
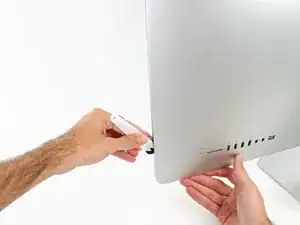
Schneide den Rest des Klebers an der rechten Seite des Gehäuses bis ganz nach unten durch.
-
-
-
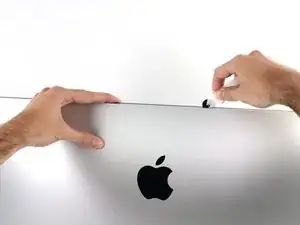
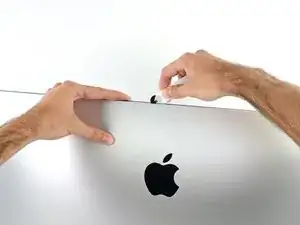
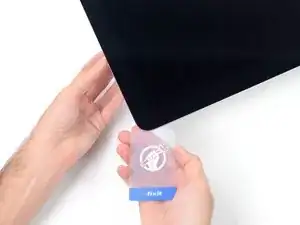
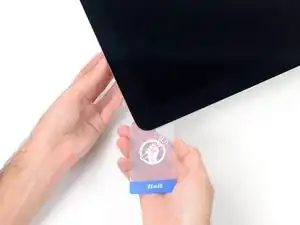
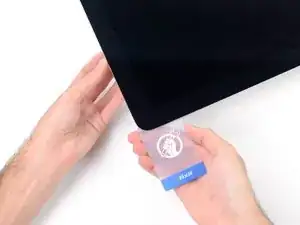
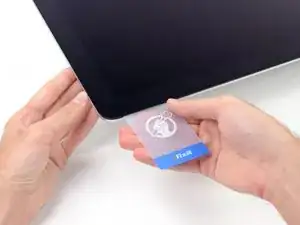
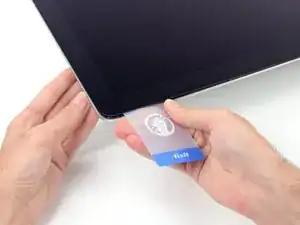
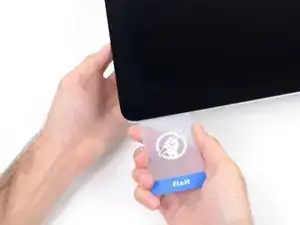
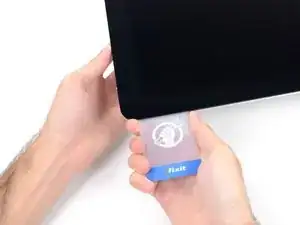
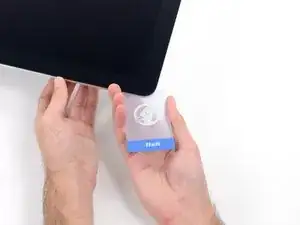
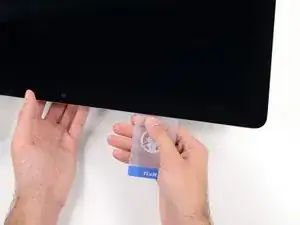
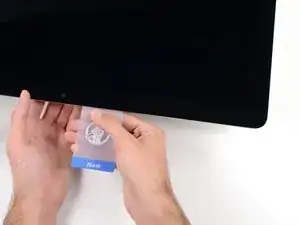
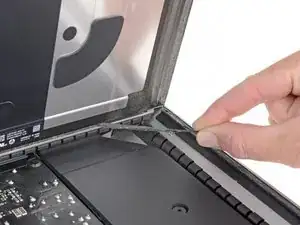
Beginne an der oberen rechten Ecke des iMacs und schiebe eine Plastikkarte zwischen Display und Rahmen.
-
-
-
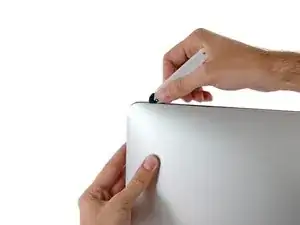
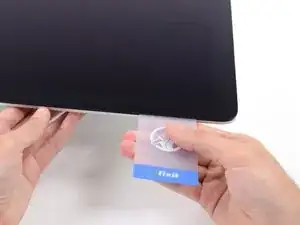
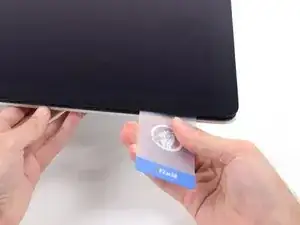
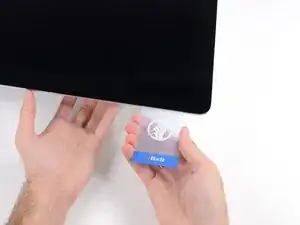
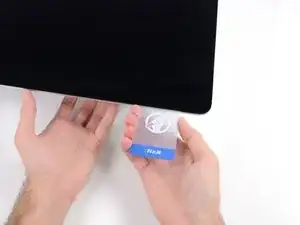
Drehe die Plastikkarte leicht, um den Abstand zwischen Display und Rahmen zu vergrößern.
-
Bewege die Karte vorsichtig und langsam, und beanspruche das DIsplayglas nicht übermäßig. Eine Lücke von einem halben Zentimeter ist ausreichend.
-
-
-
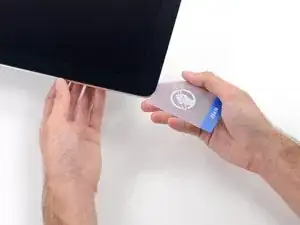
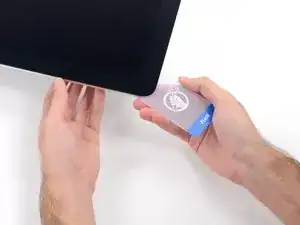
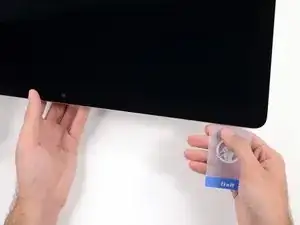
Schiebe die Karte in Richtung der Mitte des Displays, um den Rest des Klebers an der oberen rechten Ecke durchzutrennen.
-
-
-
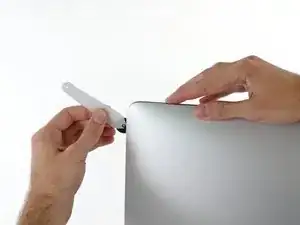
Schiebe die Karte wieder in die obere rechte Ecke und lasse sie dort stecken, um zu verhindern, dass der Kleber das Display wieder festklebt.
-
-
-
Schiebe eine zweite Karte in den Spalt zwischen Display und Rahmen an der oberen linken Ecke des iMacs.
-
-
-
Drehe die Karte vorsichtig nach oben, um den Abstand zwischen Display und Rahmen leicht zu vergrößern.
-
-
-
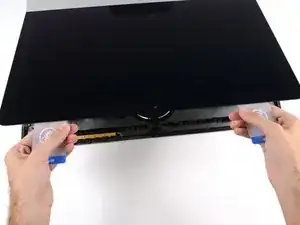
Schiebe beide Plastikkarten zwischen Display und Gehäuse und fange an, sie leicht zu drehen, um den Abstand zwischen Gehäuse und Display zu vergrößern.
-
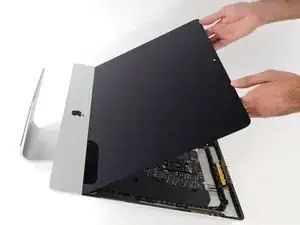
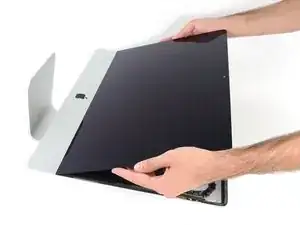
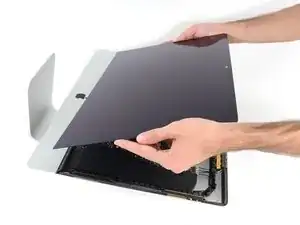
Beginne, die obere Seite des Displays vom Rahmen hochzuheben.
-
-
-
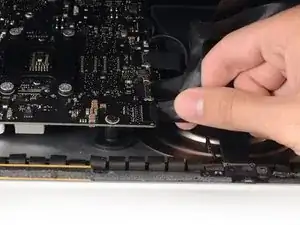
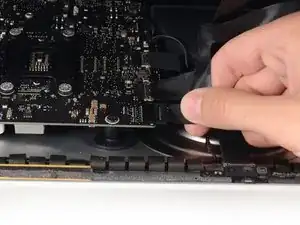
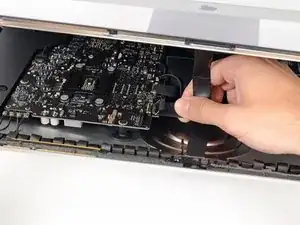
Während du das Display mit einer Hand nach oben hältst, trenne mit der anderen Hand das Stromkabel des Displays. Achte darauf, dass du das Kabel nur an der Plastiklasche herausziehst, und nicht an den farbigen Drähten.
-
-
-
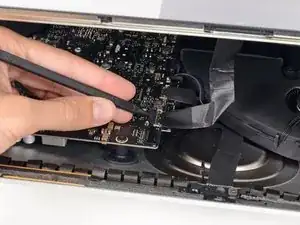
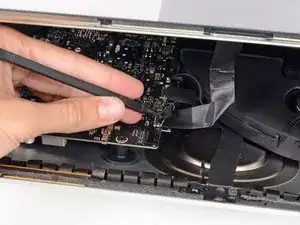
Klappe die Metalllasche am Anschluss des Display-Datenkabels mit einem Spudger hoch.
-
Ziehe das Display-Datenkabel vorsichtig aus seinem Sockel auf dem Logic Board.
-
-
-
Fasse die kleine Lasche am Ende einer der Klebestreifen an der Unterkante des Displays, ziehe sie zur Oberkante des iMacs hin und entferne sie.
-
Wiederhole das Ganze für den anderen Klebestreifen.
-
-
-
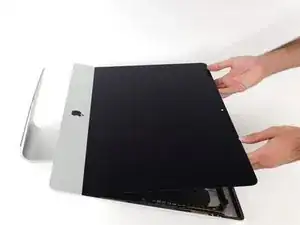
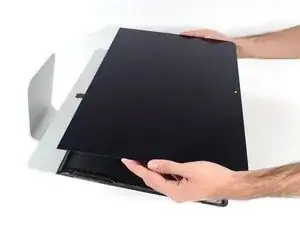
Hebe den Bildschirm nach oben aus dem Rahmen heraus und entferne ihn aus dem iMac .
-
Möglicherweise musst du an einer Seite den Bildschirm anheben, damit sich der Rest des Klebebandes ablösen lässt.
-
-
-
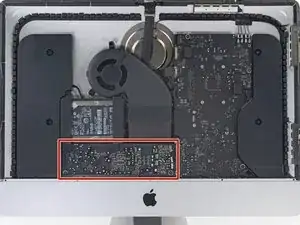
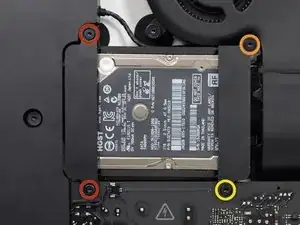
Entferne folgende Torx T10 Schrauben, welche die Festplattenhalterung am Rückgehäuse befestigen:
-
Zwei 21 mm Schrauben an der linksseitigen Festplattenhalterung
-
Eine 9 mm Schraube
-
Eine 27 mm Schraube
-
-
-
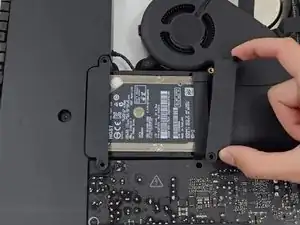
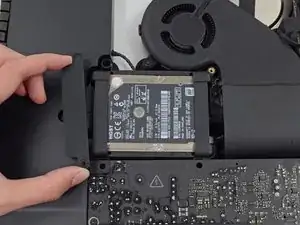
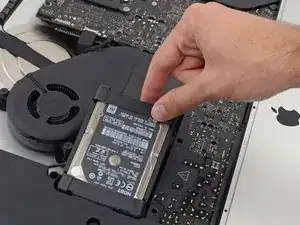
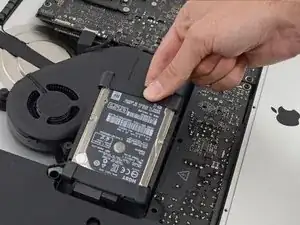
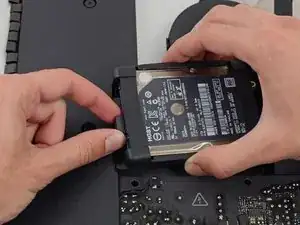
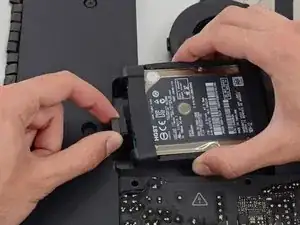
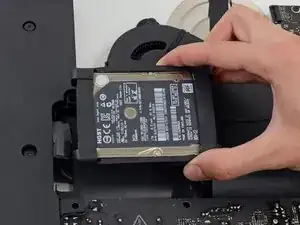
Hebe die Festplatte am Rand in der Nähe des Lüfters hoch und ziehe sie etwas aus ihrer Vertiefung heraus.
-
-
-
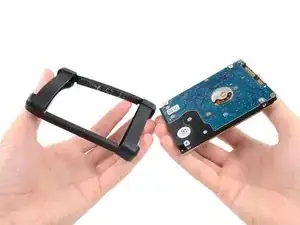
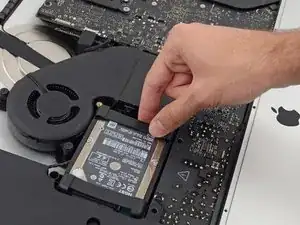
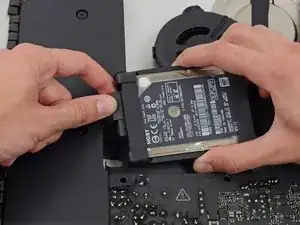
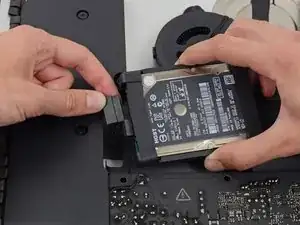
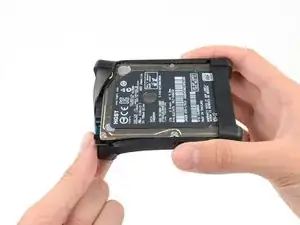
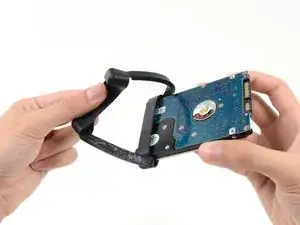
Fahre mit dem Ablösen der Festplattenhülle aus der Klebeverbindung zum Laufwerk fort.
-
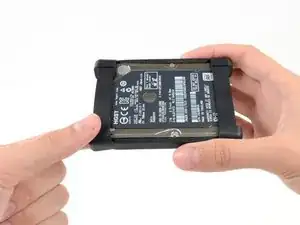
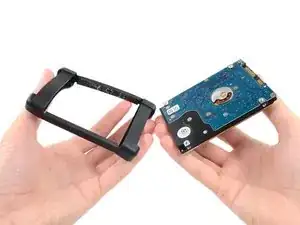
Entferne die Hülle von der Festplatte.
-
Die Festplatte bleibt übrig.
-
Um deinen iMac wieder zusammenzubauen, folge diesen Schritten in umgekehrter Reihenfolge und benutze unsere Klebeanleitung, um das Displayglas wieder anzukleben.
40 Kommentare
I used the iMac Opening Tool just as shown in this guide to separate the tape. DISASTER! The screen cracked! I used the tool slowly and carefully and despite this, the screen cracked. I should have simply used a guitar pick. That said, while I was inside my iMac replacing the Harddisk with a SSD, which was pretty easy to do, I decided to also see if I could replaced the 8GB RAM with 16GB RAM WITHOUT removing the logic board, as shown in other instructions on this site. I found that by simply removing the fan assembly, this makes enough room to reach behind the logic board and unclip the 2 memory modules. I installed 2 8GB modules (1600MHz DDR3L SO-DIMM PC12800 204 Pin) without much trouble. I used a plastic stick to reach behind the logic board and unclip the existing memory modules, then carefully inserted the new ones and clipped them into place. This is much easier than removing the power supply and logic board and all of the associated connectors and screws.
gcortesi -
I had to replace the HD as it failed after less than two years. It was a good opportunity to increase the RAM from 8 to 16 GB. So I ordered the RAM chips from Kingston and a 256 GB SSD from Angelbird.
The repair went smoothly: to anyone trying this, please carefully follow the iFixit step-by-step guide. I recommend reading at least twice the whole procedure *before* beginning. Check all the photos. During the operation itself, I had the guide open before my eyes on my iPad and followed it step by step. The opening tool is a bit fragile, the wheel got damaged after the operation, but I guess it was designed to be used only once. After all, the adhesive strips can also be used only once!
For those replacing the hard-disk with an SSD: I highly recommend the Angelbird model "SSD wrk for Mac" (http://www.angelbird.com/en/prod/ssd-wrk...), for several dollars more you spare yourself the need to use additional software to enable TRIM or persuade the fans of your Mac that the HD's temperature is Ok.
lix -
Thanks for the tip on the Angelbird, working smoothly so far!
Elling -
Hi! Thanks for the tip! Do you know if can I put an SSD on an imac 21.5 in late 2012 ?
after changing the hard drive the monitor no longer works. Apple won't fix it because I opened it, and third-part wants to charge me $300-500. Hope you guys have better luck!
max -


I have (21.5 inch, mid 2017, 2.3 ghz) base model same as this but not 4k. How much max ram can I install in my iMac??
Narendra Verma -
This guide contains many extra steps for what should be a straight forward, simple parts replacement without disturbing more than the display, left hand speaker and removal of 4 logic board screws for play. Nothing else except for the left hand speaker wire & iSight cable from logic board, the lower support bracket and loosening the speaker so as to move it around a bit.
For the ram, I bent a pair of cheap tweezers long ago supplied with these replacement kits to the perfect angle for holding, locating and inserting the ram into the slots under the logic bd after moving each retainer w/spudger and popping out the old. Pay attention to the orientation of the ram when removing/inserting the ram! An automotive mirror is handy along with a small flashlight for closeups. Once the ram is aligned properly substitute your fingers for the tweezers, ease it into the slot, push up & engage! Reinstall screws and all else. I have done this job successfully this way countless times. For a tweezers pic contact me!
Ross Elkins -
Additionally, if a blade is present, I install the OSx system on the blade and everything else, apps and home folders on the new SSD. You get the very fast boot off of the blade and the full ssd for all else!
Ross Elkins -