Introduction
This repair guide was authored by the iFixit staff and hasn’t been endorsed by Google. Learn more about our repair guides here.
Follow this guide to remove and replace a worn battery for the Pixel 3. If your battery is swollen, take appropriate precautions.
For your safety, discharge your battery below 25% before disassembling your phone. This reduces the risk of a dangerous thermal event if the battery is accidentally damaged during the repair.
Tools
Parts
-
-
Apply a suction cup to the heated bottom edge of the back cover.
-
Lift on the suction cup with strong, steady force to create a gap.
-
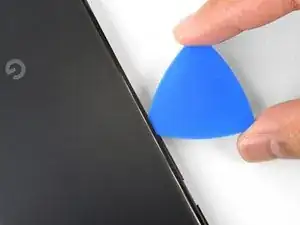
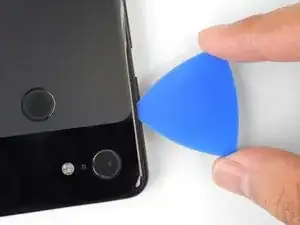
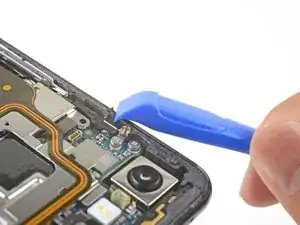
Insert an opening pick into the gap.
-
-
-
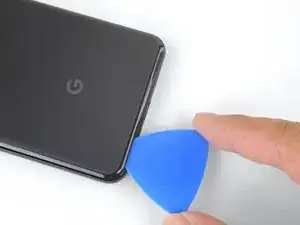
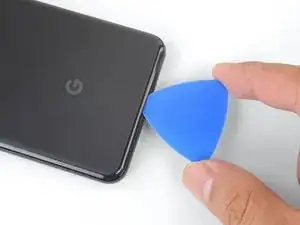
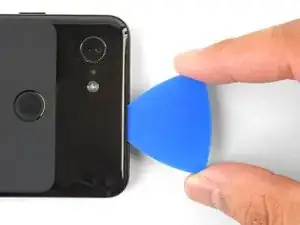
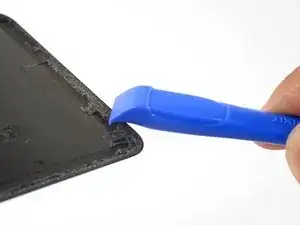
Slice the adhesive along the bottom edge of the phone and around the right corner.
-
Leave a pick in the bottom edge to prevent the adhesive from re-sealing.
-
-
-
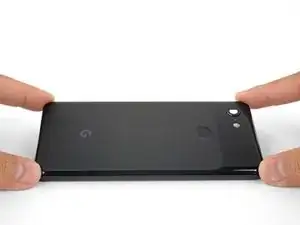
Continue heating and slicing through the rest of the phone perimeter. Leave a pick in each edge to prevent the adhesive from resealing.
-
-
-
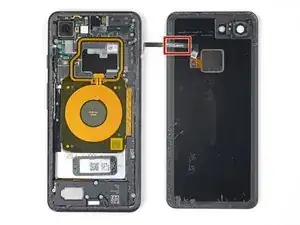
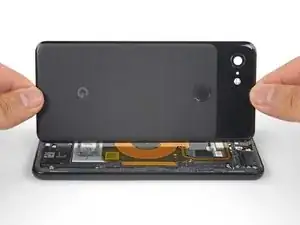
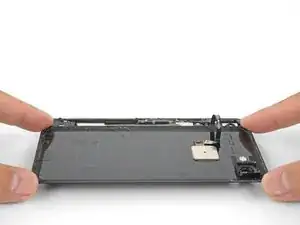
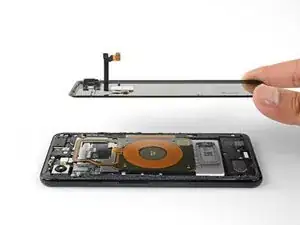
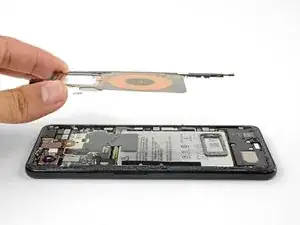
Once you have sliced around the perimeter of the phone, carefully lift the left edge of the back cover.
-
Flip the back cover along its long axis and rest it so that the fingerprint sensor cable is not strained.
-
-
-
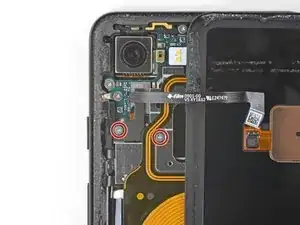
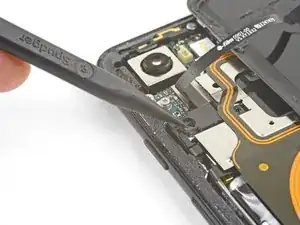
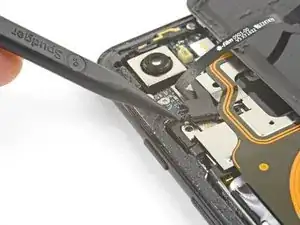
Use the point of a spudger to slide the fingerprint connector bracket out from under the NFC coil.
-
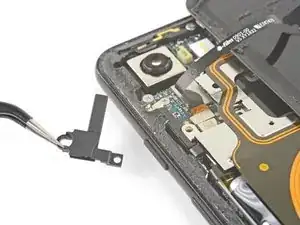
Remove the fingerprint connector bracket.
-
-
-
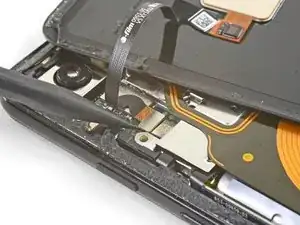
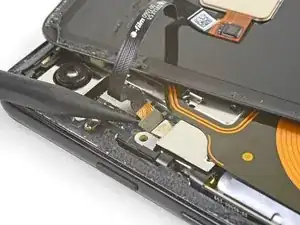
Use the point of a spudger to pry up and disconnect the fingerprint connector from its socket.
-
-
-
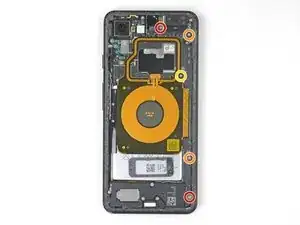
Remove the five Phillips screws securing the wireless charging coil:
-
Two 1.9 mm screws
-
Two 4.2 mm screws
-
One 4.3 mm screw
-
-
-
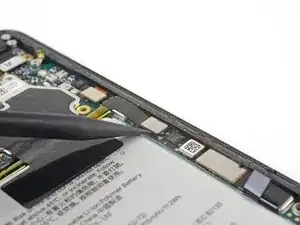
Use the point of a spudger to pry up and disconnect the battery press connector from its socket near the right edge of the phone.
-
-
-
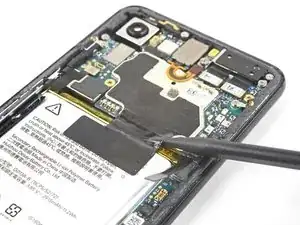
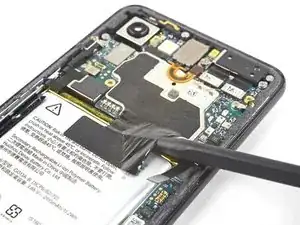
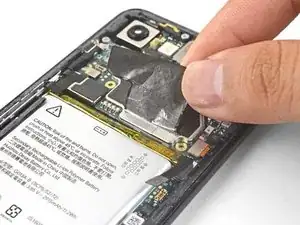
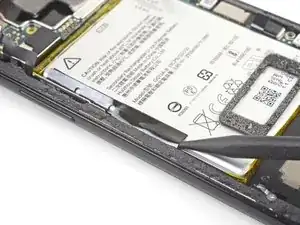
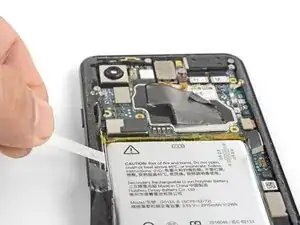
Slide the point of a spudger in the crevice underneath the black tape bridging across the battery and the motherboard.
-
Slide the spudger along the crevice to pry up the tape from the battery side.
-
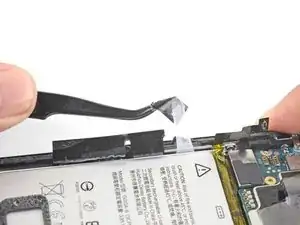
Carefully peel the tape from the battery and fold it out of the way.
-
-
-
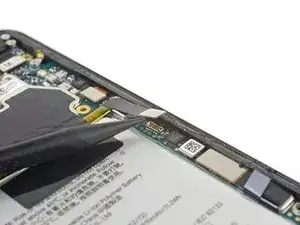
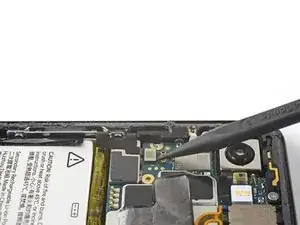
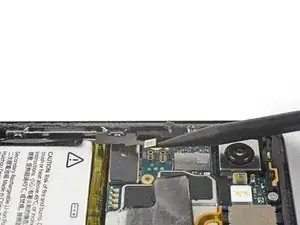
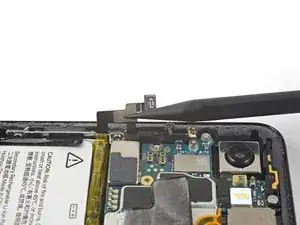
Use the point of a spudger to pry up and disconnect the buttons connector from its motherboard socket near the left edge of the phone.
-
Push the connector and its flex cable out of the way of the battery.
-
-
-
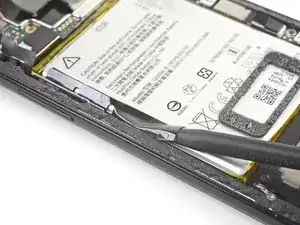
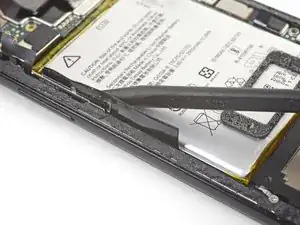
Insert the point of a spudger underneath the black battery pull tab on the left edge of the phone.
-
Slide the spudger upwards along the edge to loosen the pull tab from the battery.
-
-
-
Pull on the black pull tab at a shallow angle with steady force. When the adhesive grows long, roll it around some tweezer tips and continue pulling.
-
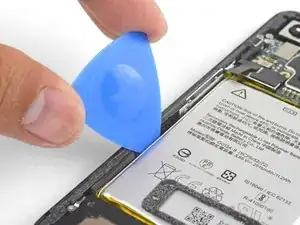
If the adhesive strips break, use an opening pick to help pry up and loosen the battery.
-
-
-
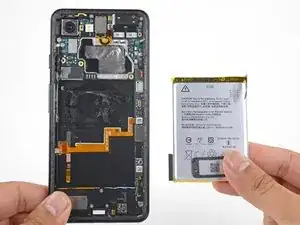
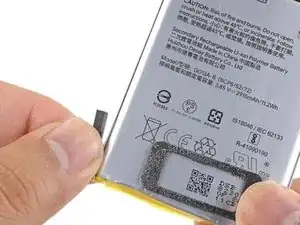
Remove the battery.
-
Carefully pull and remove the small foam buffer block from the left edge of the battery and transfer it to your replacement part. If it begins to tear, use the flat end of a spudger to gently pry it off the battery.
-
Lay some double-sided tape in the phone's battery well. If you're using Tesa tape to reattach components, follow this guide. If using stretch-release adhesive, follow this guide.
-
Temporarily re-connect the battery's connector to the motherboard socket. This ensures that the battery is properly positioned.
-
Peel away any tape liners to expose the adhesive.
-
Lay the battery on the adhesive and press firmly.
-
Disconnect the battery connector from its motherboard socket and resume re-assembly.
-
For optimal performance, calibrate your newly installed battery: Charge it to 100% and keep charging it for at least 2 more hours. Then use your device until it shuts off due to low battery. Finally, charge it uninterrupted to 100%.
To reassemble your device, follow these instructions in reverse order.
Take your e-waste to an R2 or e-Stewards certified recycler.
Repair didn’t go as planned? Check out our Google Pixel 3 Answers community for troubleshooting help.
44 comments
Removing the adhesive from the rear glass can be a tedious process. I got my best results by taking fine point tweezers and pulling the adhesive back slowly, trying to get it to come up altogether as much as possible before using IPA to remove any residue.
How do you put the adhesive back (or put new adhesive on) when putting the phone back together?
@bfferraro, it depends on the type of adhesive.
If you are using a pre-cut adhesive sheet, follow this guide.
If you have a custom-cut adhesive, follow this guide.
What thickness(es) of tape is/are required to complete the battery replacement process?
mpc -
Hi mpc,
The tape does not need to be thick at all. You can use standard double-sided tape, or the fancier stretch-release adhesive.
I actually used command strips (the thin kind, that are clear, not the foam type ones) so that maybe it'll help the process if I ever have to remove the battery again. Hoping they keep working well, so far so good!!
What adhesive is used to reapply the back to the phone when this is done?
Hi David,
Double-sided adhesive such as Tesa tape works well.
It looks like the 2mm width would be ideal for this, for future reference.
I just finished the Pixel 3 battery replacement. This guide covers all the steps well. For re-attaching the back to the case I used the 1 mm width tape available from this size. The precut card was not available at the time I was ordering parts. I guessed on 1 mm but after using it, it seemed to work well. I cut long, straight lengths for the sides and top & bottom, and then filled each corner with a short piece placed diagonally. Seemed to hold ok.
Thank you for the excellent guide.
mpc -
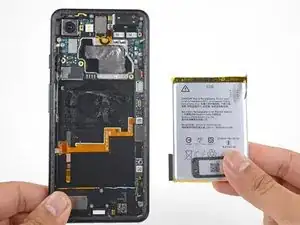
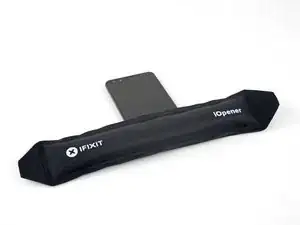
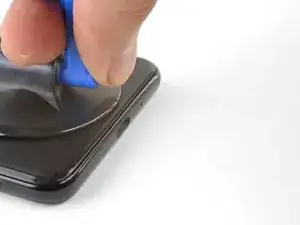
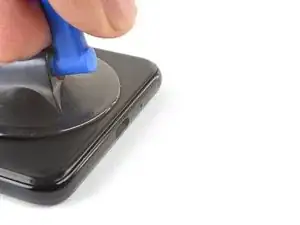
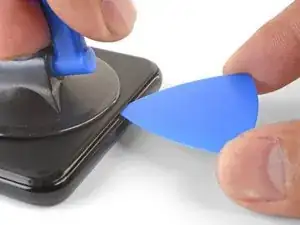
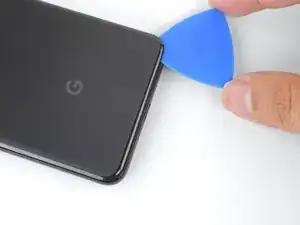
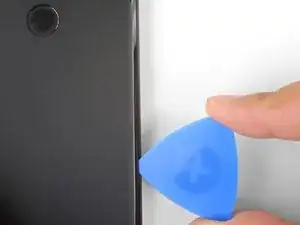
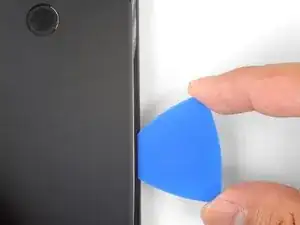
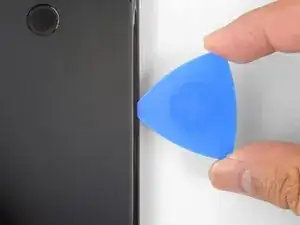

Older devices may require 2 or more minutes with a very hot iOpener. Also note, the photo shows the opener on the FRONT of the phone. The heat needs to be applied to the back of the device!
Rick Johnson -
I just realized that I was trying to pry apart the front of my Pixel 3… and have separated the class from the display. ??♂️ Even though the rest of the directions show the back, it would be nice for the first picture to also show the back, just to be safe.
JR Raith -
Agreed, I’ve done exactly the same and completely broken my display. I probably should’ve paid more attention to the initial steps before diving in but the step could do with a new picture for sure.
Daniel Fryer -
Thanks for the comments! I’ll add a note in the step warning people to make sure to pry the back cover, not the screen.
Arthur Shi -
I prefer my favorite opening method with something like this. Dental floss. So thin it can slide in the gap. A little sawing to get it far enough past the edge to lift and get the first pick in.
John Hoffstetter -
I found another wonderful tool. I used something like medicine packaging which is aluminum foil with plastic. It’s thin and strong enough!
Christie Lin -
I also went for the hairdryer, dental floss, and then the provided picks and this worked. Not easy to get that initial seal broken but once that's done the rest is pretty easy.
James -
I needed 20 nerve wracking minutes with a hairdryer
Amy schneider -
My battery had bulged and opened the case for me!
Warmed it up a bit with hairdryer
Floss helped also.
David Lincer -