Introduction
This repair guide was authored by the iFixit staff and hasn’t been endorsed by Google. Learn more about our repair guides here.
Follow this guide to remove and replace a broken screen for your Google Pixel 3 XL. This procedure is for replacement screens that are not pre-mounted onto a frame. Due to the Pixel’s design, you will have to remove the back panel in order to disconnect the screen connector.
Before you begin this procedure, be sure to have a set of replacement adhesives for both the back panel and the screen.
This procedure will destructively remove the Pixel 3 XL’s screen. OLEDs cease to work when exposed to oxygen or moisture, and are thus sealed in an airtight encapsulation (this is also why OLED panels turn black underneath a screen crack). It is very difficult to replace the front glass alone— the Pixel’s OLED layers are laminated to the glass.
-
-
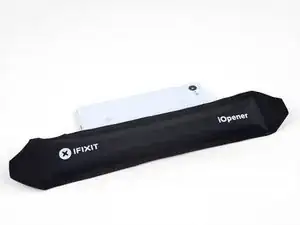
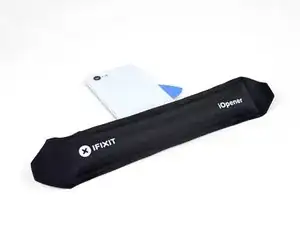
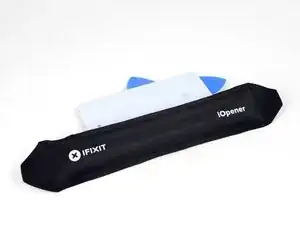
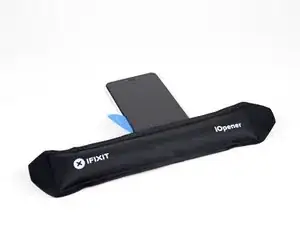
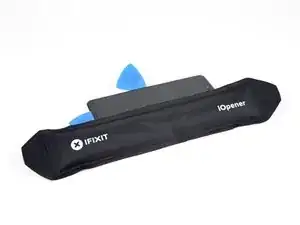
Heat an iOpener and apply it to the right edge of the back cover for a minute.
-
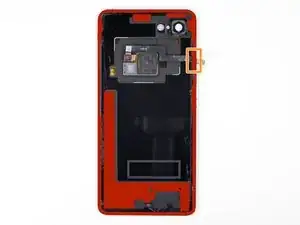
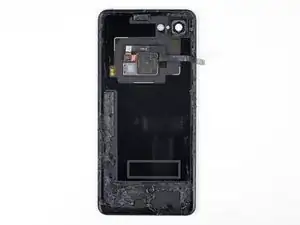
While you wait, note the following areas on the back cover:
-
Strong adhesive—there are large patches of adhesive near the bottom of the phone.
-
Fingerprint sensor cable—be careful not to slice through the cable as you pry
-
-
-
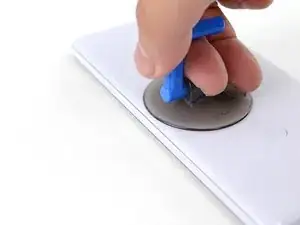
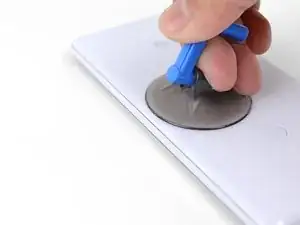
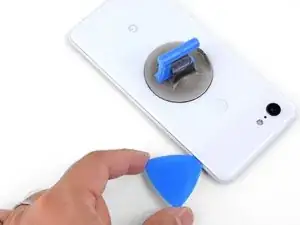
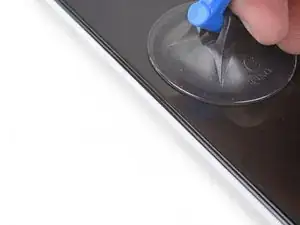
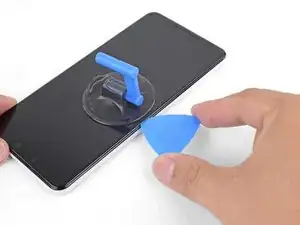
Apply a suction cup to the heated edge of the back cover, as close to the edge as possible.
-
Pull up on the suction cup with strong, steady force to create a gap.
-
Depending on the age of your phone, this may be difficult. If you are having trouble, apply heat to the edge and try again.
-
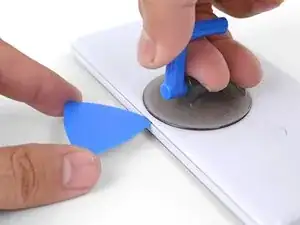
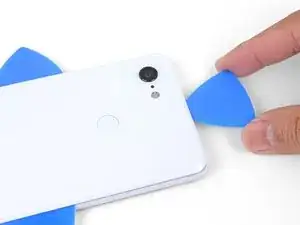
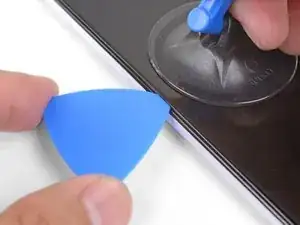
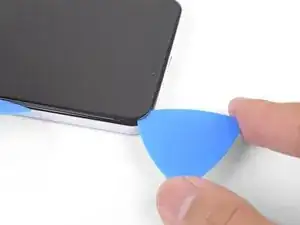
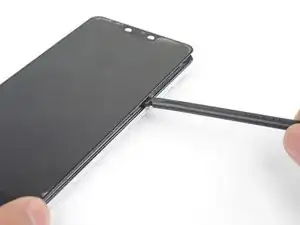
Insert the point of an opening pick into the gap.
-
-
-
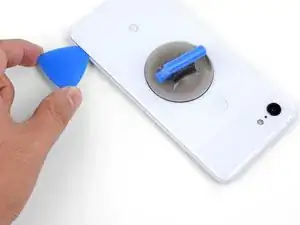
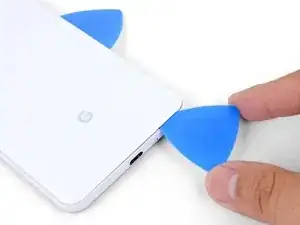
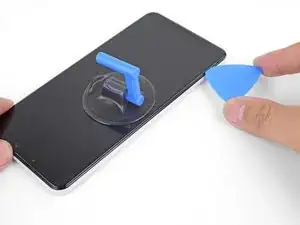
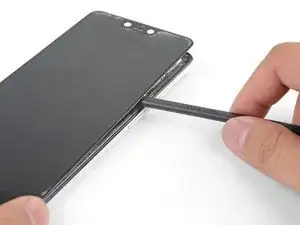
Slide the opening pick along the right edge to slice through the adhesive.
-
The adhesive gums up and becomes hard to slice once it cools. If that happens, re-apply heat to the edge to make slicing easier.
-
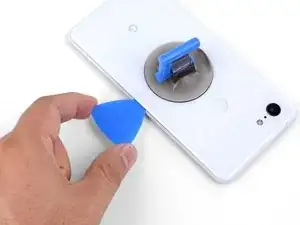
Once you have sliced through the edge, leave an opening pick in the seam to prevent the adhesive from re-sealing.
-
-
-
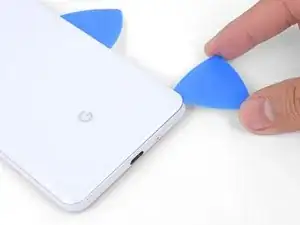
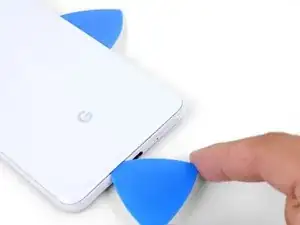
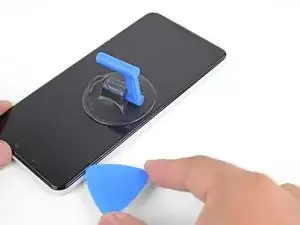
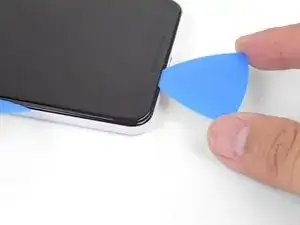
Use an opening pick to slice around the bottom right corner and continue along the bottom edge of the phone.
-
Leave a pick in the edge to prevent the adhesive from re-sealing.
-
-
-
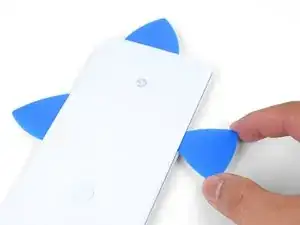
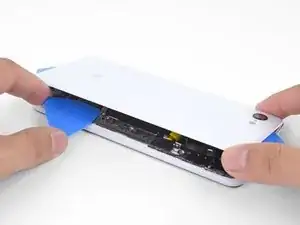
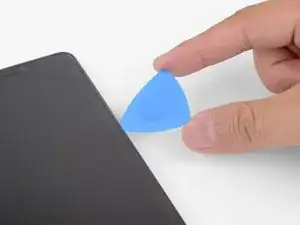
Continue heating and slicing the remaining edges of the phone.
-
Be careful as you slice along the left edge of the phone. If your pick feels like it's stuck near the top, you may have snagged the fingerprint sensor. Retract the pick out of the seam slightly and try again.
-
Be sure to cut through the thick portions of adhesive near the bottom and right edge of the phone.
-
-
-
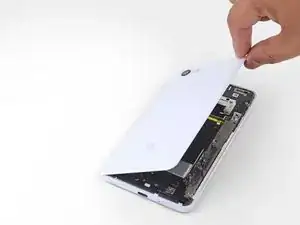
Gently pry up the right edge of the back cover.
-
Use an opening pick to slice through any remaining adhesive along the edges.
-
-
-
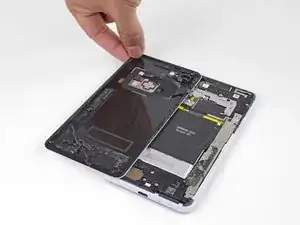
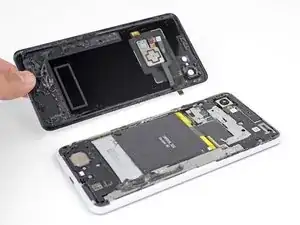
Swing the right edge of the back cover upwards and rest the flipped panel along the left side of the phone.
-
-
-
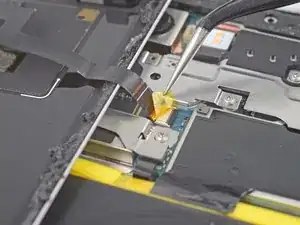
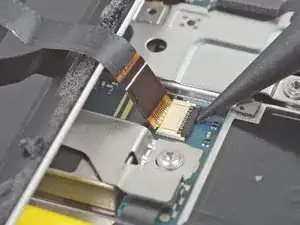
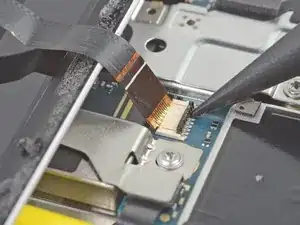
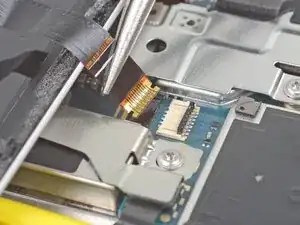
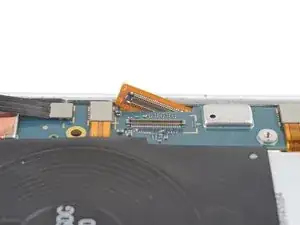
Use the point of a spudger to carefully flip up the black lock bar on the fingerprint sensor's ZIF socket.
-
Grasp the cable's tab with your fingers or tweezers and gently walk the flex cable out of the socket.
-
-
-
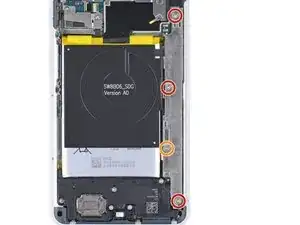
Remove the following four T3 screws securing the metal cover bracket:
-
Three 4 mm long screws
-
One 3 mm long screw
-
-
-
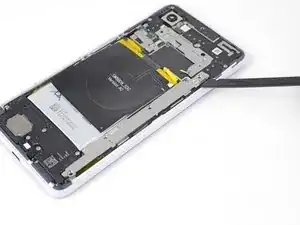
Insert the flat end of a spudger underneath the top right edge of the metal bracket and pry up to loosen it.
-
Remove the metal cover bracket.
-
-
-
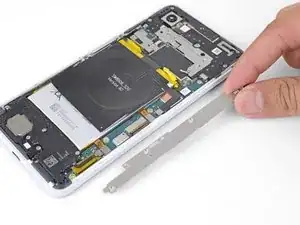
Use the point of a spudger to pry up and disconnect the battery connector from its socket.
-
Bend the battery cable such that the connector will not accidentally touch the socket.
-
-
-
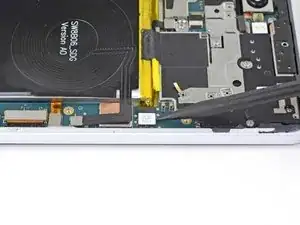
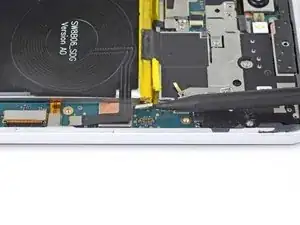
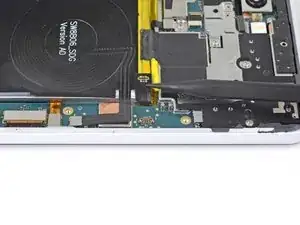
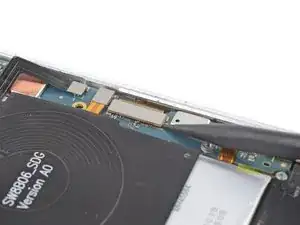
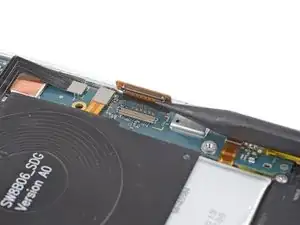
Use the point of a spudger to pry up and disconnect the display cable from its motherboard socket along the right edge of the phone.
-
-
-
Flip the phone so that the screen is facing up.
-
Heat an iOpener and apply it to a long edge of the screen for two minutes.
-
-
-
Apply a suction cup to the heated side of the screen, as close to the edge as possible.
-
Pull on the suction cup with steady force to create a gap between the screen and frame.
-
Insert the point of an opening pick into the gap.
-
-
-
Slide the opening pick along the edge of the screen to slice through the adhesive.
-
The adhesive gums up and becomes hard to slice once it cools. If that happens, re-apply heat to the edge to make slicing easier.
-
Once you have sliced through the edge, leave an opening pick in the seam to prevent the adhesive from re-sealing.
-
-
-
Apply a heated iOpener to the bottom edge of the screen for a minute.
-
Use an opening pick to slice through the adhesive.
-
Leave an opening pick in the seam to prevent the adhesive from re-sealing.
-
-
-
Continue heating and slicing until you have sliced around the entire perimeter of the phone.
-
-
-
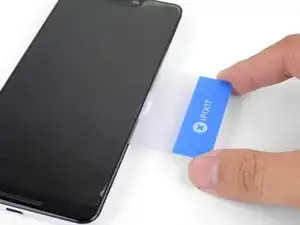
Insert a spudger or plastic opening card into the edge and press in to slice through the deeper adhesive.
-
Continue slicing until the screen is freed from the frame.
-
-
-
Flip the phone over so that the motherboard is facing up.
-
Push the display cable through its motherboard cutout. If you angle the cable such that one end slides under first, you can get it out easier.
-
-
-
Flip the phone so that the screen is facing up.
-
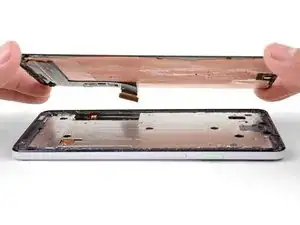
Lift the screen from the phone, cutting through any remaining adhesive.
-
Remove the screen.
-
Be sure to test your repairs before you affix the screen with adhesives.
-


If your Pixel won't turn on after replacing the screen, there is a chance that the phone has silently turned on when the battery is re-connected. Hold the power button for a few seconds until the phone vibrates off. Afterwards, re-connect the screen, and try again.
To reassemble your device, follow these instructions in reverse order.
Take your e-waste to an R2 or e-Stewards certified recycler.
Repair didn’t go as planned? Try some basic troubleshooting, or ask our Pixel 3 XL Answers community for help.

23 comments
What adhesive do you recommend for the screen? This would be my first time doing repair on a smartphone. The guide says to have adhesive for the screen and back, but only has a recommendation for the back adhesive.
Vincent -
Hi Vincent,
The screen itself has a large adhesive pad—what’s missing is the thin perimeter adhesive. For that, I would suggest using some Tesa tape (here are general instructions on how to apply Tesa tape). Some repair techs use E6000 adhesive, but doing so complicates further repairs, and it can get messy. As a reminder, be sure to thoroughly test your repair before you glue the screen in place! Good luck with your repairs!
Hi Arthur! Thanks a ton for putting this guide together, had no problem getting my old display out.
However, I’ve been having an issue I’m hoping you might be able to help with. When I plug the new display into the device, no amount of force-rebooting the device, or re-plugging the display and battery cables, will make the new display power on. I RMA’d the first display thinking it was the problem, but the replacement display I received is doing the same thing. The old display that was removed did work before removal, albeit with significant artifacting (due to the severely cracked display). Do you think there could be some step I’m missing? Perhaps the replacement display is also defective?
Thanks for your help!
Taylor -
Hey Taylor!
That is strange. I have heard scattered reports of other people having similar troubles over various Pixel models. I am assuming that you have the screen connected before you connect the battery. Did you purchase the screen from iFixit? If so, I can definitely check and test some of our screens to see if they are the culprit.
Hi,
It is possible to know if a Pixel 3xl works, if I do not have screen?
I would like to be sure before to buy a screen.
Thanks for your help!
Modesto -