Introduction
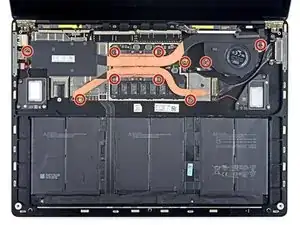
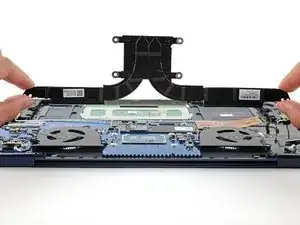
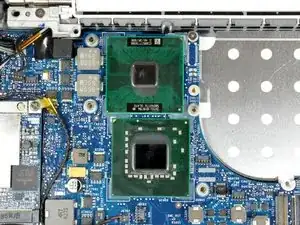
Use this guide to reapply thermal paste on a laptop.
This is a general guide—the exact procedure for your laptop will differ from these instructions—but the process should be the same. To reapply thermal paste in a phone, follow this guide.
Thermal paste is an essential part of our devices, responsible for conducting heat away from the processor and into the heat sink, keeping our devices cool and happy. Reassembling a laptop, tablet, phone, or PC without reapplying thermal paste will cause the processor to overheat, possibly resulting in permanent damage.
Remember: follow general electrostatic discharge (ESD) safety procedures when disassembling your device.
Tools
-
-
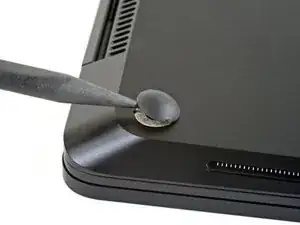
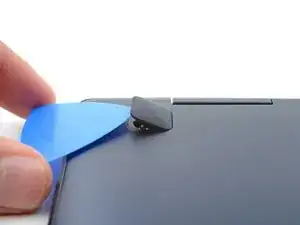
If your laptop has hidden screws underneath rubber feet, use the tip of a spudger or an opening pick to remove them.
-
-
-
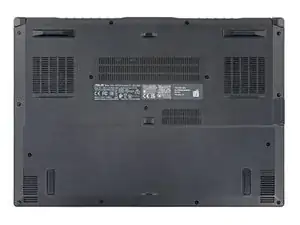
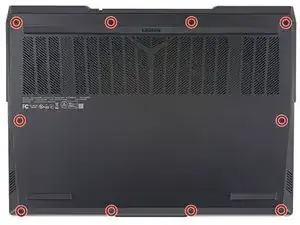
Use a screwdriver to remove the screws that secure the back cover.
-
Use the most snug-fitting screwdriver or bit size for your laptop.
-
-
-
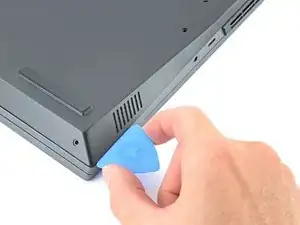
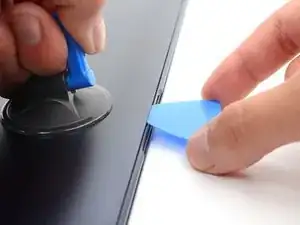
Use the flat end of a spudger or an opening pick to pry up the back cover.
-
Work your way around the whole perimeter of the laptop, twisting your tool as you go to unclip the back cover.
-
-
-
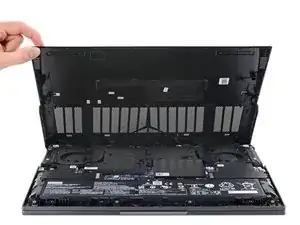
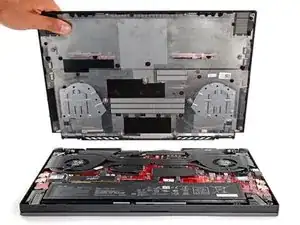
Once all of the clips have been disengaged, lift the back cover up and away from the laptop to remove it.
-
Lift slowly and carefully, checking that no cables are attached to the back cover before you fully remove it.
-
-
-
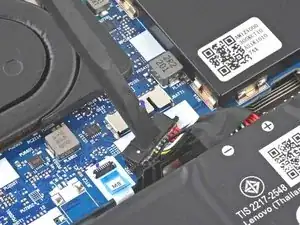
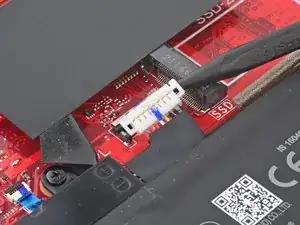
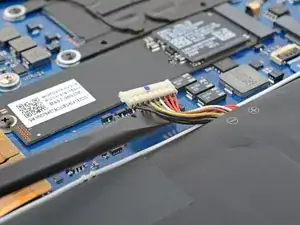
Use the tip of a spudger or your finger to disconnect your laptop's battery.
-
If it's unclear how to safely disconnect your battery, consult your laptop's manual.
-
-
-
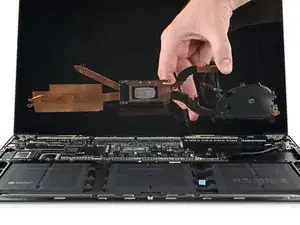
Disconnect, unscrew, and remove any fans that sit atop your laptop's heatsink.
-
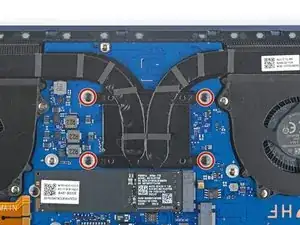
Use a screwdriver to remove the screws securing the heatsink to the chassis.
-
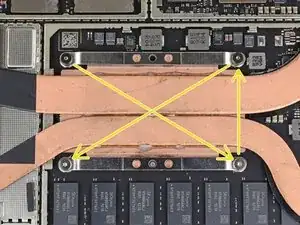
Tighten the heat sink screws around the CPU or GPU in an "X" pattern.
-
-
-
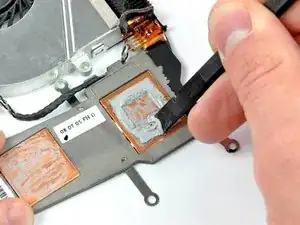
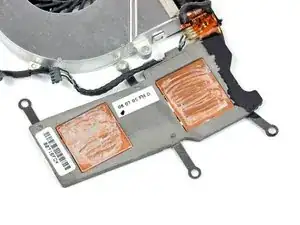
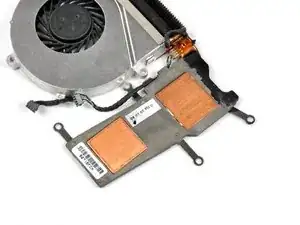
Use the flat end of a spudger to scrape as much solidified thermal paste off of the heat sink as possible.
-
-
-
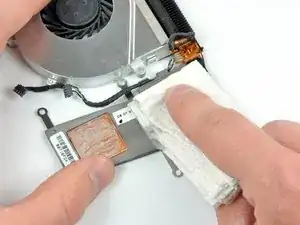
Use a coffee filter or a lint-free cloth and a couple drops of isopropyl alcohol (a.k.a. IPA, >90% concentration) to clean the remaining thermal paste residue off the thermal contact surface of your heat sink.
-
Once the surface is mostly clean, use another, fresh piece of coffee filter or lint-free cloth with more IPA to further remove any oils or extra residue.
-
Allow the heat sink to dry completely.
-
-
-
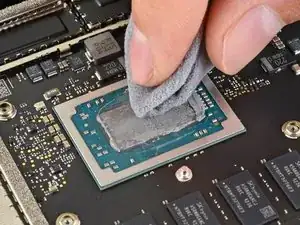
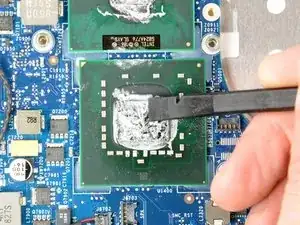
Use the flat end of a plastic spudger or the edge of an old credit card to remove any large chunks of solidified thermal paste from the surface of the processor.
-
-
-
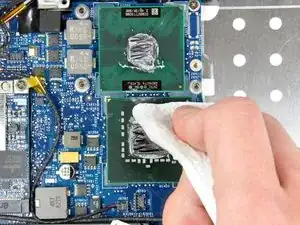
Like with the heat sink, use a coffee filter or a lint-free cloth and a couple drops of >90% isopropyl alcohol to clean the remaining thermal paste residue off the processor surface.
-
Once the surface is mostly clean, use another, fresh piece of coffee filter or lint-free cloth with more IPA to further remove any oils or extra residue.
-
Allow the processor to dry completely.
-
-
-
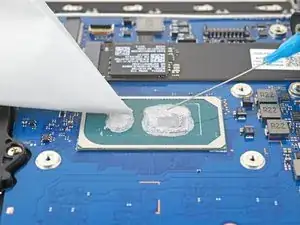
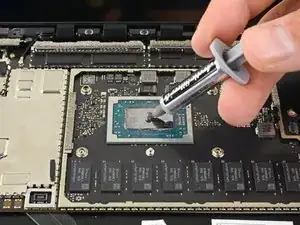
Use your tube of thermal paste to apply a small drop to the middle of the processor die, about the size of a grain of rice.
-
The processor is now ready for the heat sink to be reinstalled.
-
To reassemble your device, follow these instructions in reverse order.
Take your e-waste to an R2 or e-Stewards certified recycler.
Repair didn’t go as planned? Try some basic troubleshooting, or ask our answers community for help.
