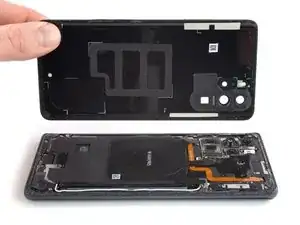
Introduction
Use this guide to replace a worn-out or dead battery in your Huawei P30 Pro.
Opening the Huawei P30 Pro will damage the waterproof sealing on the device. If you do not replace the adhesive seals, your phone will function normally but will lose its water-protection.
If your battery is swollen, take appropriate precautions. For your safety, discharge your battery below 25% before disassembling your phone. This reduces the risk of a dangerous thermal event if the battery is accidentally damaged during the repair.
Although it is possible to remove the battery without removing the main flex cable with the charging port, we recommend to do so to avoid damage to surrounding components.
You’ll need replacement adhesive to reattach components when reassembling the device.
-
-
Before you begin, switch off your phone.
-
Apply a heated iOpener to the back of the phone to loosen the adhesive beneath the back cover. Apply the iOpener for at least two minutes.
-
-
-
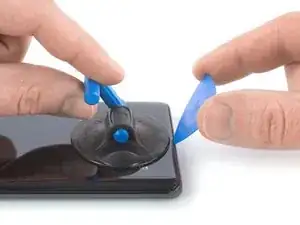
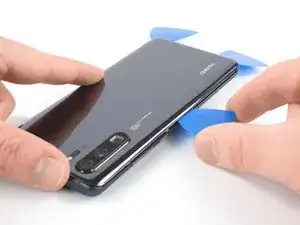
Secure a suction handle to the bottom of the back cover, as close to the edge as possible.
-
Lift the back cover with the suction handle to create a small gap between the cover and the frame.
-
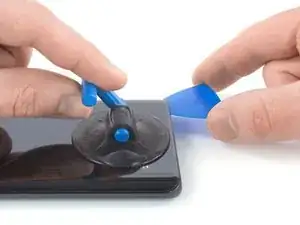
Insert an opening pick into the gap.
-
Slide the opening pick to the bottom right corner.
-
-
-
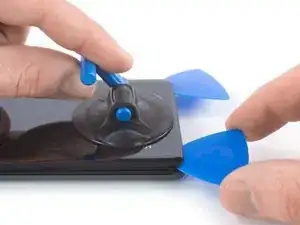
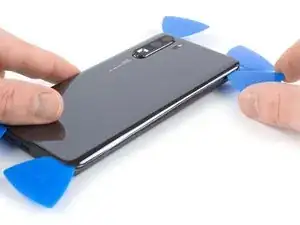
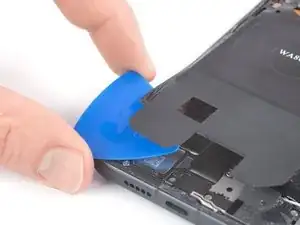
Insert a second opening pick and slide it to the bottom left corner to cut the adhesive.
-
Leave the opening picks in place to prevent the adhesive from resealing.
-
-
-
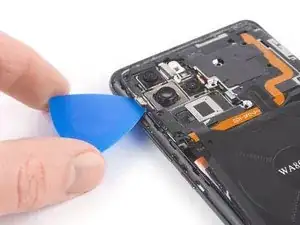
Insert a third opening pick at the bottom left corner.
-
Slide the tip of the opening pick from the bottom left corner along the side of the phone to cut the adhesive.
-
Leave the opening pick in its place at the top left corner to prevent the adhesive from resealing.
-
-
-
If the adhesive becomes hard to cut, it most likely cooled down. Use your iOpener to reheat it.
-
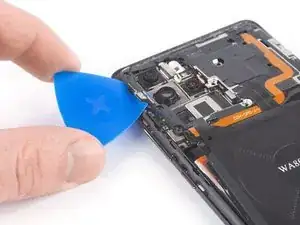
Insert a fourth opening pick under the top left corner of the back cover.
-
Slide the opening pick along the top edge of the phone to cut the adhesive.
-
Leave the opening pick in the top right corner to prevent the adhesive from resealing.
-
-
-
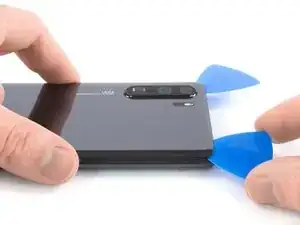
Insert a fifth opening pick at the top right corner of the phone.
-
Slide the opening pick along the right side to cut the remaining adhesive.
-
-
-
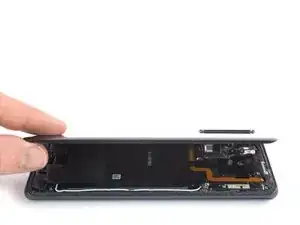
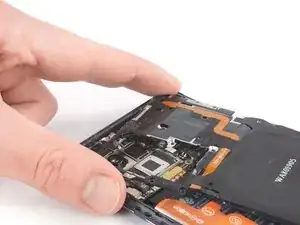
Lift and remove the back cover.
-
Before installing fresh adhesive and reassembling, remove any remaining adhesive from the phone, and clean the glued areas with isopropyl alcohol and a lint-free cloth.
-
-
-
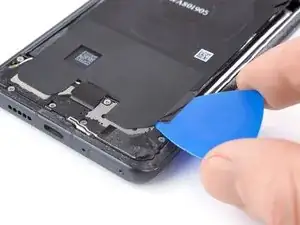
Slide an opening pick under the black adhesive at the bottom right of the charging coil.
-
Carefully loosen the adhesive with the opening pick.
-
-
-
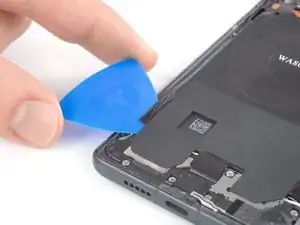
Slide an opening pick under the black adhesive at the bottom left of the charging coil.
-
Carefully loosen the adhesive with the opening pick.
-
-
-
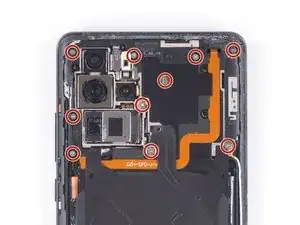
Slide an opening pick under the left side of the motherboard cover.
-
Unhinge the left side of the motherboard cover by slightly rotating the opening pick.
-
-
-
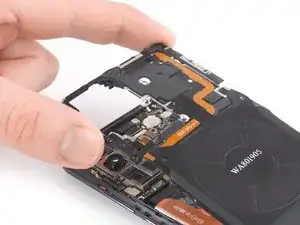
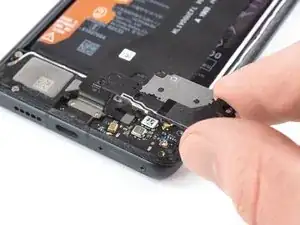
Push the motherboard cover out of the sockets at the top edge of the phone beginning with the top left corner.
-
Remove the motherboard cover including the NFC and charging coil.
-
-
-
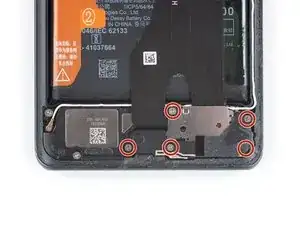
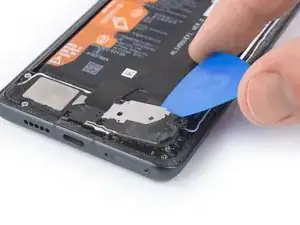
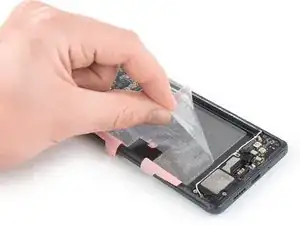
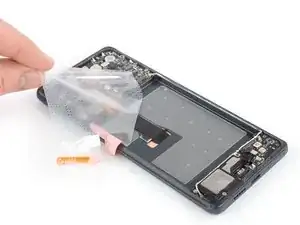
Slide an opening pick under the top edge of the daughterboard cover.
-
Pry up and unhinge the daughterboard cover by slightly rotating the opening pick.
-
-
-
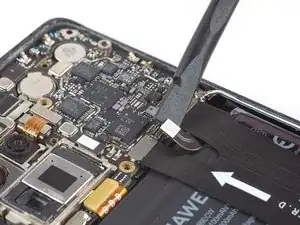
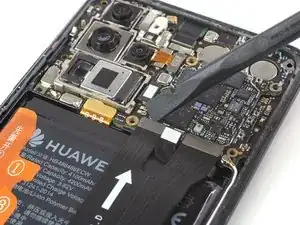
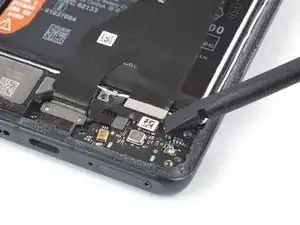
Use a spudger to pry up and disconnect the left main flex cable connector from the motherboard.
-
-
-
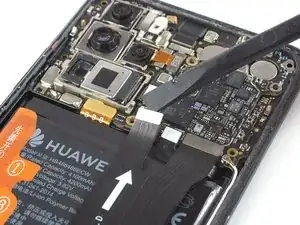
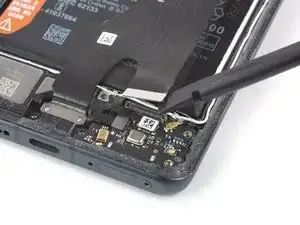
Use a spudger to pry up and disconnect the right main flex cable connector from the motherboard.
-
-
-
Use a spudger to pry up and disconnect the main flex cable connector from the daughterboard.
-
-
-
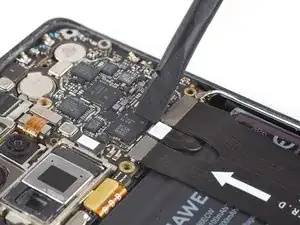
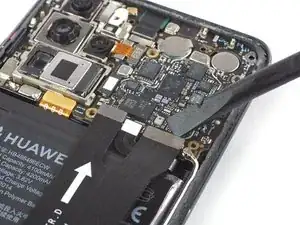
Remove the main flex cable including the charging port by lifting it upwards and then pulling it in the direction of the motherboard.
-
-
-
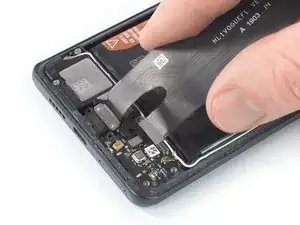
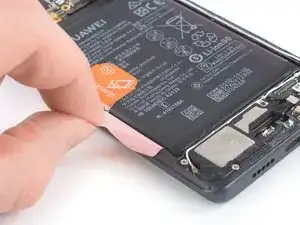
Peel the orange adhesive strip labeled with a 1 off the battery. The orange adhesive tape will rip along a small perforated line.
-
-
-
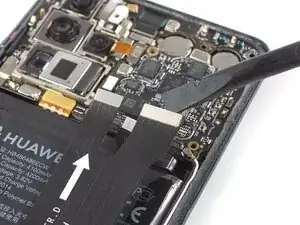
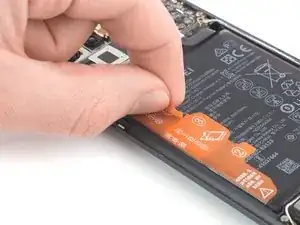
Peel the orange adhesive strip labeled with a 2 off the battery. The orange adhesive tape will rip along a small perforated line.
-
-
-
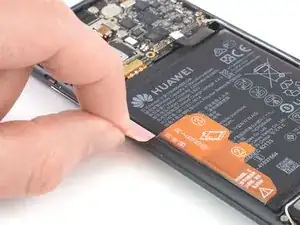
Peel the orange adhesive strip labeled with a 3 off the battery.
-
Pull up the orange adhesive strip to lift the battery out of its recess.
-
-
-
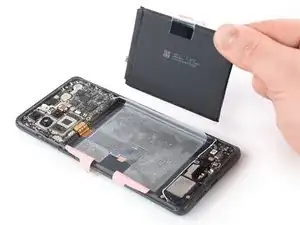
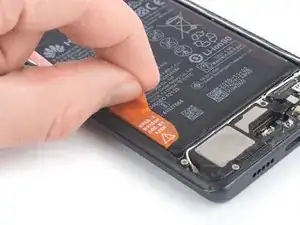
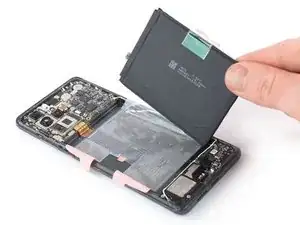
Swing the battery up to an upright position.
-
Peel the battery off the remaining adhesive.
-
Remove the battery.
-


To reassemble your device, follow these instructions in reverse order. Apply new adhesive where necessary after cleaning the relevant areas with isopropyl alcohol (>90%).
For optimal performance, calibrate your newly installed battery: Charge it to 100%, and keep charging it for at least two more hours. Then, use it until it shuts off due to low battery. Finally, charge it uninterrupted to 100%
Take your e-waste to an R2 or e-Stewards certified recycler.
Repair didn’t go as planned? Check out our Answers community for troubleshooting help.

8 comments
Hardware work is accurate. However, replacing original battery to Huawei P30 Pro it will generate a bootloop. Add next step to avoid this please. How to calibrate battery? Actually, how to pair new battery with the mainboard? Same problem occurs to P40lite and perhaps to Mate 30
I also have the same problem, did you find a solution
Xarly -
you have to have the old battery first. I tried 2 batteries and I had the same problem you mentioned. Just put the new battery in its place and don't plug the wear of it, instead, you are going to put the old battery over the new battery and plug the wear of the old battery and turn on the device with the power cable on. Once it's turned on unplug it quickly and plunge the new battery wire. I know it sounds silly but I tried it and it worked. I think what happened is that you trick the phone by doing that. Btw, its hard to have the 2 batteries over each other but keep holding them.
nuno437 -
Hi, regarding the battery replacement, you will need to have the original battery serial number and copy it to the new one.
This can be done using ChimeraTool, but bear in mind you need to know what is your current firmware version. So before repair write down your firmware version ( example: VOG-L09 10.1.0.151(C636e9r2p4) ) and if it’s with the most recent update Chimera might not have it yet, so you will need to wait until they update.
Hope this helps!
Can I contact you for help?
Hi.
I have replaced battery and microphone in the repair shop. Now i am in EMUI loop. I have been told that after factory reset all will come back to normal.
No copy of data been done also i dont know EMUI firmware version. Trying my best to recover any data like photos.
WIFI and USB update have failed
Is it possible to do something about it. Phone worked just fine on old battery.
papajekw -
you have to have the old battery first. I tried 2 batteries and I had the same problem you mentioned. Just put the new battery in its place and don't plug the wear of it, instead, you are going to put the old battery over the new battery and plug the wear of the old battery and turn on the device with the power cable on. Once it's turned on unplug it quickly and plunge the new battery wire. I know it sounds silly but I tried it and it worked. I think what happened is that you trick the phone by doing that. Btw, its hard to have the 2 batteries over each other but keep holding them
nuno437 -