Introduction
Although Apple never sold the 2010 27" iMac with the option of having a second HDD or SSD drive, they did provide the framework for inserting one yourself. Using a secondary SATA port on the logic board and tapping into the power supply, it is very simple to add a second drive into this iMac. Use this guide to install a second drive in the 2010 27" iMac, EMC 2390.
-
-
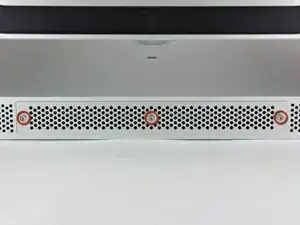
Loosen the three Phillips screws securing the access door to the bottom edge of your iMac.
-
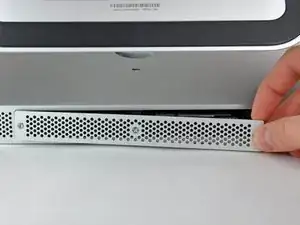
Remove the access door from your iMac.
-
-
-
Use your fingers or the tip of a spudger to slide the black plastic RAM tray pull tab out of the RAM slot.
-
-
-
Pull the black plastic tab away from the iMac to eject the RAM chip from its socket.
-
Use your fingers to slide the RAM chip out of its socket.
-
-
-
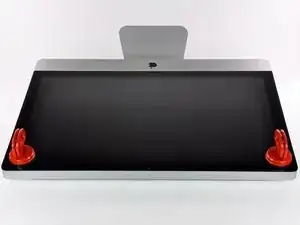
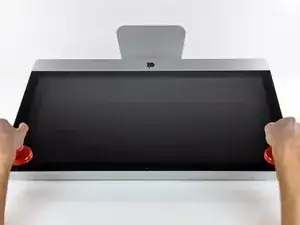
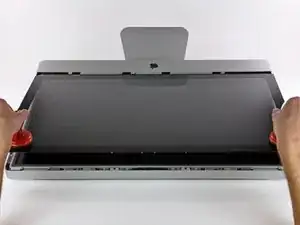
Stick a heavy-duty suction cup near each of the two top corners of the glass panel.
-
While lightly holding the suction cup against the glass, raise the movable handle until it is parallel with the other handle (as indicated by the third picture).
-
-
-
Gently lift the glass panel perpendicular to the face of the LCD, enough to clear the steel mounting pins attached along the underside of the top edge of the glass panel.
-
Pull the glass panel away from the lower edge of the iMac and carefully set it aside.
-
-
-
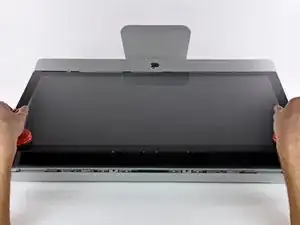
Carefully lay the iMac stand-side down on a flat surface.
-
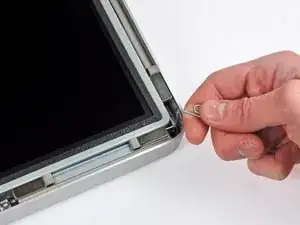
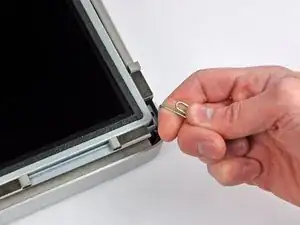
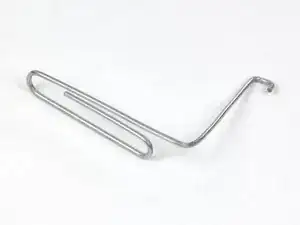
Use a thin hooked tool to lift one side of the top edge of the display by its steel outer frame.
-
-
-
Using your fingers, carefully pull the vertical sync cable out of its socket on the LED driver board near the top left corner of your iMac.
-
-
-
Squeeze the two display data cable connector arms together to unlock it from its socket on the logic board.
-
Pull the display data cable connector away from its socket on the logic board.
-
-
-
Rotate the display out of the outer case enough to disconnect the LED backlight power cable from the LED driver board.
-
-
-
Lift the display for enough clearance to disconnect the LCD thermal sensor cable connector from its socket on the logic board.
-
-
-
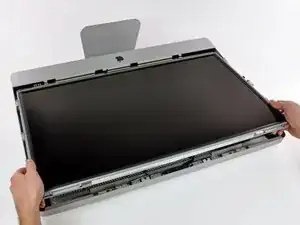
Carefully pull the display toward the top edge of your iMac and lift it out of the outer case.
-
-
-
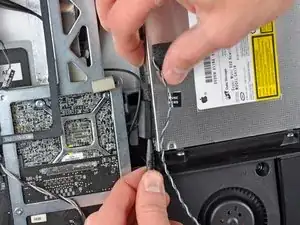
Pull the optical drive thermal sensor connector straight away from its socket on the logic board.
-
-
-
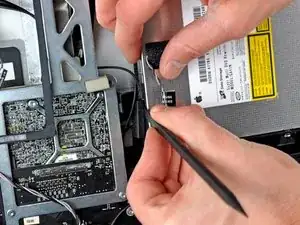
Insert a spudger between the optical drive connector and the optical drive.
-
Twist the spudger to slightly separate the optical drive connector from the optical drive, then use your fingers to pull the connector away from the drive.
-
-
-
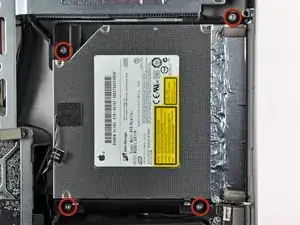
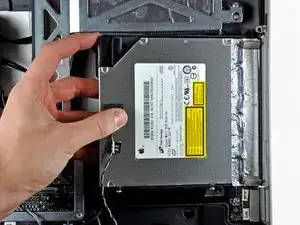
Lift the left edge of the optical drive slightly and pull it away from the right side of the outer case.
-
During reassembly, note that there are two holes in the optical drive face plate into which two stubby plastic posts must engage for proper positioning.
-
-
-
Carefully move the rear I/O board ribbon cable to reveal the optical drive fan connector hidden underneath.
-
Disconnect the optical drive fan by pulling its connector away from the socket on the logic board.
-
-
-
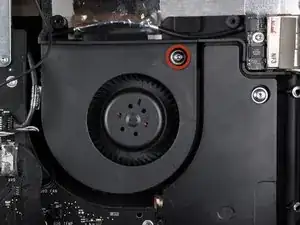
Remove the single T10 Torx screw securing the optical drive fan to the outer case.
-
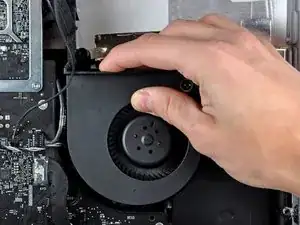
Pull the optical drive fan away from the outer case to lift it off the three plastic posts around its perimeter.
-
Carefully maneuver the optical drive fan out of the iMac, minding any cables that may get caught.
-
-
-
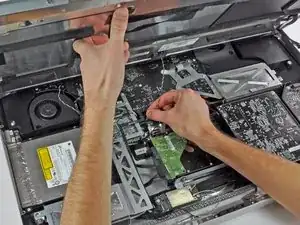
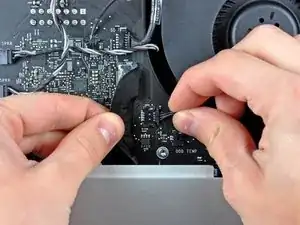
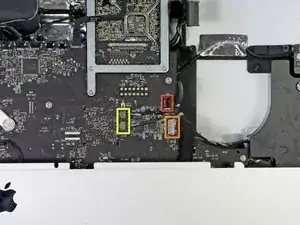
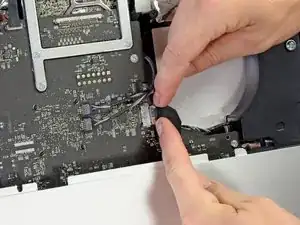
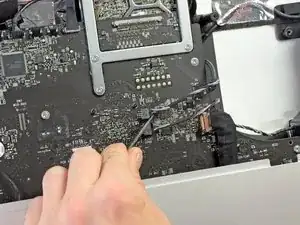
Using your fingernails or the flat end of a spudger, remove the three connectors from the right side of the logic board.
-
SD card reader
-
Rear I/O board
-
Left and Right Speakers
-
-
-
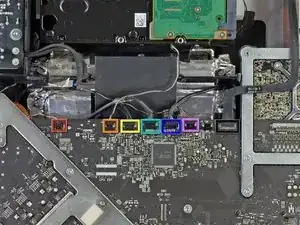
Remove the six parallel connectors from the top of the logic board using your fingernails, pulling parallel to the logic board.
-
Skin Temperature
-
Hard Drive Temperature
-
Hard Drive Fan
-
Camera
-
Bluetooth
-
Ambient Temperature Sensor
-
Remove the airport cable from the logic board by prying straight up with a spudger.
-
-
-
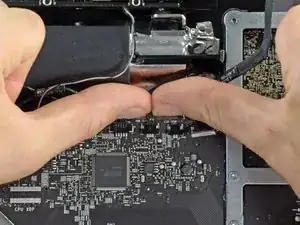
In the same manner described above, use your fingernails to remove the two cable connectors from the left side of the logic board.
-
Power Button
-
CPU Fan
-
-
-
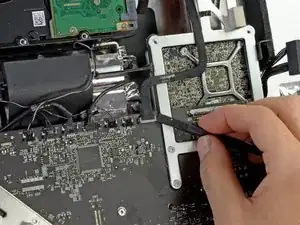
In the same manner described above, remove the IR sensor board cable from its socket on the logic board.
-
Carefully pull the IR sensor board straight up, out of the iMac.
-
-
-
Remove the following eight T10 Torx screws securing the logic board to the iMac:
-
Four 25 mm screws
-
Two 21.4 mm screws
-
One 7.2 mm screw
-
One 9.3 mm screw
-
-
-
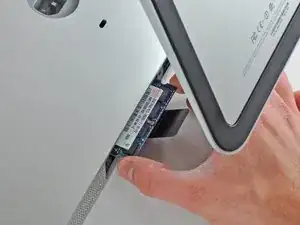
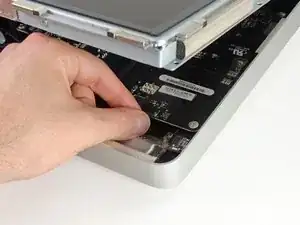
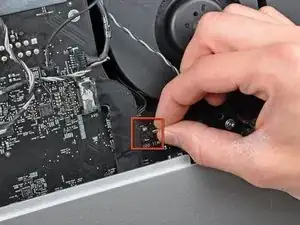
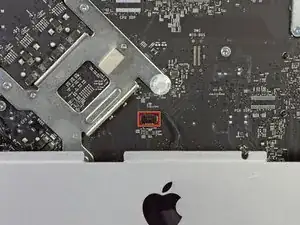
Using the flat end of a spudger, remove the SATA power cable from its socket on the hard drive.
-
-
-
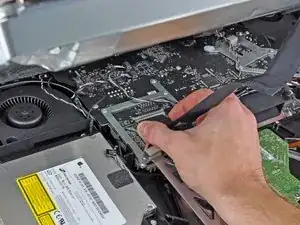
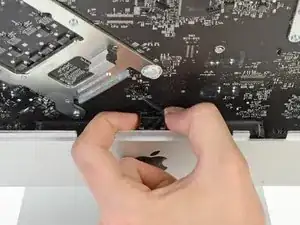
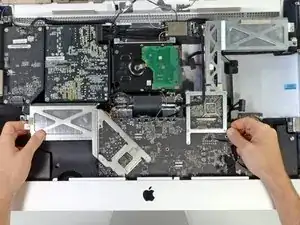
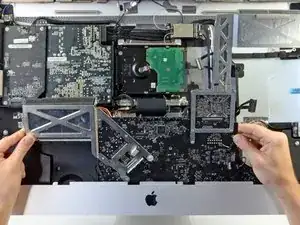
Simultaneously, lift and rotate the logic board out of the iMac.
-
Carefully lean the logic board against the front of the iMac, so that it leans out of the iMac.
-
-
-
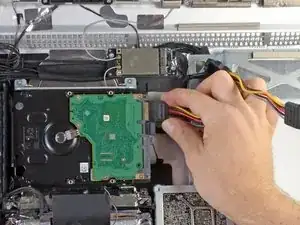
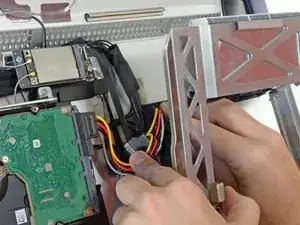
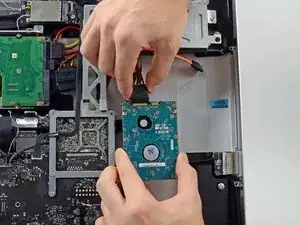
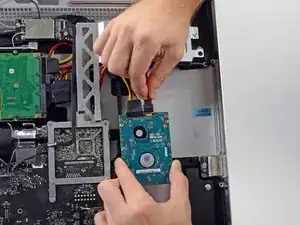
Attach the male junction of the SATA power splitter to the original hard drive power cable.
-
Plug one of the branches into the hard drive.
-
-
-
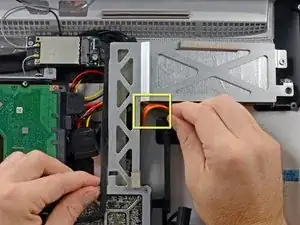
Carefully route the other branch of the SATA power splitter underneath the GPU heat sink.
-
There is a cutaway in the plastic near the optical drive frame. Route the power cable through this cutaway.
-
-
-
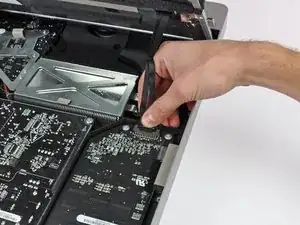
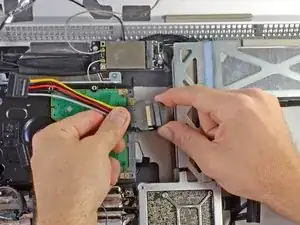
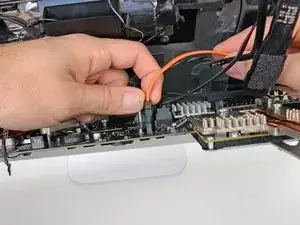
Carefully lean the logic board forward, just enough to access the rear side.
-
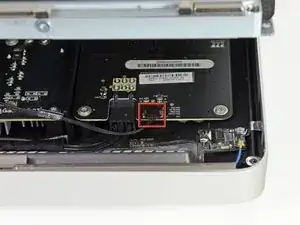
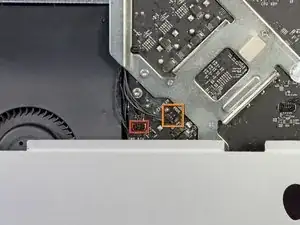
Connect one end of the SATA data cable to the secondary SATA data socket on the logic board.
-
-
-
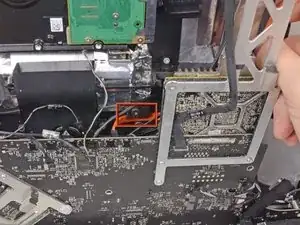
Start leaning the logic board back into the iMac.
-
Route the SATA data cable underneath the edge of the metal plate behind the logic board.
-
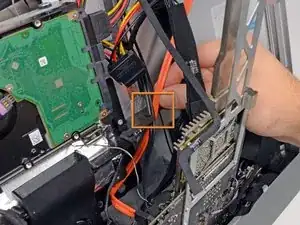
Continue routing the SATA cable up through the cable slot in the plastic frame.
-
Finish routing the SATA cable though the cutaway in the plastic frame near the optical drive, just below the GPU heat sink.
-
-
-
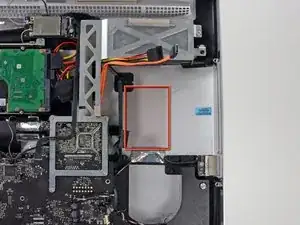
After removing the backing from the adhesive pads, press the secondary hard drive firmly against the aluminum frame of the iMac.
-


To reassemble your device, follow these instructions in reverse order, starting from Step 20

27 comments
Adding a SSD drive for the system was a simple process and has completely transformed my old i3 iMac - definitely worth the money and effort
5 hours an IT support officer. This task is not for the feint hearted. A guide from OWC suggested locating SSD near HDD and this proved easier for me. This guide was accurate and the many images were very helpful. Thanks.
<i>Apple never sold the 2010 27" iMac with the option of having a second hard drive,</i>
This isn't true. Mine has a 256GB Apple-installed second drive.
seligerj -
I am going to put a very important comment here. Before you start this process listen to the fans on your iMac do any of them sound obviously loud (think about how quiet your iMac used to sound as a reference) If you notice one or more of them sounding substantially loud compared to the others consider locating a replacement fan prior starting this process. After all if you are already “in the neighborhood” it is a shame to do all this work only to have to disassemble your imac a couple weeks later because you realize the fan is failing. I speak from my own personal learning experience of having to disassembly my iMac 3 weeks later because the HDD was failing and apparently the moving the fan around was just enough to push it to start really under performing.
Wizbang FL -
I’m not sure why it is necessary to remove the RAM. As far as I can tell, it can remain in place during this procedure.
gordonhamachi -