Introduction
Replace the upper LCD on your Nintendo DS Lite.
-
-
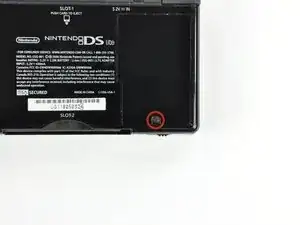
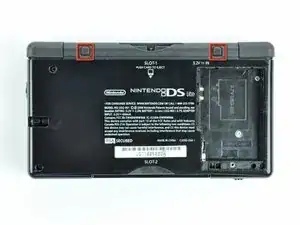
Unscrew the Phillips screw securing the battery cover to the lower case.
-
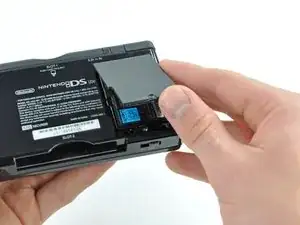
Pry the battery cover upward with a spudger or fingernail, and lift out of the lower case.
-
-
-
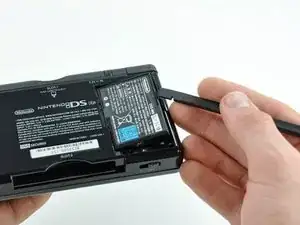
Wedge the edge of a spudger in between the side of the battery and the lower case housing and pry upward to dislodge the battery.
-
Remove the battery from the DS Lite.
-
-
-
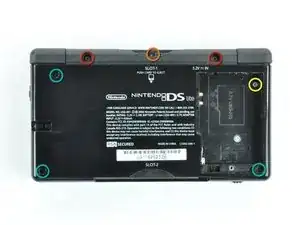
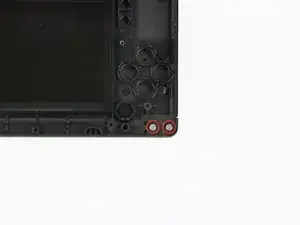
Remove the following screws securing the lower case to the body of the DS Lite:
-
Two 4.3 mm gold Phillips screws
-
One 3.9 mm black Tri-Wing screw
-
One 3.3 mm silver Phillips screw
-
Three 5.5 mm silver Tri-Wing screws
-
-
-
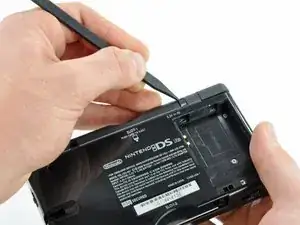
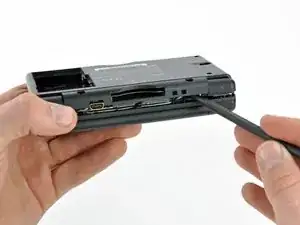
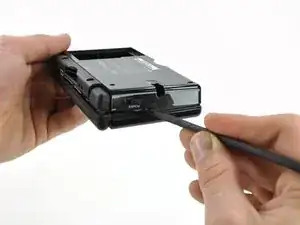
Insert the edge of a spudger in between the lower and upper case near the top right corner of the DS Lite.
-
Carefully run the spudger along the right edge of the DS Lite, creating an opening in the process.
-
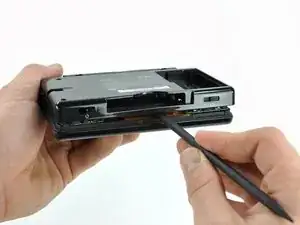
Continue running the spudger along the backside of the DS Lite until the majority of the lower case has been separated from the upper case.
-
-
-
Use the flat edge of a spudger to pry the Wi-Fi antenna connector straight up from its socket on the Wi-Fi board.
-
-
-
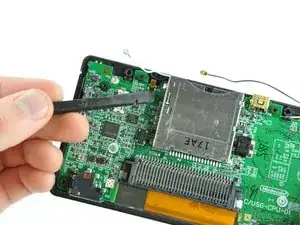
Use the flat edge of a spudger to pry the Wi-Fi board connector straight up from its socket on the motherboard.
-
-
-
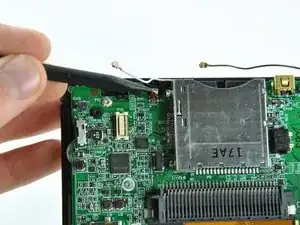
Use the flat edge of a spudger to separate the right edge of the Wi-Fi board from the motherboard.
-
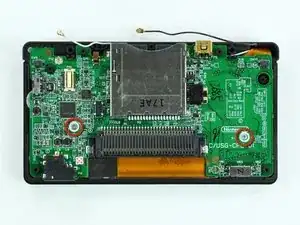
Remove the Wi-Fi board from the DS Lite.
-
-
-
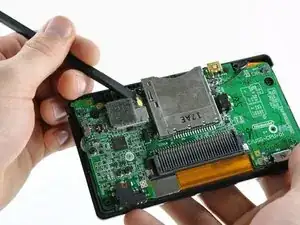
Use the flat edge of a spudger to pry the microphone connector straight up from its socket on the motherboard.
-
-
-
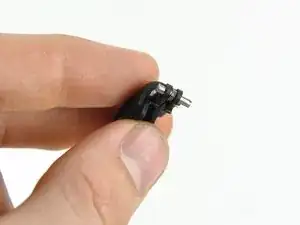
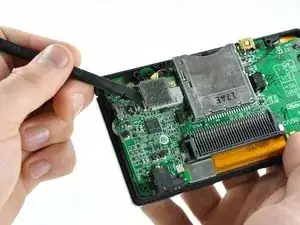
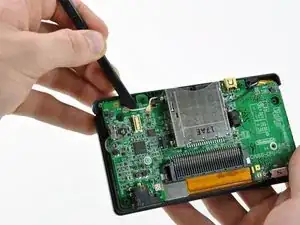
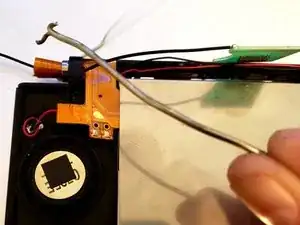
Position the antenna cable with its connector facing up and away from the motherboard using a spudger to hold it down lightly in the gap between chips on the motherboard.
-
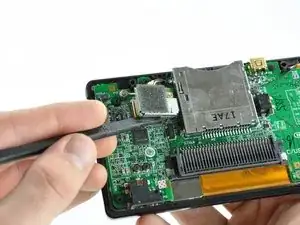
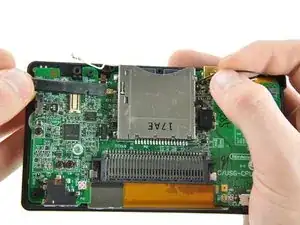
Slowly and carefully pull the antenna cable until the cable connector is under the DS Lite game cartridge reader.
-
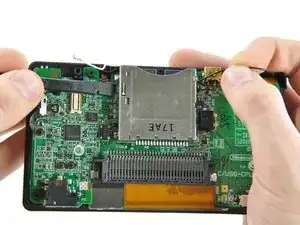
Continue pulling the cable until the cable connector comes out from under the game cartridge reader on the right side.
-
-
-
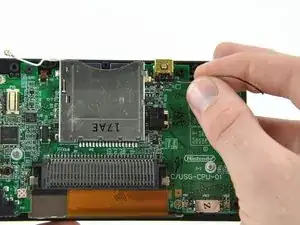
Use your fingernail or the edge of a spudger to carefully flip up the touchscreen ribbon cable retaining flap.
-
Use the tip of a spudger to pull the touchscreen ribbon cable straight out of its socket.
-
-
-
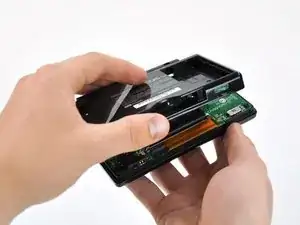
Open the display enough to use your finger to push the front edge of the motherboard up and away from the upper case.
-
-
-
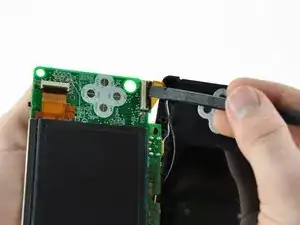
Use your fingernail or the flat edge of a spudger to carefully flip up the upper LCD ribbon cable retaining flap.
-
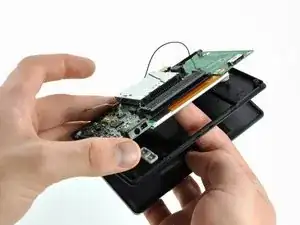
Pull the motherboard away from the DS Lite to separate the upper LCD ribbon cable from its socket on the motherboard.
-
Remove the motherboard from the DS Lite.
-
Now you may open the retaining flap for the lower LCD screen in the same way and separate the lower LCD screen from the motherboard.
-
-
-
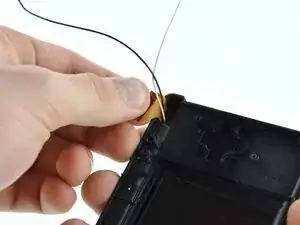
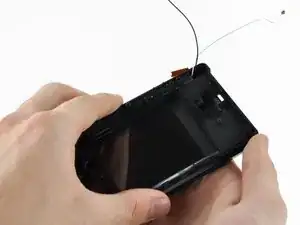
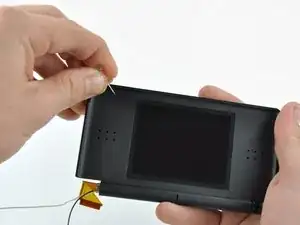
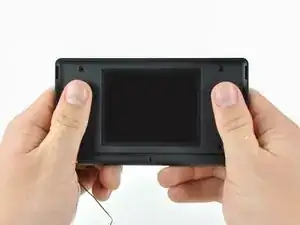
Pull the upper LCD ribbon cable to the right, through the slit in the case.
-
Push the ribbon cable down through the slit.
-
-
-
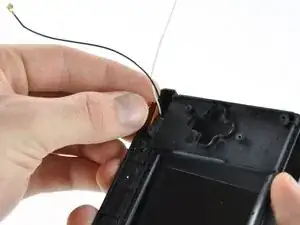
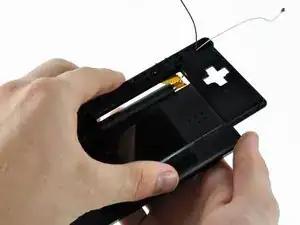
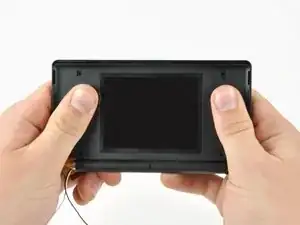
Slowly lift the upper case away from the display, making sure the ribbon cable does not get caught.
-
-
-
Once the ribbon cable is free from the upper case, pull the antenna and Wi-Fi cables through the hole in the upper case.
-
Remove the upper case from the DS Lite.
-
-
-
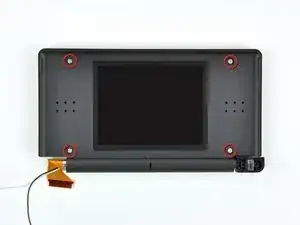
Remove the four 3.4 mm Phillips screws securing the rear display bezel to the front display bezel
-
-
-
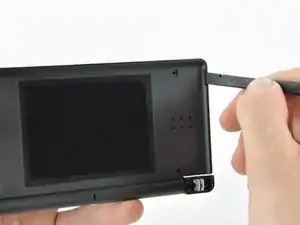
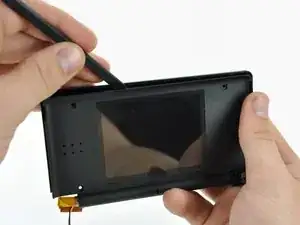
Insert a spudger in the gap between the front and rear display bezels and pry the front bezel away from the rear bezel.
-
Lift the rear display bezel away from the display assembly.
-
-
-
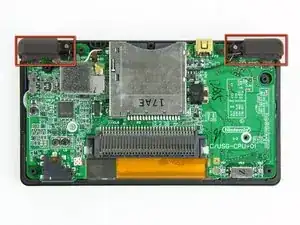
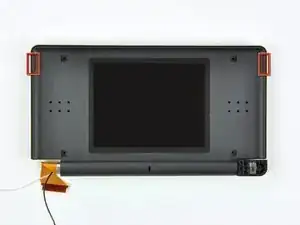
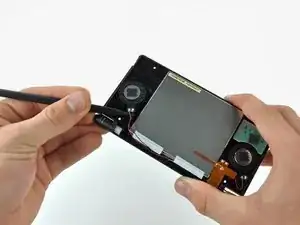
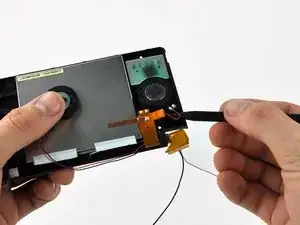
Use the tip of a spudger to pry both speakers up from their housing and place them on the back of the LCD.
-
-
-
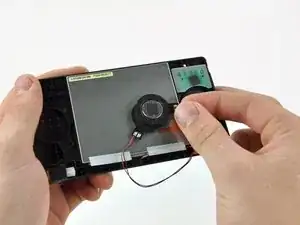
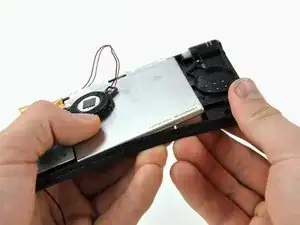
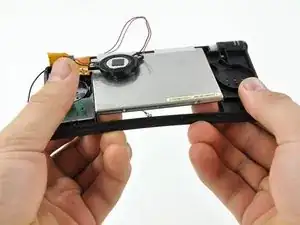
Starting in the top right corner, use both hands to slowly separate the LCD from the front display bezel.
-
Continue separating along the top and left edges of the LCD.
-
Finally, push the LCD up and away from the front display bezel.
-
-
-
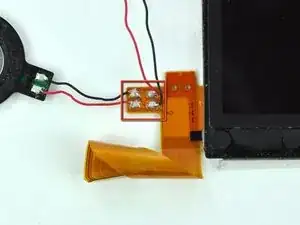
Desolder the speakers from the upper LCD by heating up the solder joints with a soldering iron and simultaneously pulling the speaker wires away from the ribbon cable.
-
Upper LCD remains.
-
-
-
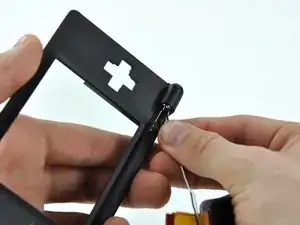
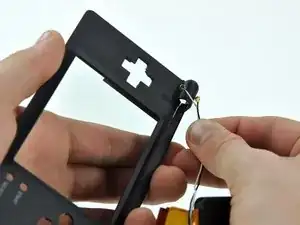
Use a small hook to help curl the leading edge of the ribbon through the display hinge. A piece of solder like this one (shown) works well.
-


To reassemble your device, follow these instructions in reverse order.

9 comments
This is a very concise and accurate guide! I found this repair to be very difficult, especially so due to the aftermarket Chinese screen I installed that required me to solder on the speaker wires. Ugh! If you can, get a replacement with the speakers attached. I also can't stress enough how annoying threading the ribbon cable through the case is. DS is a great platform, but product design left a lot to be desired.
This repair is somewhat difficult. There are a couple of points to be careful about:
1) The display ribbon cable is fairly easy to remove from the hinge, but somewhat difficult to route through it once the new display is in place. It is easier to do if the antenna/microphone wires are out of the way.
2) The ribbon connector is fairly short and difficult to manipulate so that it mates securely to the socket on the motherboard. If it isn't seated properly the DS will not boot. So test it first (by temporarily pressing the battery against the battery connectors and turning power on) before re-assembly.
Kar Wong -
Make a note of where the Wi-Fi antenna connector, microphone, and speaker wires are positioned in the DS Lite housing. If they are not placed back in the correct location, the case will not close. If you force it closed you will squash the wiring which could lead to problems later on. Also be sure the speakers are placed back in correctly. If you can see metal through the speaker holes in the case then you've done it wrong (flip the speakers over). Lastly, when trying to maneuver the antenna connector back under the game cartridge reader, make sure the connector head is face down so that it does not get stuck (happened to me). If you look at the picture in Step 7, it's a straight shot from right to left when running the wire through. Use a paperclip and a flashlight to help you if you get stuck and most importantly, do not try to yank it free!
Nick G -
A Phillips #000 (PH000) seems to give a more secure fit (no slipping) than the stated Phillips #00.
Ritchie -
This will be good for mods
Matthew Bevins -
I'm having a problem getting the screw to unscrew. I have the right Phillips ( it was included with all the stuff I got this) Any tips. it doesn't look like the screw is spinning but i haven't played my Nintendo DS Lite for 3 years.
whittlegirls -
bonjour j’ai une petite question pour vous fais trés longtemps que j’ai pas utiliser mon nintendo ds lite et quand je le branche il allume 1 fois orange après il s’enteint même s’il est brancher ça veux tu dire qu’il faut que je change de batterie ? Merci
Marie-Julie Richer -
Soit un changement de batterie, soit la carte-mère a peut-être un court-circuit :/
Polaris -