Introduction
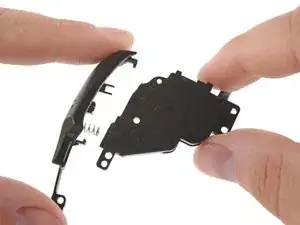
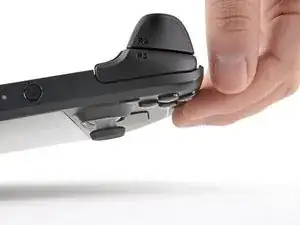
Use this guide to replace the left bumper button (L1) in your Steam Deck.
Remember: follow general electrostatic discharge (ESD) safety procedures while repairing your device.
Tools
Parts
-
-
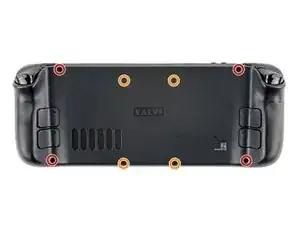
Use a Phillips driver to remove the eight screws securing the back cover:
-
Four 9.5 mm screws
-
Four 5.8 mm screws
-
-
-
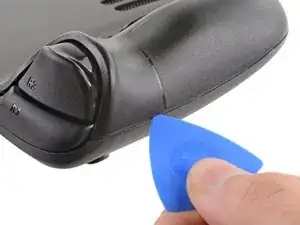
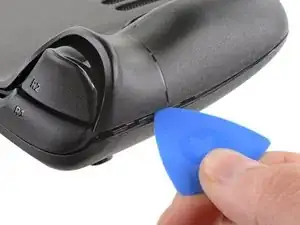
Insert an opening pick into the thin gap between the back cover and the front shell, along the edge of the right grip.
-
Pry up on the back cover to release it from the locking clips.
-
-
-
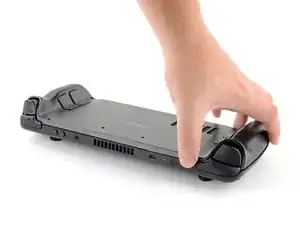
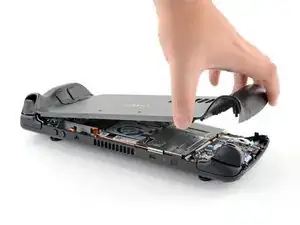
Grip the back cover at the opening you just created and pull it up and away from the device to unclip the long edges.
-
Remove the back cover.
-
-
-
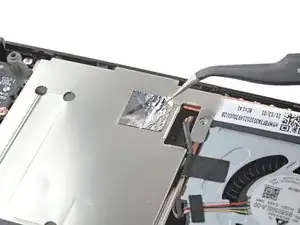
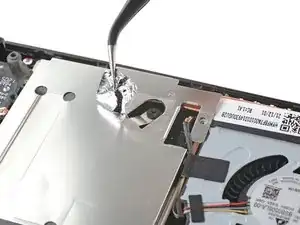
Use a pair of tweezers to remove the piece of foil tape covering the hidden screw on the board shield.
-
-
-
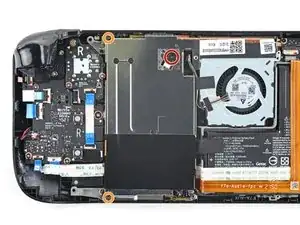
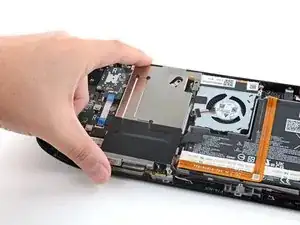
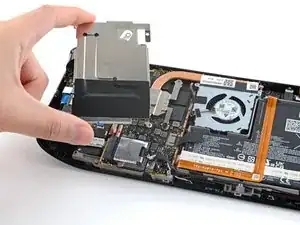
Use a Phillips driver to remove the three screws securing the board shield:
-
One 3.4 mm screw
-
Two 3.7 mm screws
-
-
-
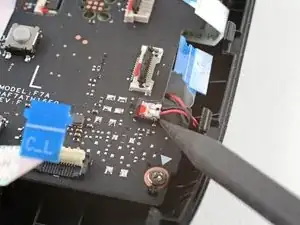
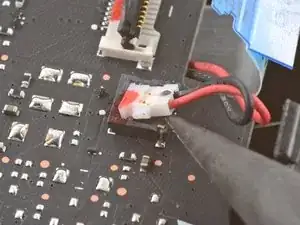
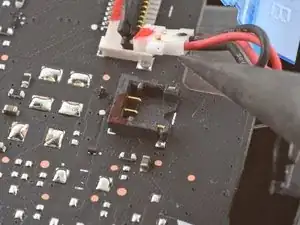
Grip the battery cable by its pull tab and pull it directly away from the motherboard to disconnect it.
-
-
-
Place the flat end of a spudger onto the inside edge of the trigger's left clip.
-
Pivot the trigger clip out, away, and up from the peg to unlatch it.
-
-
-
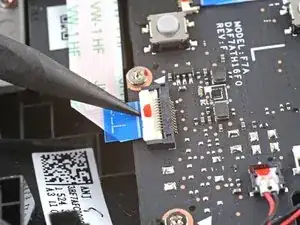
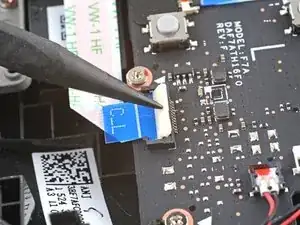
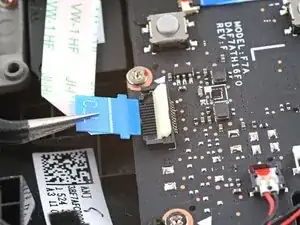
Use the pointed end of a spudger to lift up the small locking flap on the thumbstick cable's ZIF connector.
-
Use a pair of tweezers to slide the cable out of its connector.
-
-
-
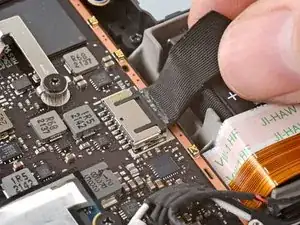
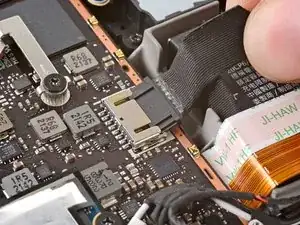
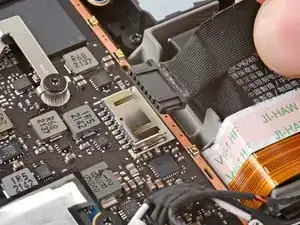
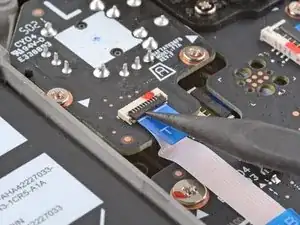
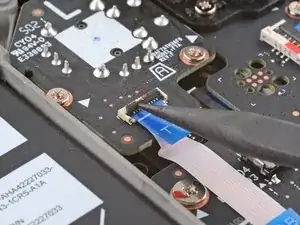
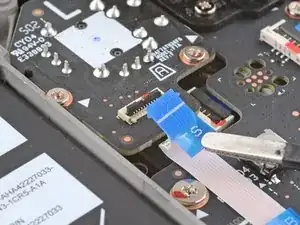
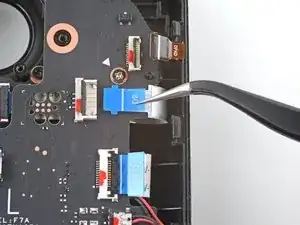
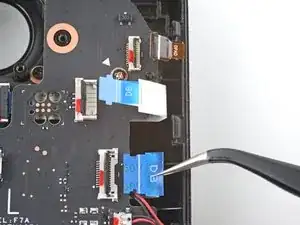
Use the pointed end of a spudger to lift up the small locking flap on the button board interconnect cable's ZIF connector.
-
Use a pair of tweezers to slide the cable out of its connector.
-
-
-
Use the pointed end of a spudger to lift up the small locking flaps on the rest of the button board ZIF connectors. Use a pair of tweezers to slide the cables out of their connectors:
-
Disconnect the D-pad cable.
-
Disconnect the touchpad board cable.
-
Disconnect the touchpad cable.
-
-
-
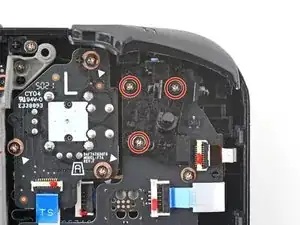
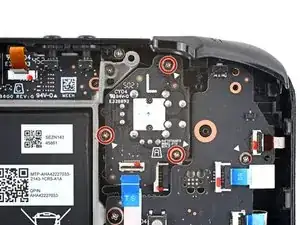
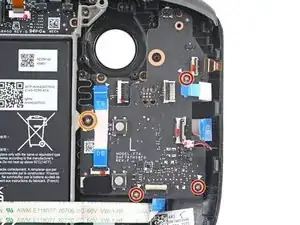
Use a Phillips driver to disconnect the four screws securing the left button board:
-
Three 5.2 mm screws
-
One 3.9 mm screw
-
-
-
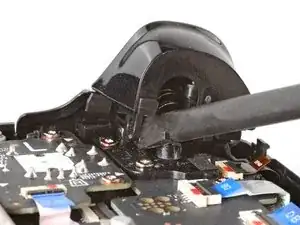
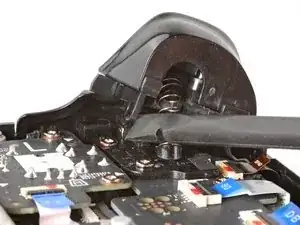
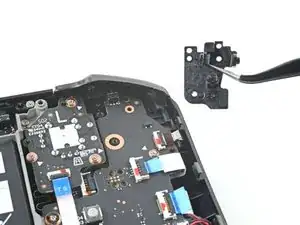
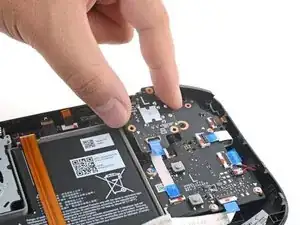
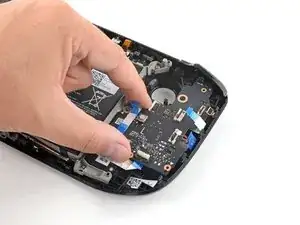
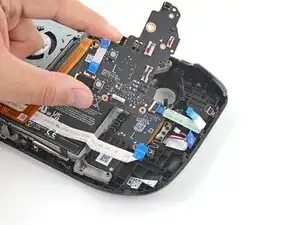
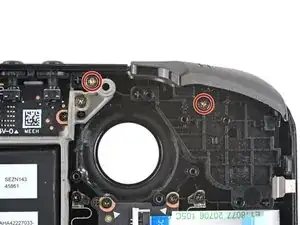
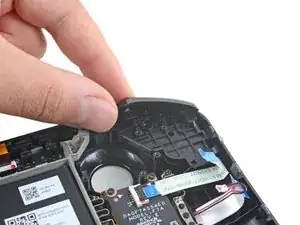
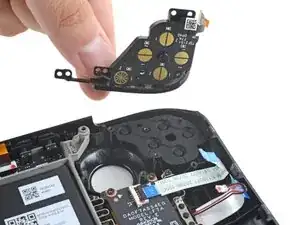
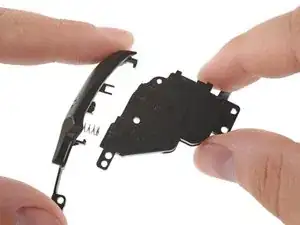
Lift the button up and away from the bracket to unclip the topmost plastic tab.
-
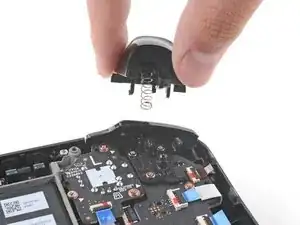
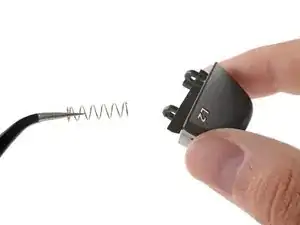
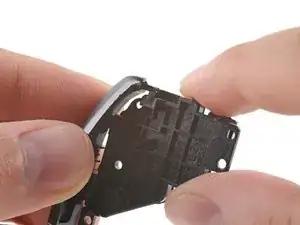
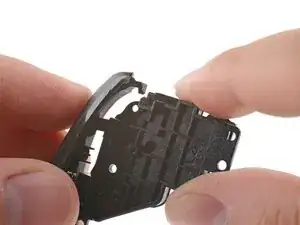
Disconnect the rest of the plastic tabs to remove the button.
-
To reassemble your device, follow these instructions in reverse order.
Take your e-waste to an R2 or e-Stewards certified recycler.
Repair didn’t go as planned? Try some basic troubleshooting, or ask our Steam Deck answers community for help.
6 comments
All good! but you are missing the last step as you will need to replace the Dpad contacts and place them on the new bumper.
I broke the Step 17 connector's support, with no preassure, just as a lever, any idea on replacing the DAF7ATH16F0 Rev F (last 0 may be a O) board? I will solder the broken connector but I don't think I will be able to, so small
Carquis -
This part is not available in Canada, I've seen your product advertised all over the tech industry, but this part is not available to ship to Canada, that's too bad, I would have purchased the repair kit along with this part, I guess I'm stuck with the rma process. I guess right to repair is still very broken.
