Introduction
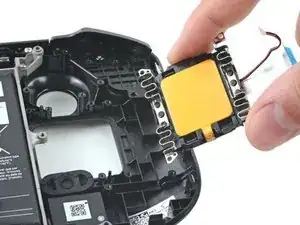
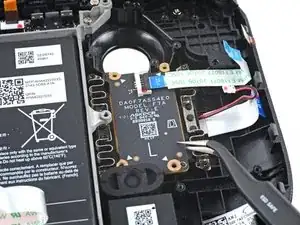
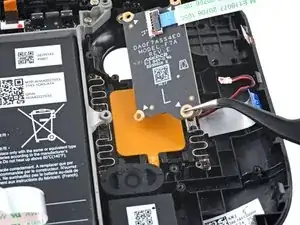
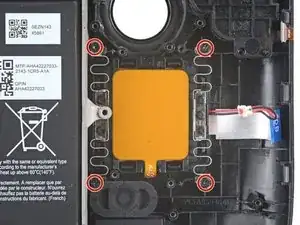
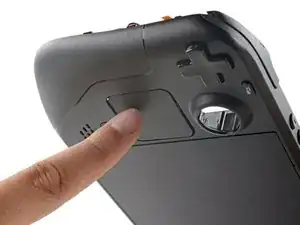
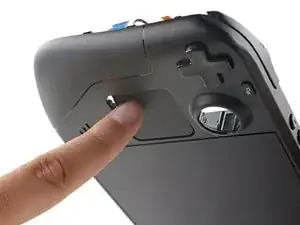
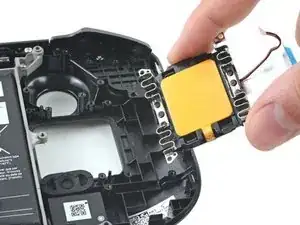
Use this guide to replace the left touchpad on your Steam Deck. The touchpad itself is part of a larger module—including haptics—and needs to be replaced as one unit. Although similar, the procedure for the right touchpad can be found here.
Remember: follow general electrostatic discharge (ESD) safety procedures while repairing your device.
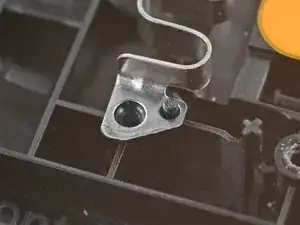
Note: The touchpad's springs are very delicate and are precisely positioned. If bent, the touchpad may rattle or not work as intended.
These steps only describe how to physically remove and replace your console’s touchpad. You may need additional software tools and calibration procedures to get the replacement touchpad to function as intended.
Tools
-
-
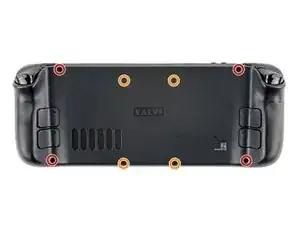
Use a Phillips driver to remove the eight screws securing the back cover:
-
Four 9.5 mm screws
-
Four 5.8 mm screws
-
-
-
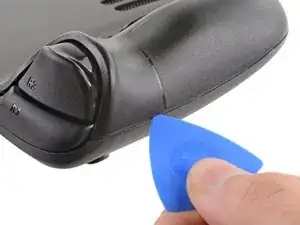
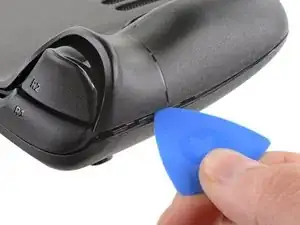
Insert an opening pick into the thin gap between the back cover and the front shell, along the edge of the right grip.
-
Pry up on the back cover to release it from the locking clips.
-
-
-
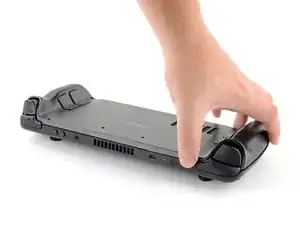
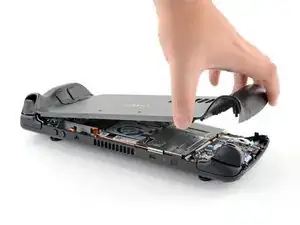
Grip the back cover at the opening you just created and pull it up and away from the device to unclip the long edges.
-
Remove the back cover.
-
-
-
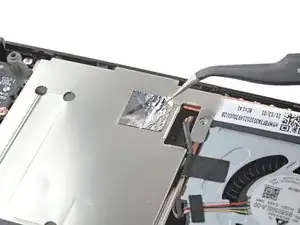
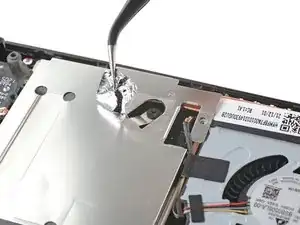
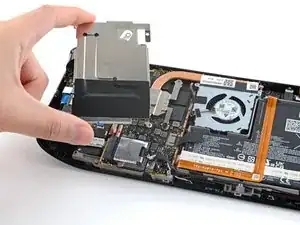
Use a pair of tweezers to remove the piece of foil tape covering the hidden screw on the board shield.
-
-
-
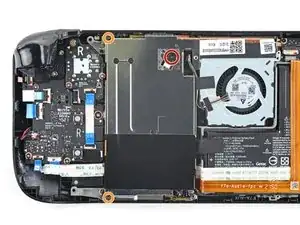
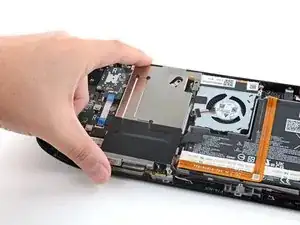
Use a Phillips driver to remove the three screws securing the board shield:
-
One 3.4 mm screw
-
Two 3.7 mm screws
-
-
-
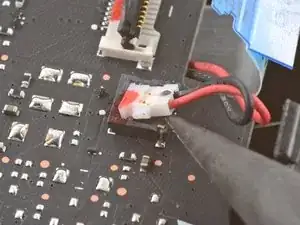
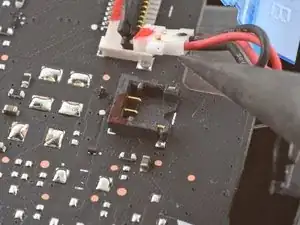
Grip the battery cable by its pull tab and pull it directly away from the motherboard to disconnect it.
-
-
-
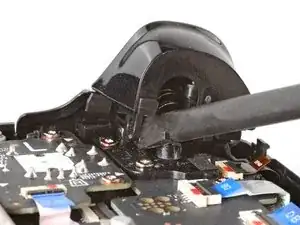
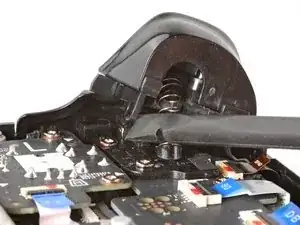
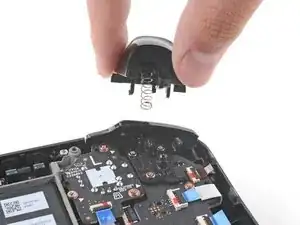
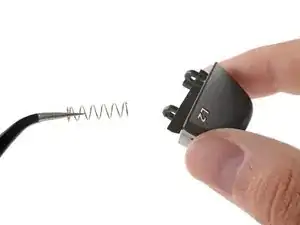
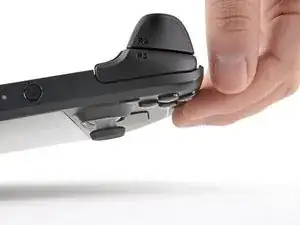
Place the flat end of a spudger onto the inside edge of the trigger's left clip.
-
Pivot the trigger clip out, away, and up from the peg to unlatch it.
-
-
-
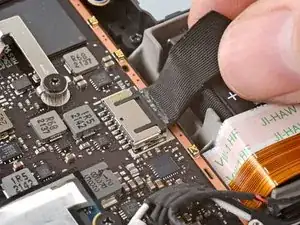
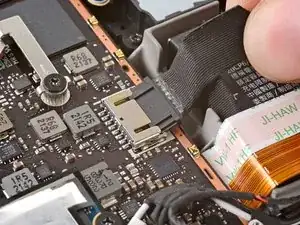
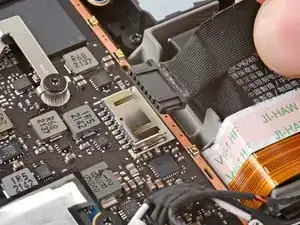
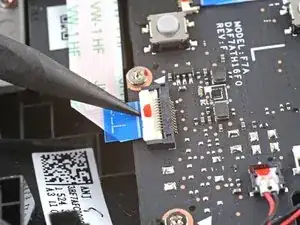
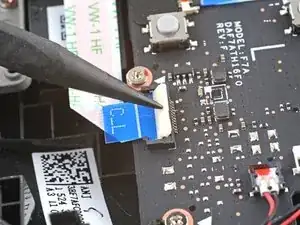
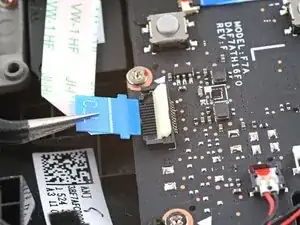
Use the pointed end of a spudger to lift up the small locking flap on the thumbstick cable's ZIF connector.
-
Use a pair of tweezers to slide the cable out of its connector.
-
-
-
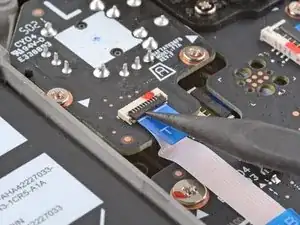
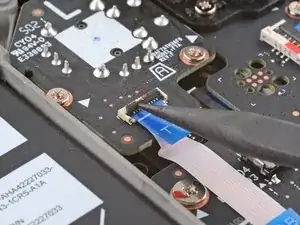
Use the pointed end of a spudger to lift up the small locking flap on the button board interconnect cable's ZIF connector.
-
Use a pair of tweezers to slide the cable out of its connector.
-
-
-
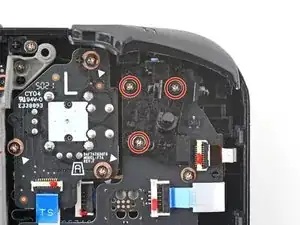
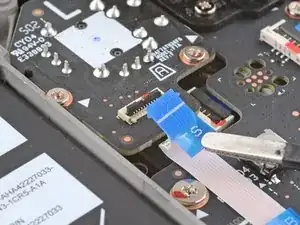
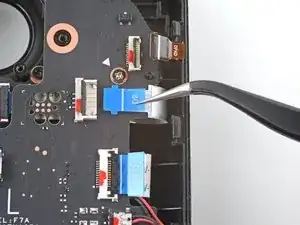
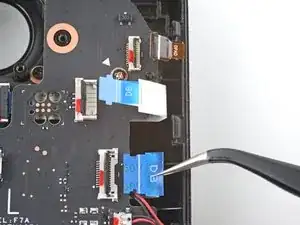
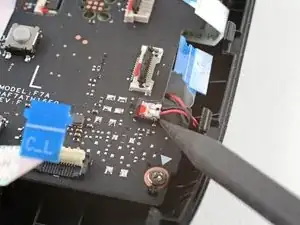
Use the pointed end of a spudger to lift up the small locking flaps on the rest of the button board ZIF connectors. Use a pair of tweezers to slide the cables out of their connectors:
-
Disconnect the D-pad cable.
-
Disconnect the touchpad board cable.
-
Disconnect the touchpad cable.
-
-
-
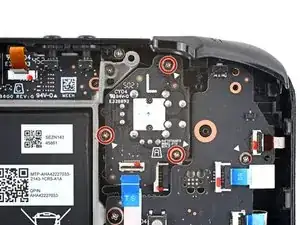
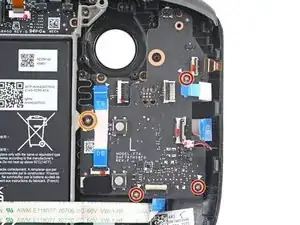
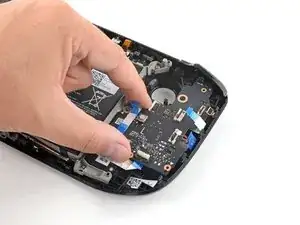
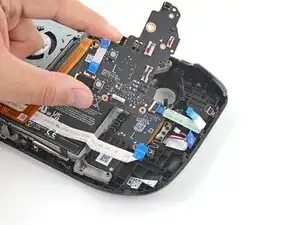
Use a Phillips driver to disconnect the four screws securing the left button board:
-
Three 5.2 mm screws
-
One 3.9 mm screw
-
-
-
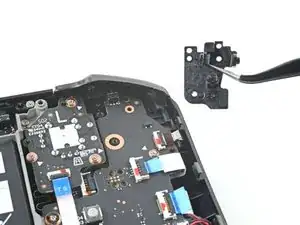
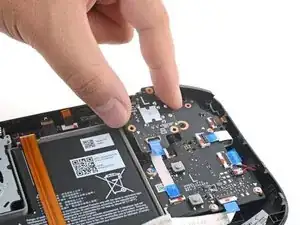
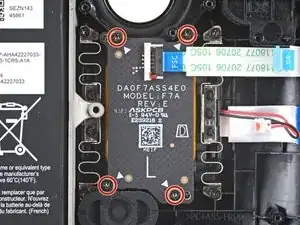
From the front of the Steam Deck, use your finger to push the left touchpad partway through the front shell to unseat it.
-
Lift the touchpad out from underneath the overhanging section of the midframe.
-
Remove the touchpad.
-
To reassemble your device, follow these instructions in reverse order.
Take your e-waste to an R2 or e-Stewards certified recycler.
Repair didn’t go as planned? Try some basic troubleshooting, or ask our Steam Deck answers community for help.
5 comments
Are there any leads on where to get replacement touch pads?
Mitch B -
I, too, would like to know where we can obtain replacement touchpads.
Yeah where are the replacement touch pads? My left pad is stuck and clicky.
