Introduction
Use this guide to remove and replace the loudspeaker in an iPhone 12 Pro Max. The loudspeaker is the speaker at the bottom of an iPhone.
-
-
Power off your iPhone before beginning disassembly.
-
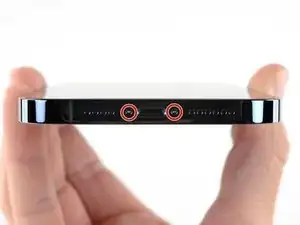
Remove the two 6.7 mm-long pentalobe P2 screws at the bottom edge of the iPhone.
-
-
-
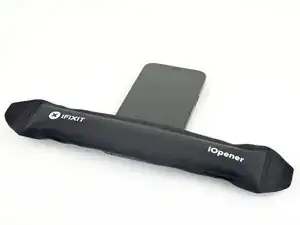
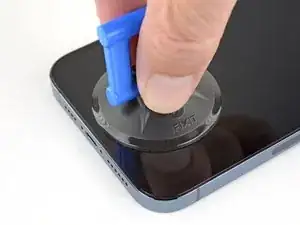
Prepare an iOpener and apply it to the lower edge of the iPhone for about a minute in order to soften up the adhesive underneath.
-
-
-
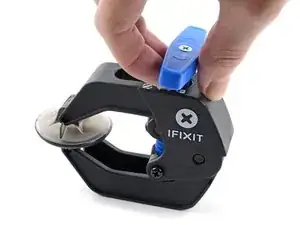
Pull the blue handle towards the hinge to disengage opening mode.
-
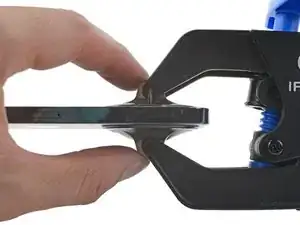
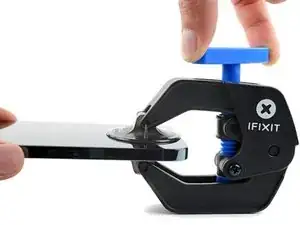
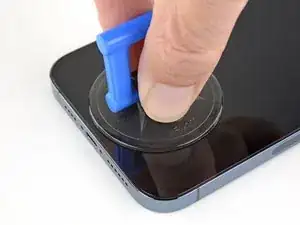
Position the suction cups near the bottom edge of the iPhone—one on the front, and one on the back.
-
Push down on the cups to apply suction to the desired area.
-
-
-
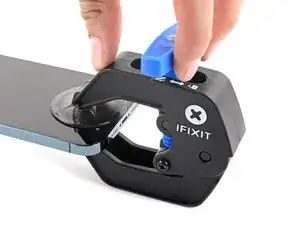
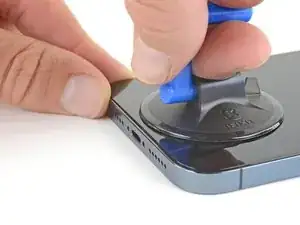
Push the blue handle away from the hinge to engage opening mode.
-
Turn the handle clockwise until you see the cups start to stretch.
-
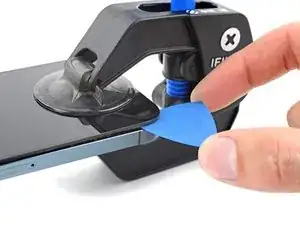
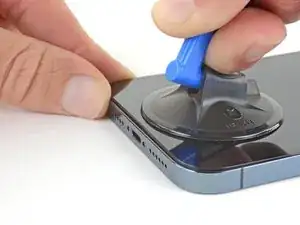
Wait one minute to give the adhesive a chance to release and present an opening gap.
-
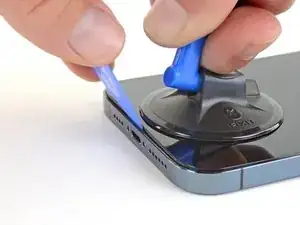
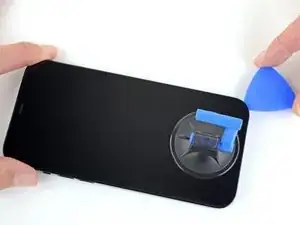
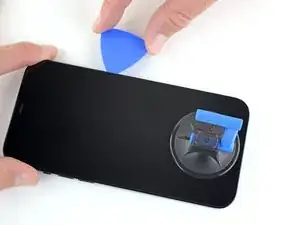
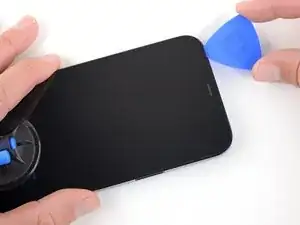
Insert an opening pick under the screen when the Anti-Clamp creates a large enough gap.
-
Skip the next two steps.
-
-
-
If you're using a single suction handle, apply it to the bottom edge of the phone, while avoiding the very edge of the glass.
-
If your display is badly cracked, covering it with a layer of clear packing tape may allow the suction cup to adhere. Alternatively, very strong tape may be used instead of the suction cup. If all else fails, you can superglue the suction cup to the broken display.
-
-
-
Pull up on the suction cup with firm, constant pressure to create a slight gap between the front panel and rear case.
-
Insert an opening pick into the gap.
-
-
-
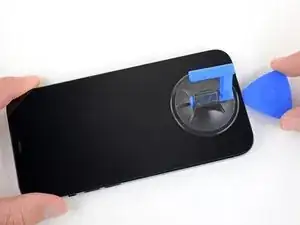
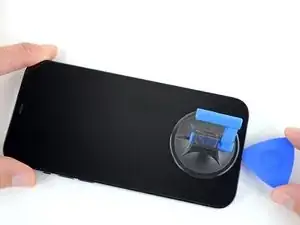
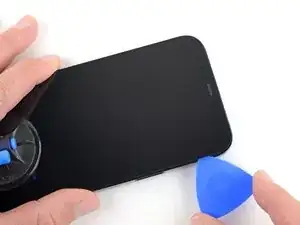
Slide the opening pick around the lower left corner and up the left edge of the iPhone, slicing through the adhesive holding the display in place.
-
-
-
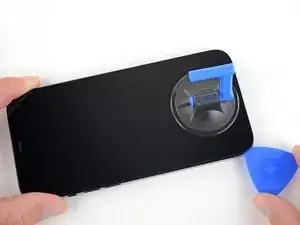
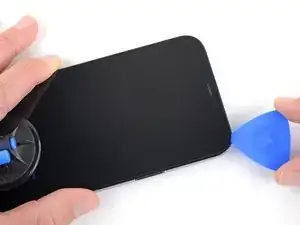
Re-insert your pick at the bottom edge of the iPhone, and slide it up the right side to continue separating the adhesive.
-
-
-
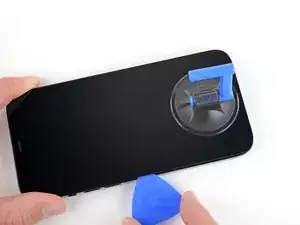
Insert your pick into the right edge of the phone. Slide it around the top-right corner and across the top edge.
-
-
-
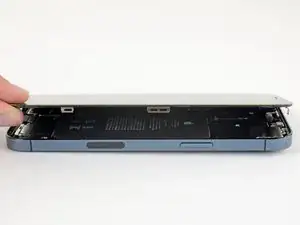
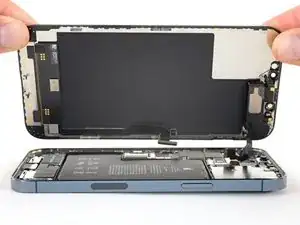
Open the iPhone by swinging the display up from the right side, like the front cover of a book.
-
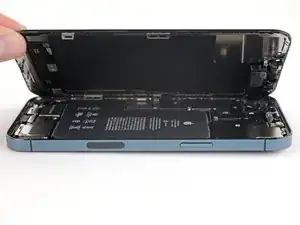
Lean the display against something to keep it propped up while you're working on the phone.
-
-
-
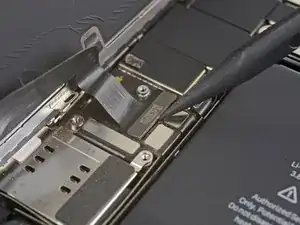
Use a spudger or a clean fingernail to pry the battery connector up from its socket on the logic board.
-
Bend the connector slightly away from the logic board to prevent it from accidentally making contact with the socket and providing power to the phone during your repair.
-
-
-
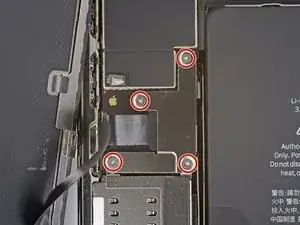
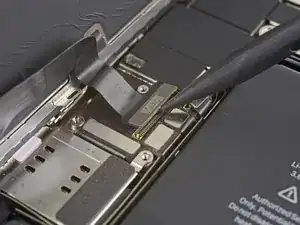
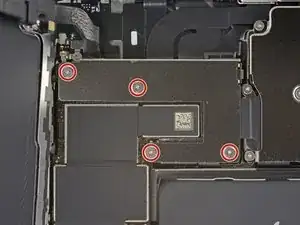
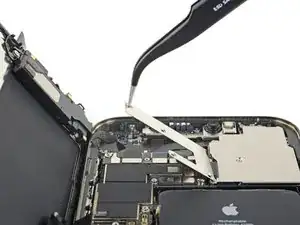
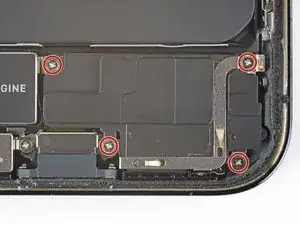
Use a Y000 driver to remove the four 1.1 mm-long screws securing the front sensor connector cover.
-
-
-
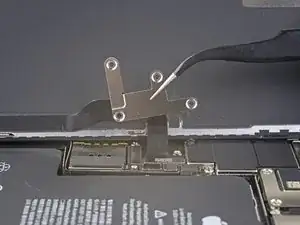
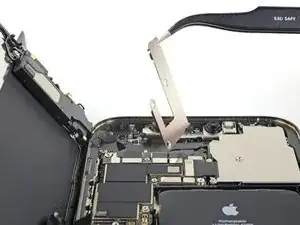
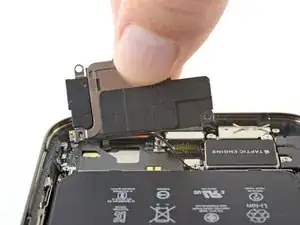
Swing the cover up from the left until the small clip on the right unhooks.
-
Remove the cover.
-
-
-
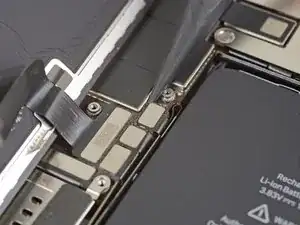
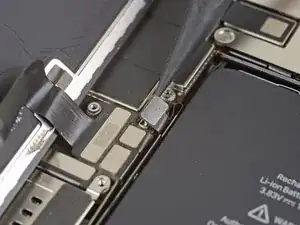
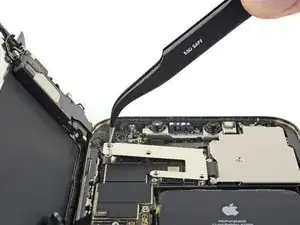
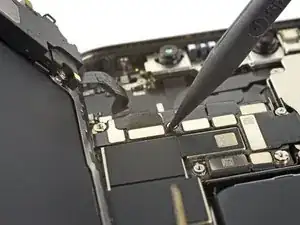
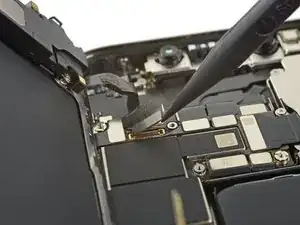
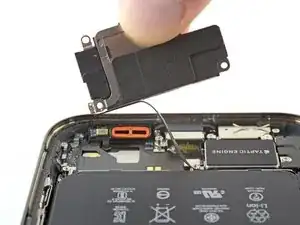
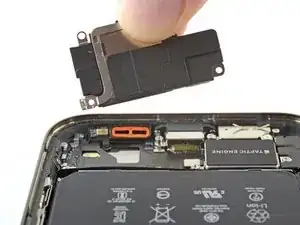
Slowly lift the loudspeaker out of its recess while gently peeling it off of its adhesive strip. Reapply this strip to the new loudspeaker.
-
Remove the loudspeaker.
-

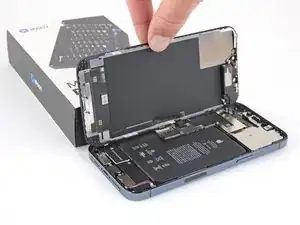
Compare your new replacement part to the original part—you may need to transfer remaining components or remove adhesive backings from the new part before installing.
To reassemble your device, follow the above steps in reverse order.
Take your e-waste to an R2 or e-Stewards certified recycler.
Repair didn’t go as planned? Try some basic troubleshooting, or ask our iPhone 12 Pro Max Answers community for help.