
Introduction
Use this guide to replace the rear-facing camera assembly in an iPhone 14 Pro.
This guide was created using the A2890 (international) model. If you're fixing a different iPhone 14 Pro model, there may be some visual discrepancies, but the procedure should be the same.
You’ll need replacement adhesive to reattach the screen when reassembling the device. Your device will function normally, but will most likely lose its IP (Ingress Protection) rating.
-
-
Power off your iPhone before beginning disassembly.
-
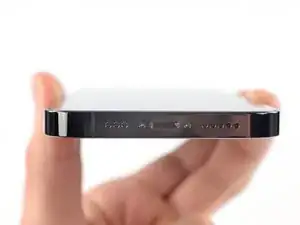
Remove the two 6.8 mm-long pentalobe P2 screws at the bottom edge of the iPhone.
-
-
-
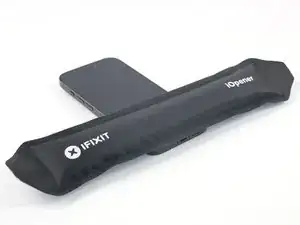
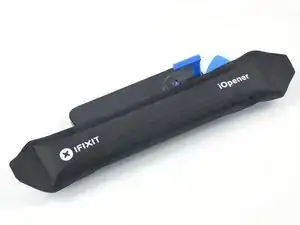
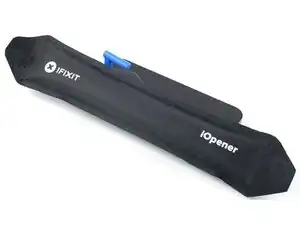
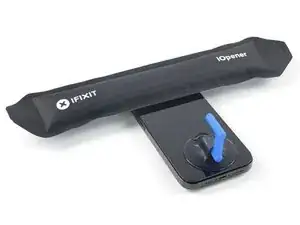
Apply a heated iOpener to the bottom edge of the screen to loosen the adhesive underneath. Apply the iOpener for at least 2 minutes.
-
-
-
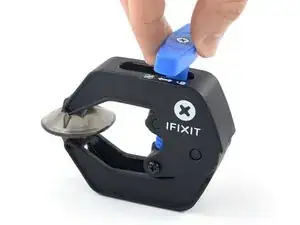
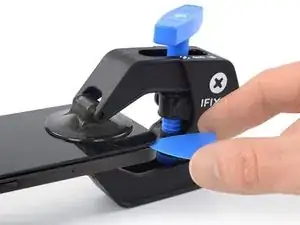
Pull the blue handle towards the hinge to disengage opening mode.
-
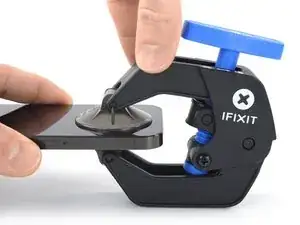
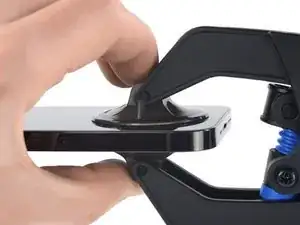
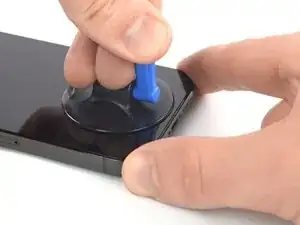
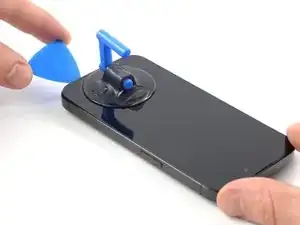
Position the suction cups near the bottom edge of the iPhone—one on the front, and one on the back.
-
Push down on the cups to apply suction to the desired area.
-
-
-
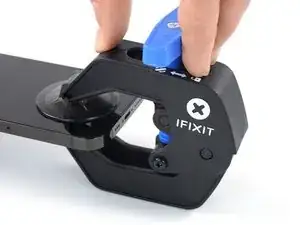
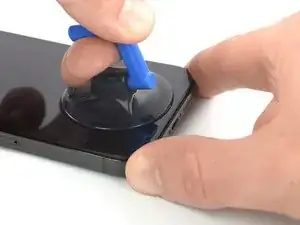
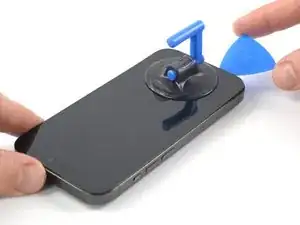
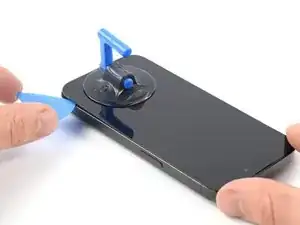
Push the blue handle away from the hinge to engage opening mode.
-
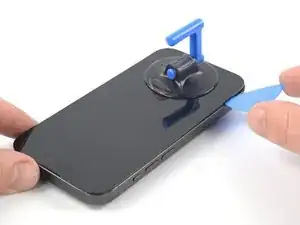
Turn the handle clockwise until you see the cups start to stretch.
-
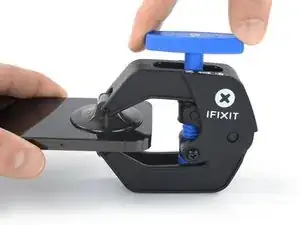
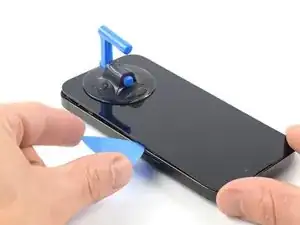
Wait one minute to give the adhesive a chance to release and present an opening gap.
-
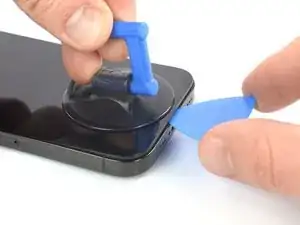
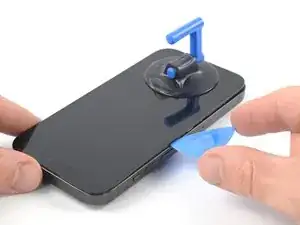
Insert an opening pick under the screen when the Anti-Clamp creates a large enough gap.
-
Skip the next step.
-
-
-
Apply a suction handle to the bottom edge of the screen, while avoiding the very edge of the glass.
-
Pull up on the suction handle with firm, constant pressure to create a slight gap between the front panel and rear case.
-
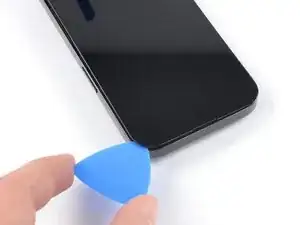
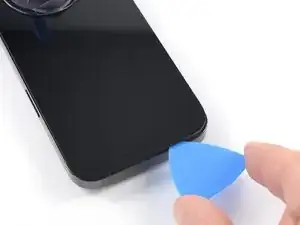
Insert an opening pick into the gap.
-
-
-
Apply a heated iOpener to the left edge of the screen to loosen the adhesive underneath. Apply the iOpener for at least 2 minutes.
-
-
-
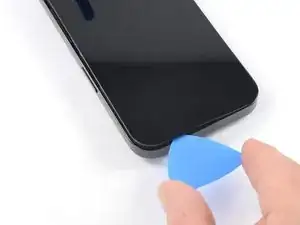
Slide the opening pick around the lower left corner and up the left edge of the iPhone, slicing through the adhesive holding the screen in place.
-
-
-
Apply a heated iOpener to the right edge of the screen to loosen the adhesive underneath. Apply the iOpener for at least 2 minutes.
-
-
-
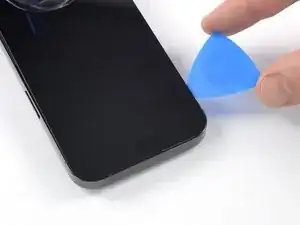
Re-insert your pick at the bottom edge of the iPhone, and slide it up the right side to continue separating the adhesive.
-
-
-
Apply a heated iOpener to the top edge of the screen to loosen the adhesive underneath. Apply the iOpener for at least 2 minutes.
-
-
-
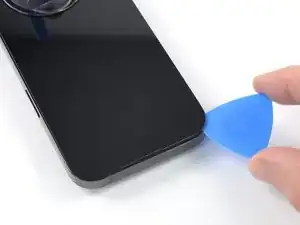
Insert your pick underneath the top right edge of the phone. Slide it around the top-right corner and half way across the top edge stopping right before the earpiece speaker cut-out.
-
-
-
Insert your pick underneath the top-left edge of the phone. Slide it around the top-left corner and half way across the top edge stopping right before the earpiece speaker cut-out.
-
-
-
Remove your suction handle from the screen.
-
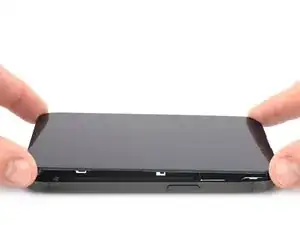
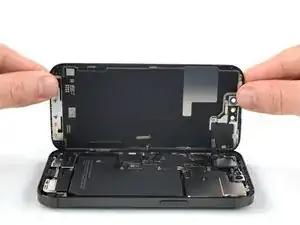
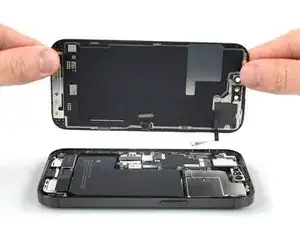
Open your iPhone by swinging the screen up from the right side, like the front cover of a book.
-
Lean the screen against something to keep it propped up while you're working on the phone.
-
-
-
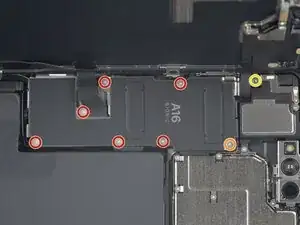
Use a Y000 screwdriver to remove the eight screws securing the battery connector cover:
-
Six 1.3 mm-long screws
-
One 1.6 mm-long screw
-
One 1.9 mm-long screw
-
-
-
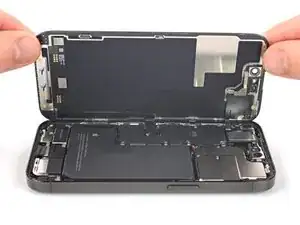
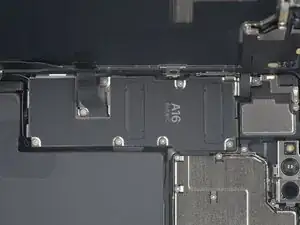
Grasp the connector cover with a pair of tweezers and slide it downwards to clear the flex cables.
-
Remove the connector cover.
-
-
-
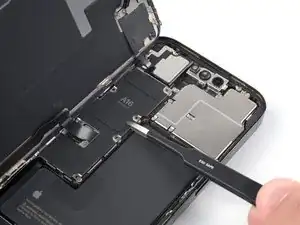
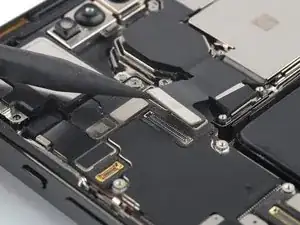
Use the pointed end of a spudger to disconnect the battery cable by prying the connector straight up from its socket.
-
Bend the connector slightly away from the logic board to prevent it from accidentally making contact with the socket and providing power to the phone during your repair.
-
-
-
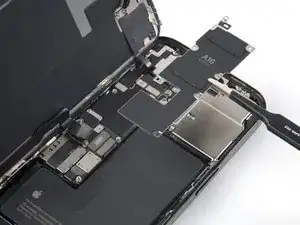
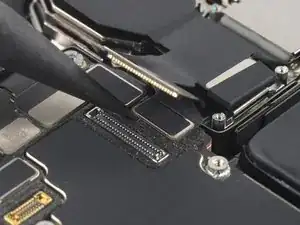
Use the pointed end of a spudger to disconnect the first display cable by prying the connector straight up from its socket.
-
-
-
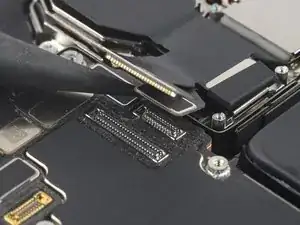
Use the pointed end of a spudger to disconnect the second display cable by prying the connector straight up from its socket.
-
-
-
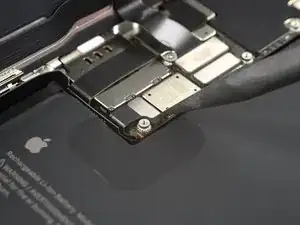
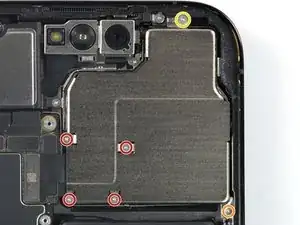
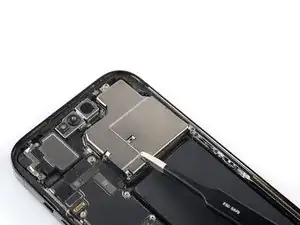
Use a Y000 driver to remove the five screws securing the rear-facing camera assembly cover:
-
Four 1.5 mm-long Y000 screws
-
One 1.3 mm-long Y000 screw
-
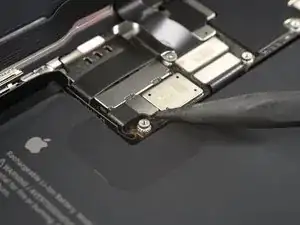
Use a Phillips screwdriver to remove one 1.7 mm-long screw.
-
-
-
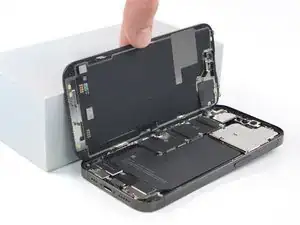
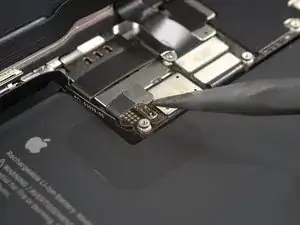
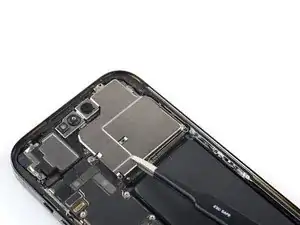
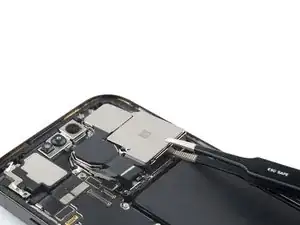
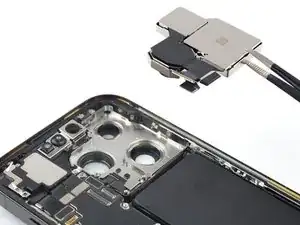
Grab the rear-facing camera assembly cover with a pair of tweezers.
-
Move the rear-facing camera assembly cover toward the volume buttons to free its small metal edge from the frame.
-
Remove the rear-facing camera assembly cover.
-
-
-
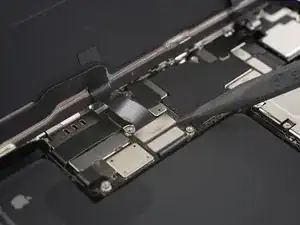
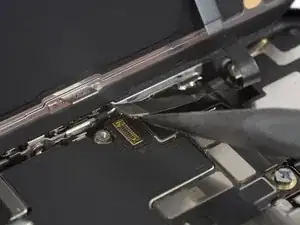
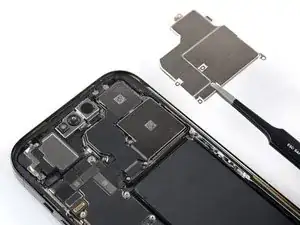
Use a spudger to disconnect the ultra wide and telephoto lens cable by prying the connector straight up from its socket.
-
-
-
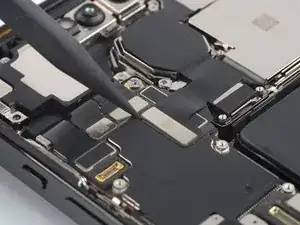
Use a spudger to disconnect the wide lens cable by prying the connector straight up from its socket.
-
-
-
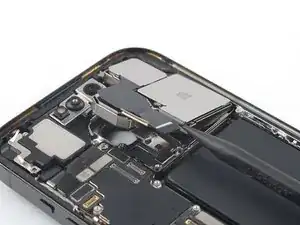
Insert the pointed end of a spudger underneath the bottom edge of the rear-facing camera assembly.
-
Pry up with the spudger to loosen the rear-facing camera assembly.
-


If possible, turn on your device and test your repair before installing new adhesive and resealing.
Compare your new replacement part to the original part—you may need to transfer remaining components or remove adhesive backings from the new part before installing.
To reassemble your device, follow these instructions in reverse order.
Take your e-waste to an R2 or e-Stewards certified recycler.
Repair didn’t go as planned? Try some basic troubleshooting, or ask our Answers community for help.
