Einleitung
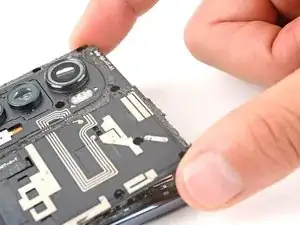
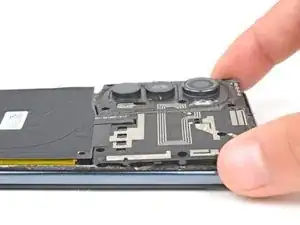
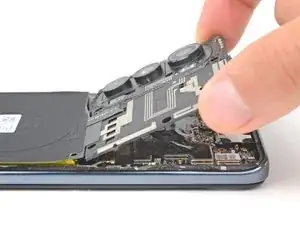
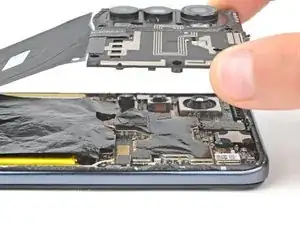
This is a prerequisite-only guide! This guide is part of another procedure and isn't meant to be used alone.
Werkzeuge
-
-
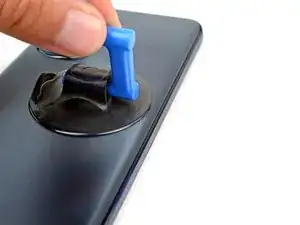
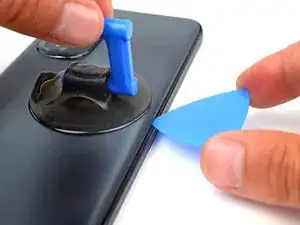
Apply a suction cup to the back of the phone, as close to the middle of the right edge as possible.
-
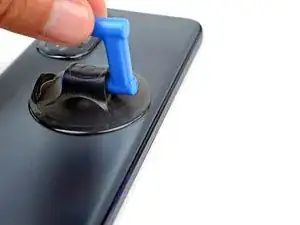
Pull up on the suction cup with a strong, steady force to create a gap between the back cover and the frame.
-
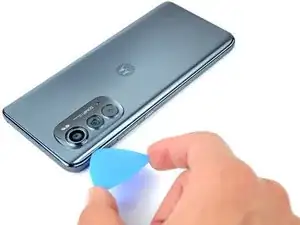
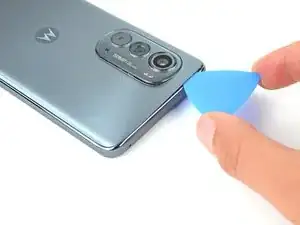
Insert an opening pick into the gap.
-
-
-
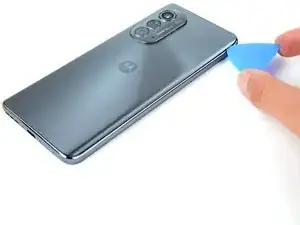
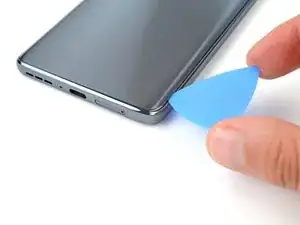
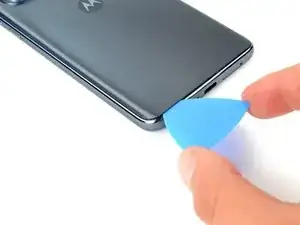
Slide the pick along the right edge to slice the adhesive.
-
Leave the pick in the bottom right edge to prevent the adhesive from resealing.
-
-
-
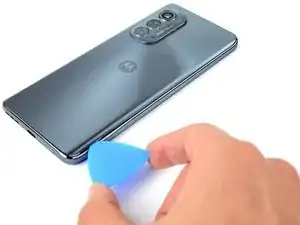
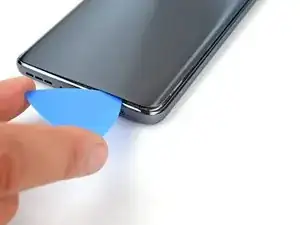
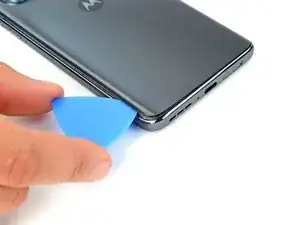
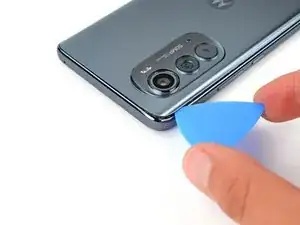
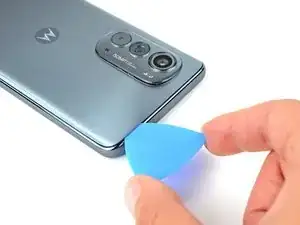
Slide the pick along the bottom edge to slice the adhesive.
-
Leave the pick in the bottom left edge to prevent the adhesive from resealing.
-
-
-
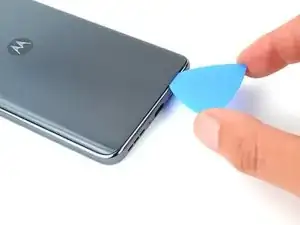
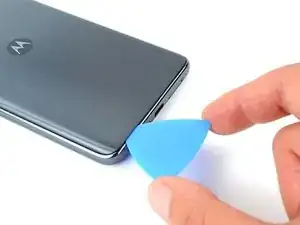
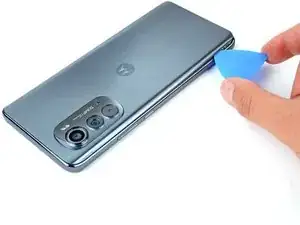
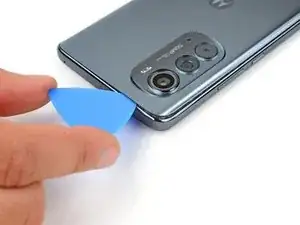
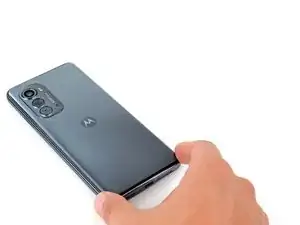
Slide the pick along the edge to slice the adhesive.
-
Leave the pick in the top left edge to prevent the adhesive from resealing.
-
-
-
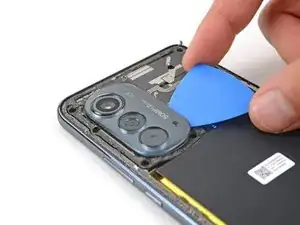
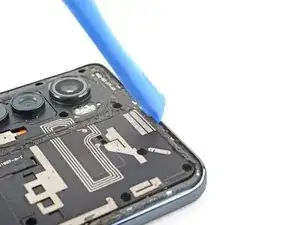
Insert an opening pick between the right edge of the camera bezel and the motherboard cover.
-
Slide the pick back and forth along the edge to slice the adhesive.
-
-
-
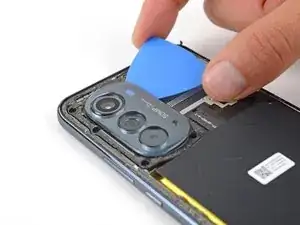
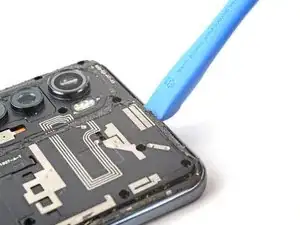
Insert an opening pick between the left edge of the camera bezel and the motherboard cover.
-
Slide the pick back and forth along the edge to slice the adhesive.
-
-
-
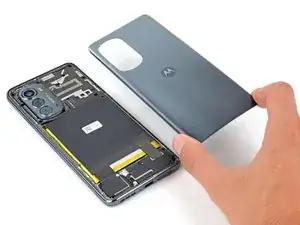
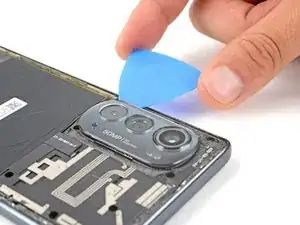
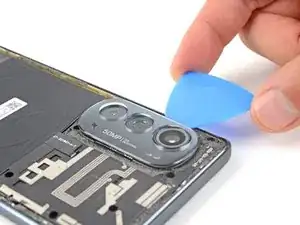
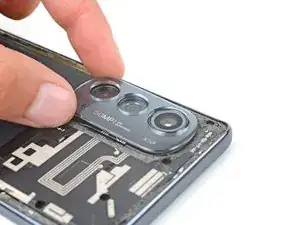
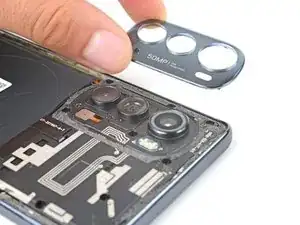
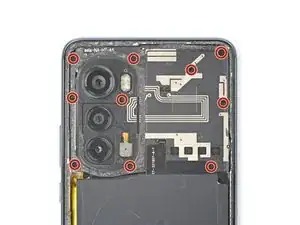
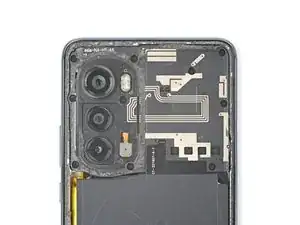
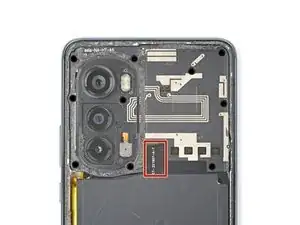
Lift the camera bezel from the phone and remove it.
-
This is a good point to test your phone's functionality before sealing it up. Use this guide to run a hardware test. Be sure to power your phone back down completely before you continue working.
-
If you are replacing the fingerprint sensor or screen assembly, use this guide to calibrate the fingerprint sensor.
-
Follow this guide to replace the back cover and camera bezel adhesive.
-
-
-
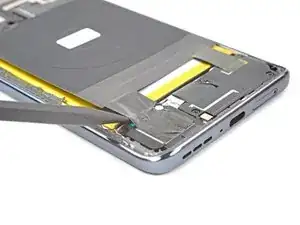
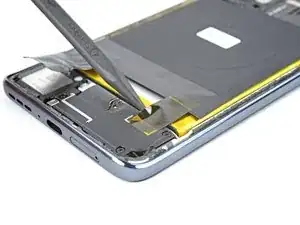
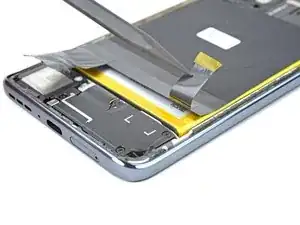
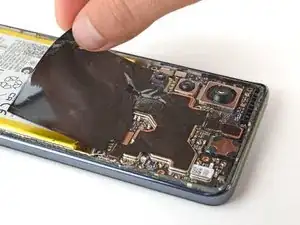
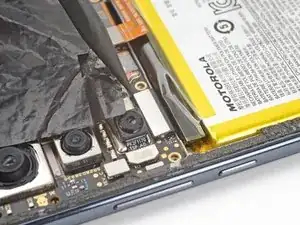
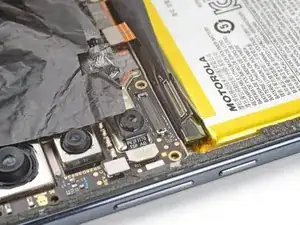
Insert the pointed end of a spudger underneath the tape that connects the wireless charging coil to the speaker on the bottom left of the phone.
-
Slowly lift the spudger up until the tape detaches from the speaker.
-
-
-
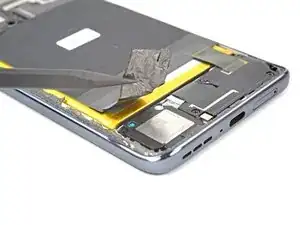
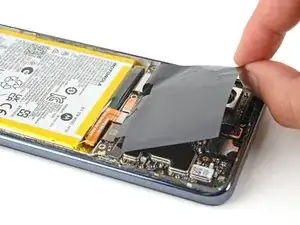
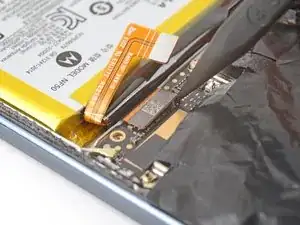
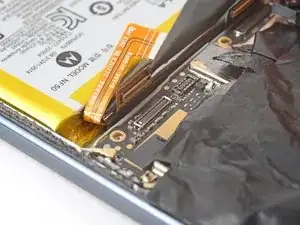
Insert a spudger underneath the tape that connects the wireless charging coil to the daughterboard cover on the bottom right of the phone.
-
Slowly lift the spudger up until the tape detaches.
-
-
-
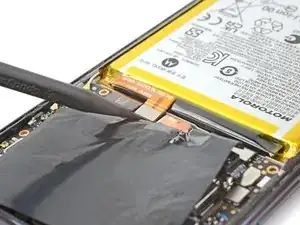
There's adhesive under the motherboard cover that secures the cover to the motherboard.
-
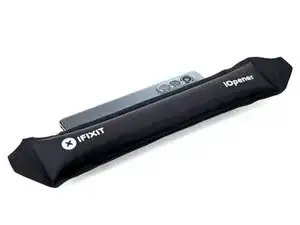
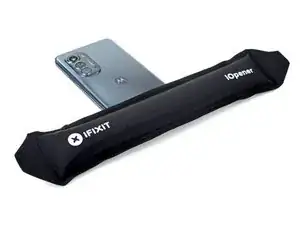
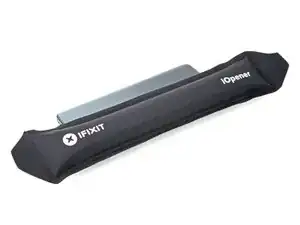
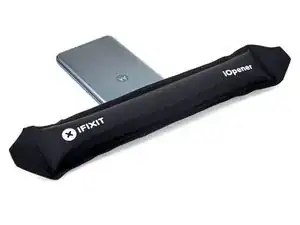
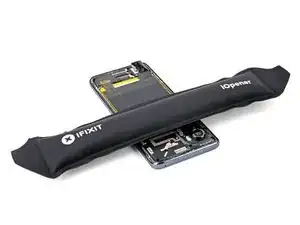
Apply a heated iOpener between the bottom of the motherboard cover and the top of the battery for two minutes.
-
-
-
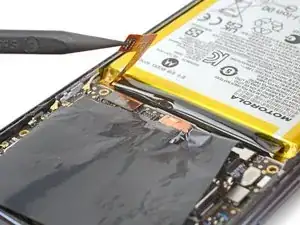
Insert an opening tool between the motherboard cover and the midframe.
-
Pry up with the opening tool until you are able to grab the motherboard cover with your fingers.
-
-
-
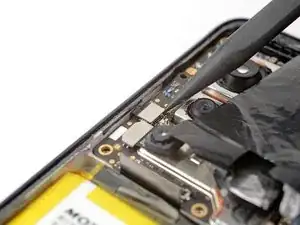
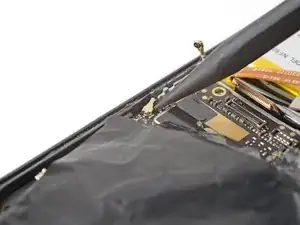
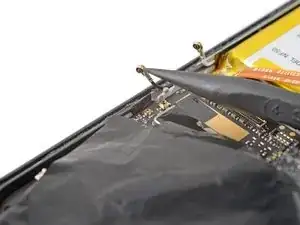
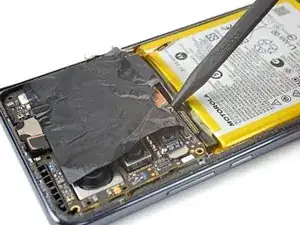
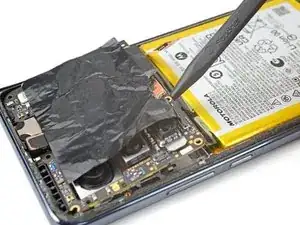
Use the pointed end of a spudger to pry up and disconnect the interconnect cable's press connector.
-
-
-
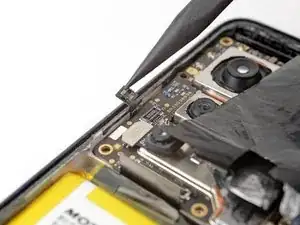
Use the pointed end of a spudger to pry up and disconnect the button assembly's press connector.
-
-
-
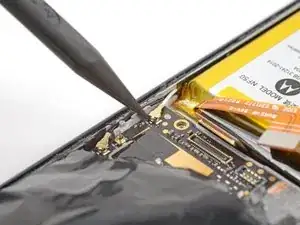
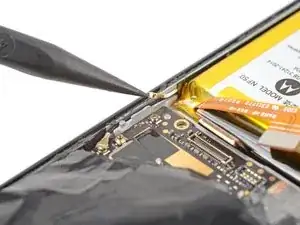
Use the pointed end of a spudger to pry up and disconnect the white antenna's coaxial connector.
-
-
-
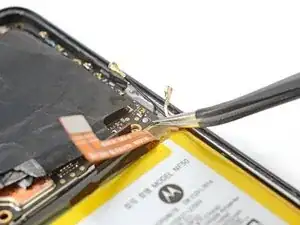
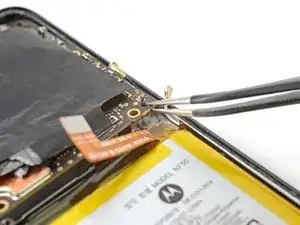
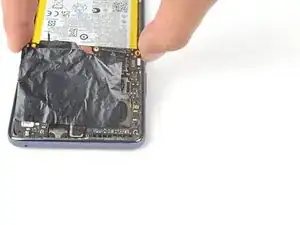
Use a pair of tweezers to grip the bottom right corner of the motherboard near the peg on the right edge of the phone.
-
Pull the motherboard up and over the peg with a slow, steady force. This should release a few clips securing the motherboard.
-
-
-
Insert the pointed end of a spudger under the middle of the motherboard's bottom edge.
-
Gently pry up on the motherboard to release the clips securing it.
-
-
-
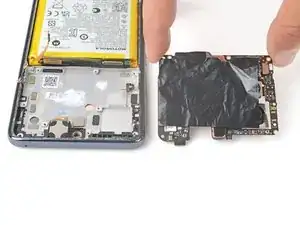
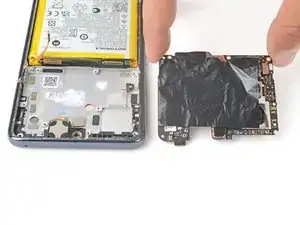
Remove the motherboard from the phone.
-
Clean off the old thermal paste from the midframe and motherboard using isopropyl alcohol and a microfiber cloth. Apply new thermal paste before reassembly.
-
Ensure that all of the cables that connect to the motherboard (interconnect, battery, antenna, display, and button assembly) are out of they way so they do not get stuck under the motherboard when it's reinserted.
-
To reassemble your device, follow these instructions in reverse order.
