Einleitung

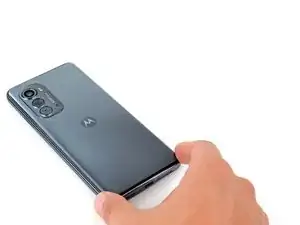
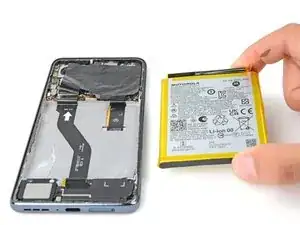
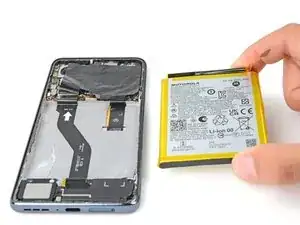
Use this guide to replace the battery in your Motorola Edge (2022).

This guide is for the official Motorola replacement part.

For your safety, discharge the battery below 25% before disassembling your phone. This reduces the risk of fire if the battery is accidentally damaged during the repair. If your battery is swollen, take appropriate precautions.

You'll need replacement adhesive to complete this repair.

  1. mAD3kSnCr6vwg3XZ
    • Completely power off your phone before you begin.

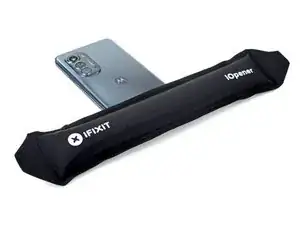
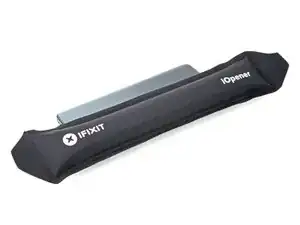
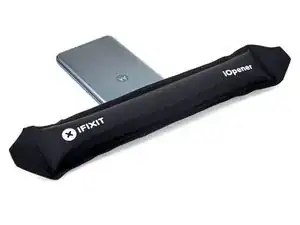
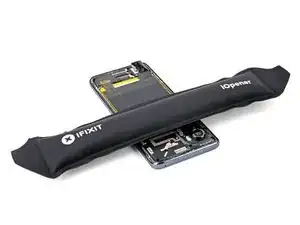
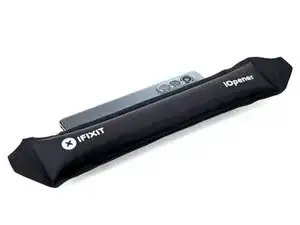
    • Heat an iOpener and apply it to the back cover's right edge for two minutes.

    • A hair dryer, heat gun, or hot plate may also be used, but be careful not to overheat the phone—the display and internal battery are both susceptible to heat damage.

  2. MbE5y3sb2aqHjA6U
    MbE5y3sb2aqHjA6U
    WytGf1BmOS1yXHb4
    p5PfJbxQFUavKAUv
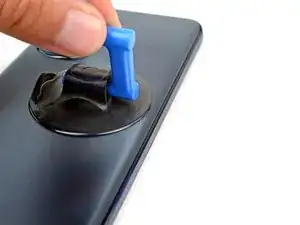
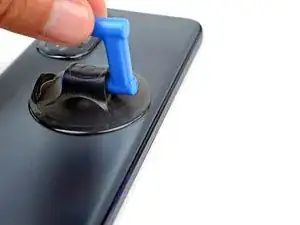
    • Apply a suction cup to the back of the phone, as close to the middle of the right edge as possible.

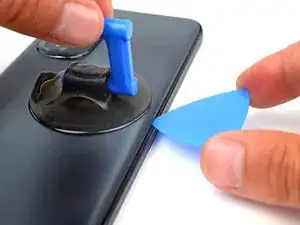
    • Pull up on the suction cup with a strong, steady force to create a gap between the back cover and the frame.

    • Depending on the age of your phone, this may be difficult. If you're having trouble, apply more heat to the edge and try again.

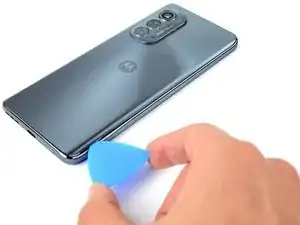
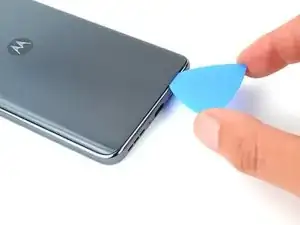
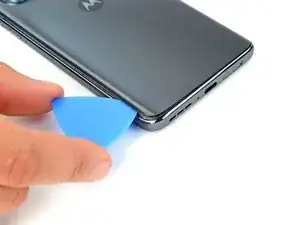
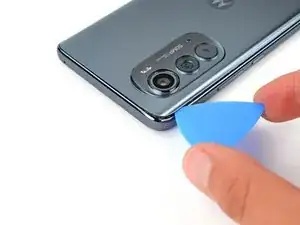
    • Insert an opening pick into the gap.

  3. rJna1rVElAklcIi2
    rJna1rVElAklcIi2
    5N4dQrQwxTpQ25yS
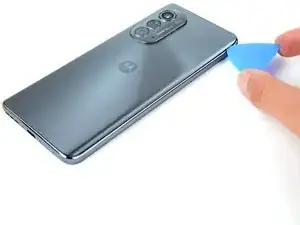
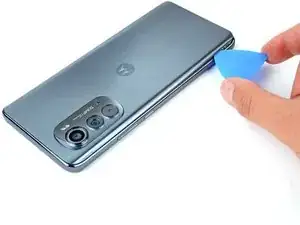
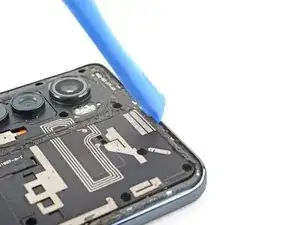
    • Slide the pick along the right edge to slice the adhesive.

    • Leave the pick in the bottom right edge to prevent the adhesive from resealing.

  4. EGl4JjA5LhM2q4Xi
    • Apply a heated iOpener to the back cover's bottom edge for two minutes.

  5. MockXUEMMMHaQQAZ
    MockXUEMMMHaQQAZ
    LXJkGAu135AEFOLM
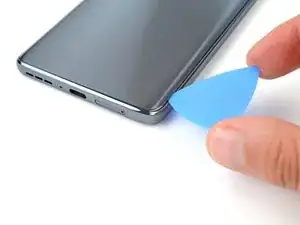
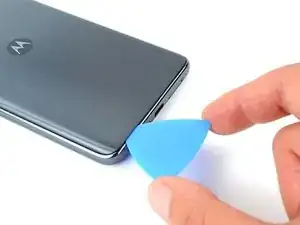
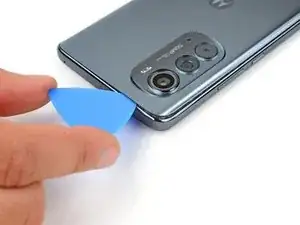
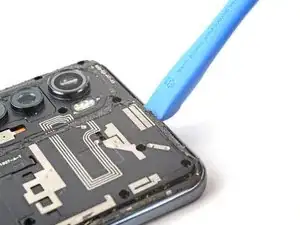
    • Rotate the pick around the bottom right corner to slice the adhesive.

  6. lZXNDP1KSF35rxp5
    lZXNDP1KSF35rxp5
    YZKAeoopsSfl3BFF
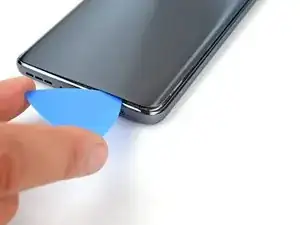
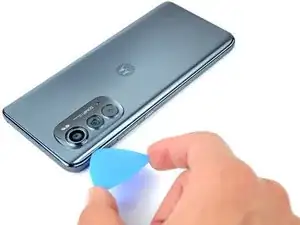
    • Slide the pick along the bottom edge to slice the adhesive.

    • Leave the pick in the bottom left edge to prevent the adhesive from resealing.

  7. cpWAKw5nN6CSwLOd
    • Apply a heated iOpener to the back cover's left edge for two minutes.

  8. ZAGaQkElY1fAlm55
    ZAGaQkElY1fAlm55
    ayfA1rtQC1FHEngH
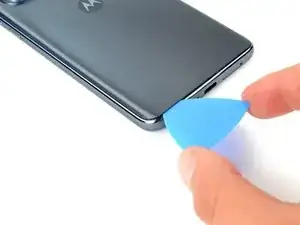
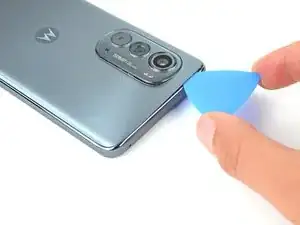
    • Rotate the pick around the bottom left corner to slice the adhesive.

  9. PyLaOtQpObFwEFZP
    PyLaOtQpObFwEFZP
    2LjABBTQMNLquOPQ
    • Slide the pick along the edge to slice the adhesive.

    • Leave the pick in the top left edge to prevent the adhesive from resealing.

  10. heHJGmBRhAgBn4US
    • Apply a heated iOpener to the back cover's top edge for two minutes.

  11. DjjdJgl3TU6SjOMN
    DjjdJgl3TU6SjOMN
    KcIpBLWFMUUlIPZS
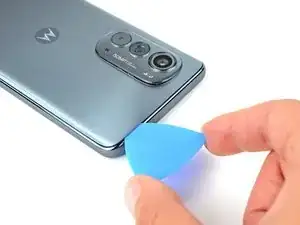
    • Rotate the pick around the top left corner to slice the adhesive.

  12. TfbpBv1I3FsLcfBb
    TfbpBv1I3FsLcfBb
    pbDmweuTYHMO5g1T
    • Slide the pick along the top edge to slice the adhesive.

  13. gm4MRaluYBfCZdED
    gm4MRaluYBfCZdED
    ZHPn4KBUTTCukD4J
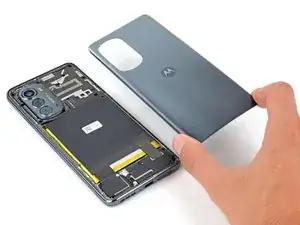
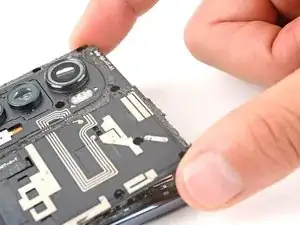
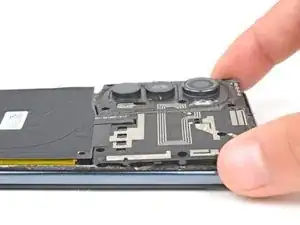
    • Lift the back cover from the phone and remove it.

    • If the back cover is still stuck to the midframe, slide an opening pick around the edges of the phone until the cover separates completely.

  14. ROP5ItEctKDWUHCe
    ROP5ItEctKDWUHCe
    HrwCTYIdXO1QOWWE
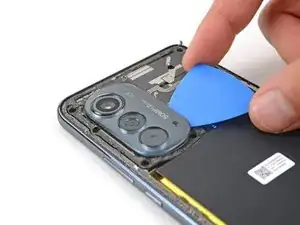
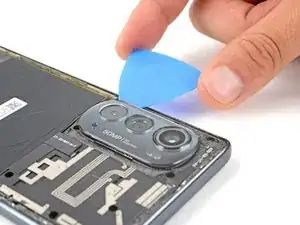
    • Insert an opening pick between the right edge of the camera bezel and the motherboard cover.

    • Slide the pick back and forth along the edge to slice the adhesive.

  15. ITRWFUAUwwbfVHNk
    ITRWFUAUwwbfVHNk
    SnRiDtP25qhABnKe
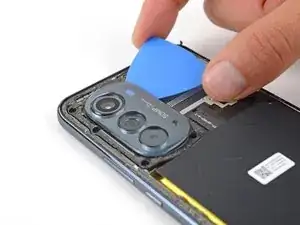
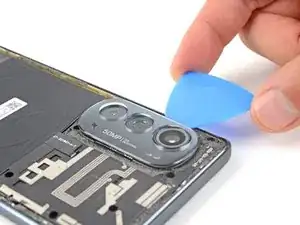
    • Insert an opening pick between the left edge of the camera bezel and the motherboard cover.

    • Slide the pick back and forth along the edge to slice the adhesive.

  16. fGwlSy1w11Th4tJY
    fGwlSy1w11Th4tJY
    gEZLEQUtZpAO1bcR
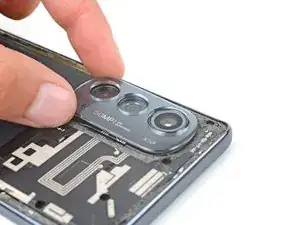
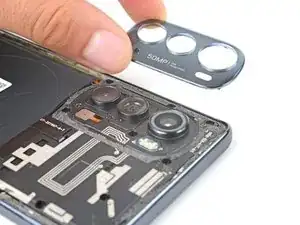
    • Lift the camera bezel from the phone and remove it.

    • During reassembly:

    • This is a good point to test your phone's functionality before sealing it up. Use this guide to run a hardware test. Be sure to power your phone back down completely before you continue working.

    • If you are replacing the fingerprint sensor or screen assembly, use this guide to calibrate the fingerprint sensor.

    • Follow this guide to replace the back cover and camera bezel adhesive.

  17. fvdVUESBZWHrjTWy
    fvdVUESBZWHrjTWy
    yXDB2LeLUXKVqHnN
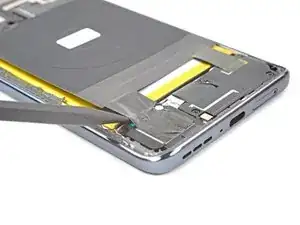
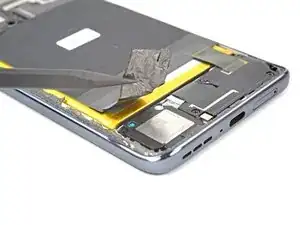
    • Insert the pointed end of a spudger underneath the tape that connects the wireless charging coil to the speaker on the bottom left of the phone.

    • Slowly lift the spudger up until the tape detaches from the speaker.

  18. dHmTqy3UEPRsg4o4
    dHmTqy3UEPRsg4o4
    aRZRmQGCr2b1b3vu
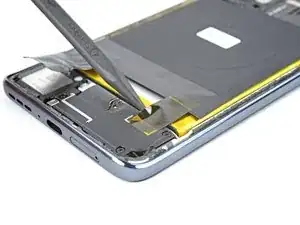
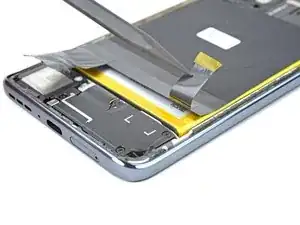
    • Insert a spudger underneath the tape that connects the wireless charging coil to the daughterboard cover on the bottom right of the phone.

    • Slowly lift the spudger up until the tape detaches.

  19. HMJWU2IpgLBOoZd2
    HMJWU2IpgLBOoZd2
    V2hvPgvTBMmqJUgE
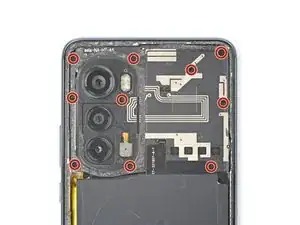
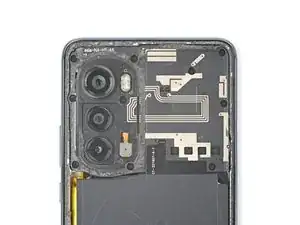
    • Use a Phillips screwdriver to remove the 10 4 mm screws securing the motherboard cover.

  20. qctdvxBMpYxRdJDl
    qctdvxBMpYxRdJDl
    1hTvW1MarEt1LfP1
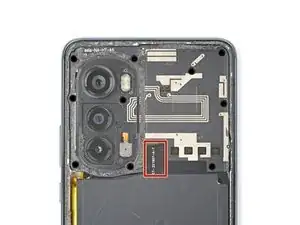
    • There's adhesive under the motherboard cover that secures the cover to the motherboard.

    • Apply a heated iOpener between the bottom of the motherboard cover and the top of the battery for two minutes.

  21. pbGCPAXqdD3v3piB
    pbGCPAXqdD3v3piB
    LDBLdNy2opvVXATY
    FiJBBpZs4mi2DpoC
    • Insert an opening tool between the motherboard cover and the midframe.

    • Pry up with the opening tool until you are able to grab the motherboard cover with your fingers.

    • During reassembly, press down around the perimeter of the motherboard cover to engage the clips.

  22. DfCLkfrXoPw1nTBD
    DfCLkfrXoPw1nTBD
    w32iOnUQ3FHtvQoq
    HkhVFTCGHMuAnsKu
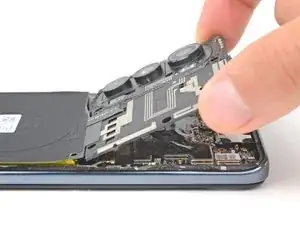
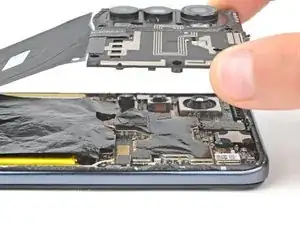
    • Slowly pull the motherboard cover up and away from the phone and remove it.

  23. GNhLtKYYqDYEJvaA
    GNhLtKYYqDYEJvaA
    JSfUFsLWjbijRVhb
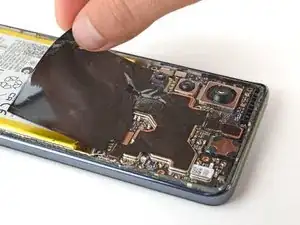
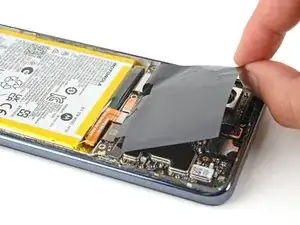
    • Use your fingers to move the graphite film that covers the battery out of the way.

  24. uuUbMAGVBhfX2hOL
    uuUbMAGVBhfX2hOL
    qAQyKNeFS54Bv4cq
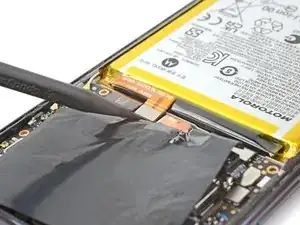
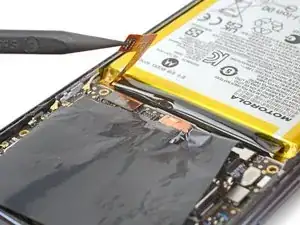
    • Use the pointed end of a spudger to pry up and disconnect the battery's press connector.

    • To re-attach press connectors like this one, carefully align and press down on one side until it clicks into place, then repeat on the other side. Do not press down on the middle. If the connector is misaligned, the pins can bend, causing permanent damage.

  25. 25gVPTlrrcSNicrs
    25gVPTlrrcSNicrs
    FgBjIRYrIX15YVb3
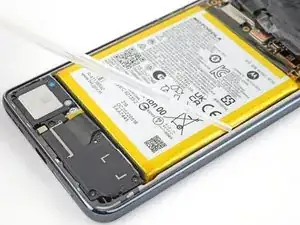
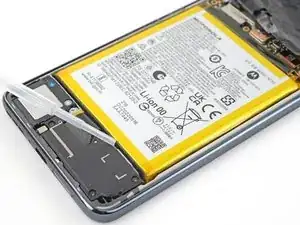
    • Apply a few drops of high-concentration (90% or higher) isopropyl alcohol to the gaps along the battery's edges.

    • Tilt the device as you apply alcohol to help it flow under the battery.

    • Wait one minute to allow the isopropyl alcohol to penetrate the adhesive.

    • Only apply a few drops initially and apply more as necessary. If you apply too much alcohol, it may overflow onto the motherboard and daughterboard.

  26. ugXUPDbwVTiJnc4g
    ugXUPDbwVTiJnc4g
    iKJ5x1kT5KAQRQZ6
    xGF4TPiHjPkSeNLy
    • Take care not to puncture or bend the battery during the removal process—a punctured or bent battery may leak dangerous chemicals or cause a fire.

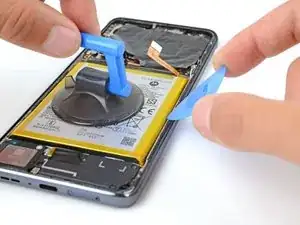
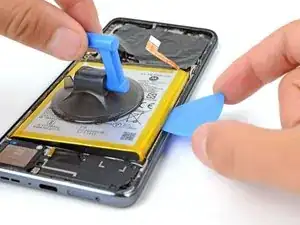
    • Apply a suction cup to the battery.

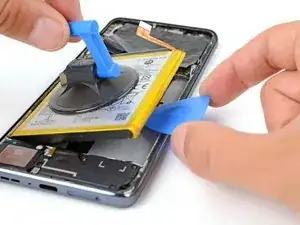
    • Pull up on the suction cup with strong, steady force to create a gap between the battery and the frame.

    • If the battery doesn't budge, apply a few more drops of isopropyl alcohol and try again.

    • Insert an opening pick into the gap.

    • Continue to pull up on the suction cup while sliding the opening pick back and forth to slice the adhesive. Continue this process until the battery separates from the frame.

  27. BgdVSJLNd3td6Hdq
    BgdVSJLNd3td6Hdq
    bsUigvJoOgn6DRAH
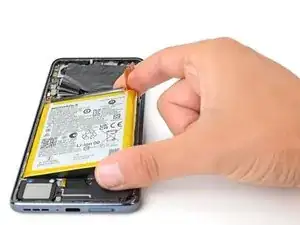
    • Remove the battery from the midframe.

    • Do not reuse the battery if it has been deformed or damaged, as doing so is a potential safety hazard. Replace it with a new battery.

    • Follow this guide to install new battery adhesive.

  28. LAjcYUMMnFi1ejTJ
    LAjcYUMMnFi1ejTJ
    x2pJ31EdKgNiYsuf
    NJAK5eoIuUVOBLBM
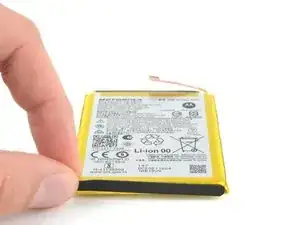
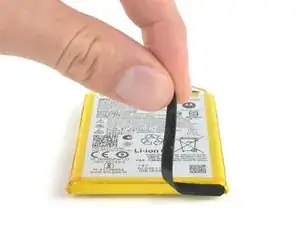
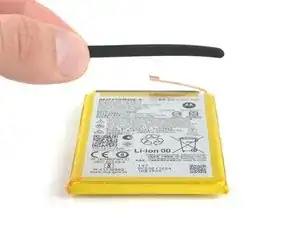
    • Use tweezers or your fingers to remove the foam strip from the battery's bottom edge.

    • Before installing your new battery, apply the foam strip to it.

Abschluss

Compare your new replacement part to the original part—you may need to transfer remaining components or remove adhesive backings from the new part before installing.

To reassemble your device, follow the instructions in reverse order.

For optimal performance, calibrate your newly installed battery after completing this guide.

Take your e-waste to an R2 or e-Stewards certified recycler.

Repair didn’t go as planned? Try some basic troubleshooting, or ask our Answers community for help.
Spencer Day

Mitglied seit: 14/09/22

17445 Reputation

0 Kommentare