Einleitung
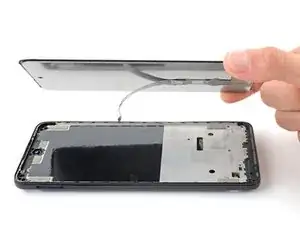
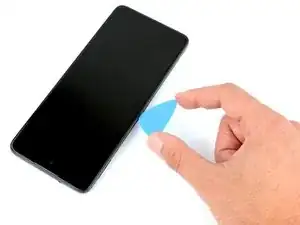
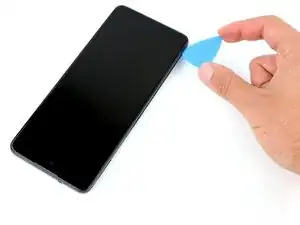
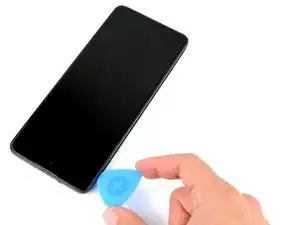
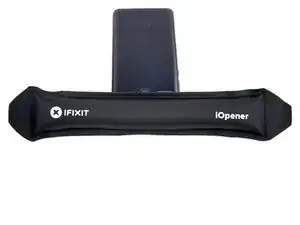
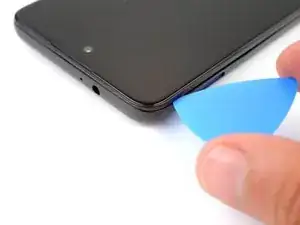
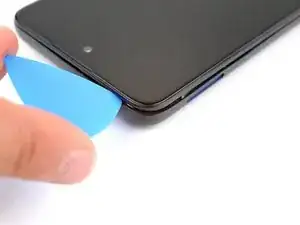
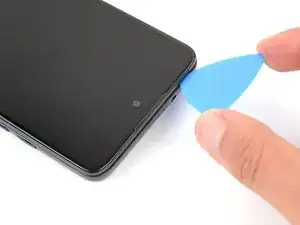
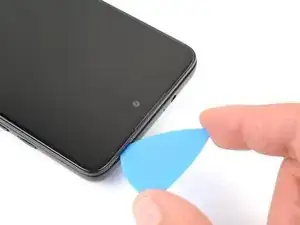
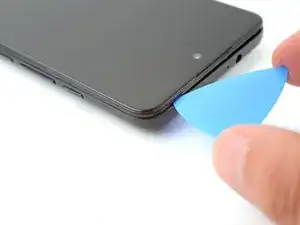
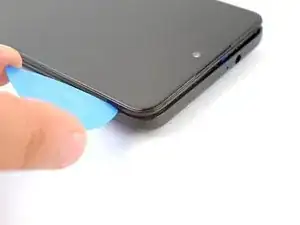
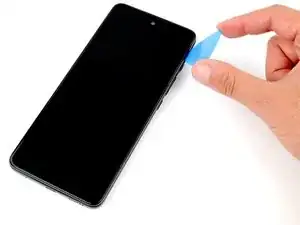
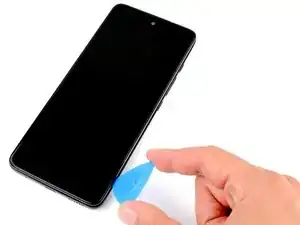
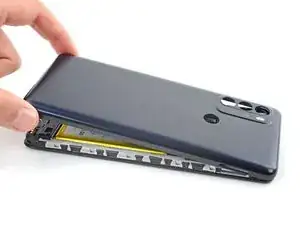
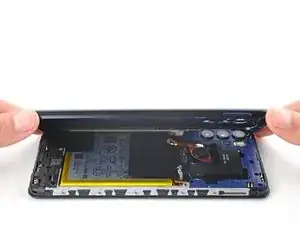
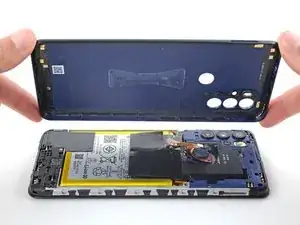
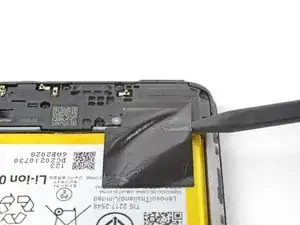
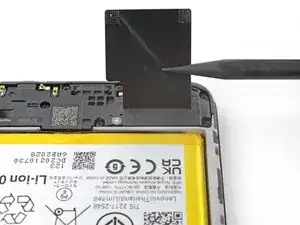
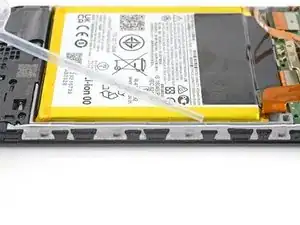
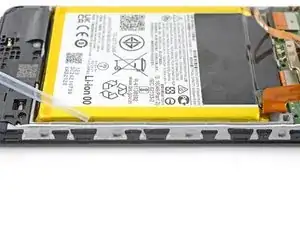
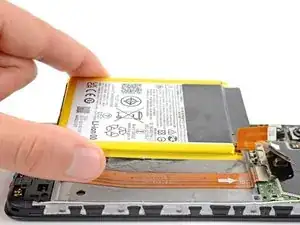
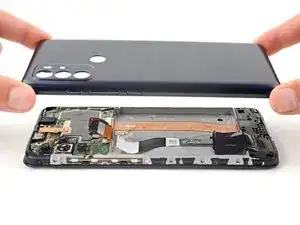
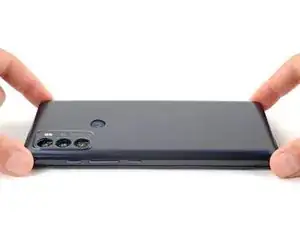
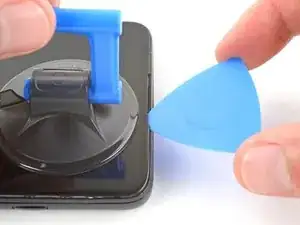
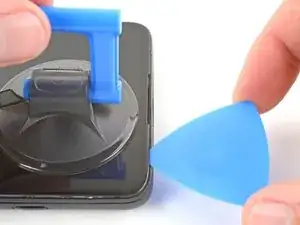
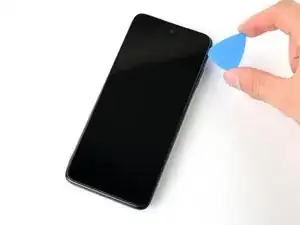
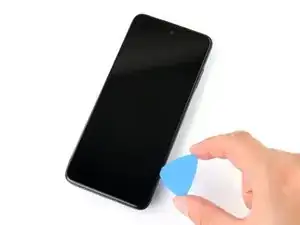
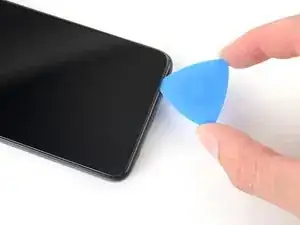
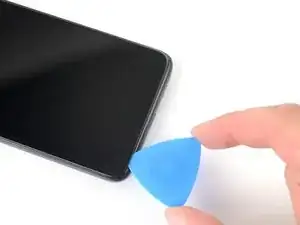
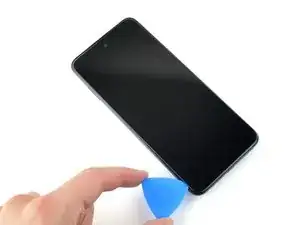
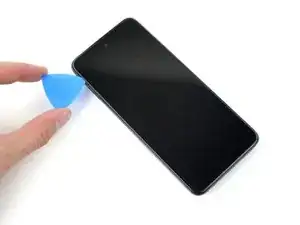
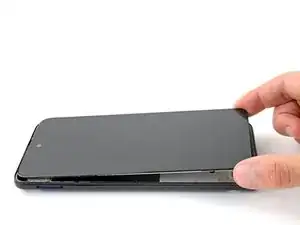
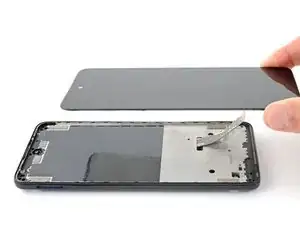
Use this guide to replace the display on your Motorola Moto G60S.
Note: This guide is for replacing the display panel itself. A display pre-installed into a new chassis requires a different procedure. Make sure you have the correct replacement part before beginning this guide.
You'll need replacement adhesive to complete this repair.
Werkzeuge
Ersatzteile
-
-
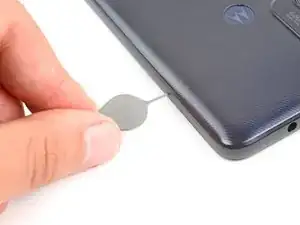
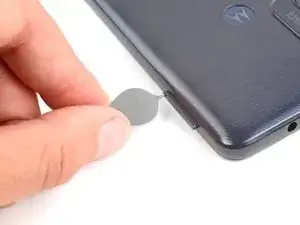
Insert a SIM eject tool, bit, or straightened paperclip into the SIM card tray hole on the left edge of the phone.
-
Push the SIM eject tool into the hole to eject the SIM card tray.
-
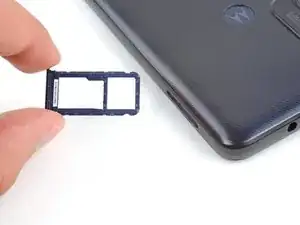
Remove the SIM card tray.
-
-
-
Flip your phone over so the display is facing up.
-
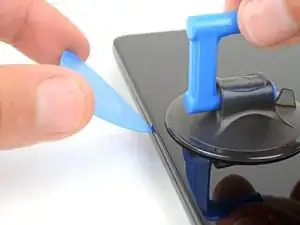
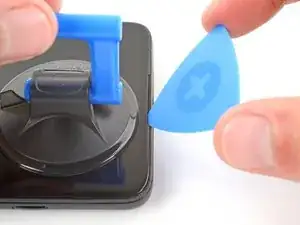
Apply a suction handle to the middle of the display's left edge, as close to the edge as possible.
-
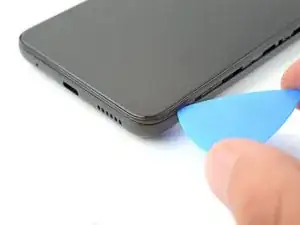
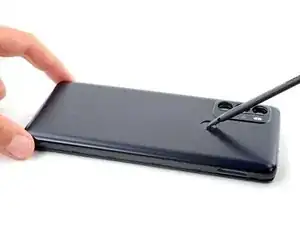
Place the tip of an opening pick in the small gap between the back cover and the display.
-
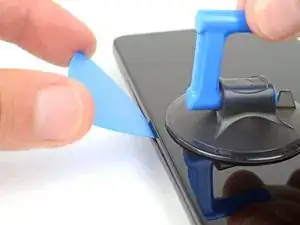
Pull up on the suction cup with a strong, steady force and push the opening pick down at a 45 degree angle until it slides into the gap between the back cover and the display.
-
-
-
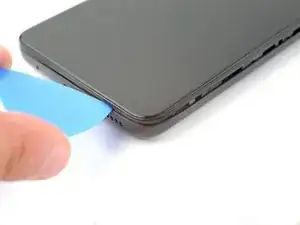
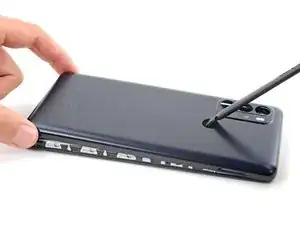
Slide the pick along the left edge down to the bottom left corner, and then up to the top left corner, to release the clips and slice the adhesive.
-
Leave the pick inserted in the top left corner to prevent the adhesive from resealing.
-
-
-
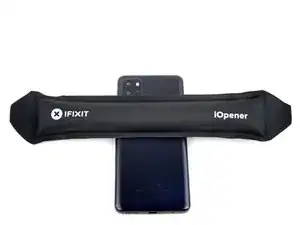
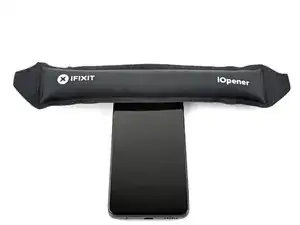
Flip your phone over and apply a heated iOpener to the back cover's top edge for two minutes.
-
-
-
Slide the pick along the top edge to release the clips and slice the adhesive.
-
Leave the pick inserted in the top right corner.
-
-
-
Flip your phone over and apply a heated iOpener to the back cover's left edge for two minutes.
-
-
-
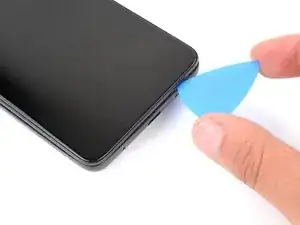
Slide the pick along the right edge to release the clips and slice the adhesive.
-
Leave the pick inserted in the bottom right corner to prevent the adhesive from resealing.
-
-
-
Flip your phone over and apply a heated iOpener to the back cover's bottom edge for two minutes.
-
-
-
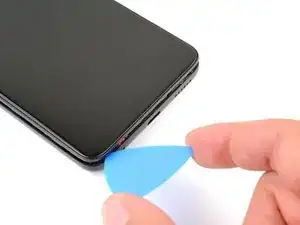
Slide the opening pick along the bottom edge to release the clips and slice the adhesive.
-
-
-
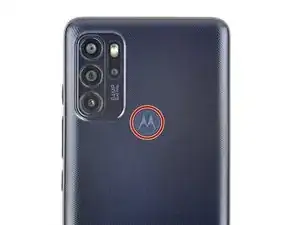
Flip your phone over and apply a heated iOpener to the fingerprint sensor on the back cover for two minutes.
-
-
-
Press down on the fingerprint sensor with the flat end of a spudger or your finger.
-
While pressing down on the fingerprint sensor, gently pull up the bottom edge of the back cover until the sensor detaches.
-
-
-
Lift the back cover up and remove it.
-
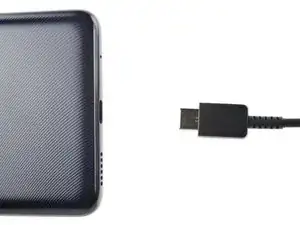
This is a good point to test your phone's functionality before sealing it up. Use this guide to run a hardware test. Be sure to power your phone back down completely before you continue working.
-
Apply new adhesive to the perimeter of the underside of the back cover after cleaning the relevant areas with isopropyl alcohol (>90%) and a micro-fiber cloth.
-
-
-
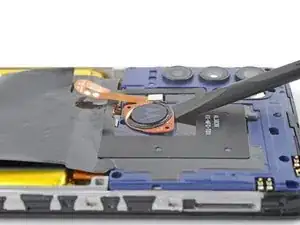
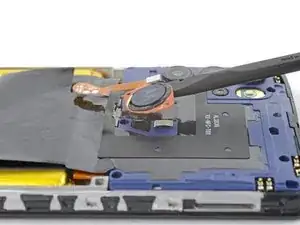
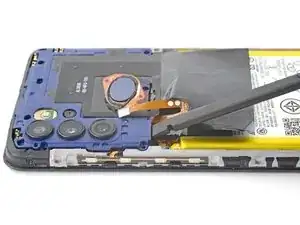
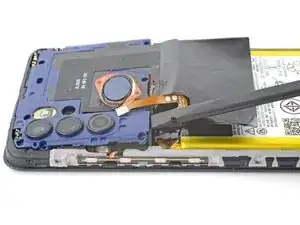
Insert the flat end of a spudger under the fingerprint sensor.
-
Gently pry up and detach the fingerprint sensor from the motherboard cover.
-
-
-
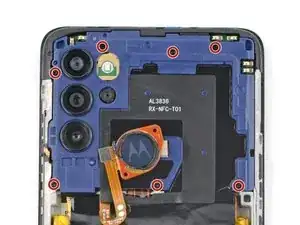
Use a Phillips screwdriver to remove the seven 3.9 mm screws securing the motherboard cover.
-
-
-
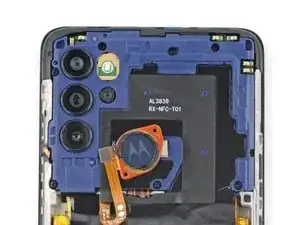
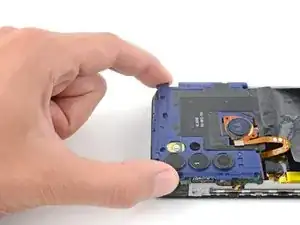
Insert the flat end of a spudger in the gap between the frame and the bottom left corner of the motherboard cover.
-
Lift straight up with the spudger to release the clips securing the motherboard.
-
-
-
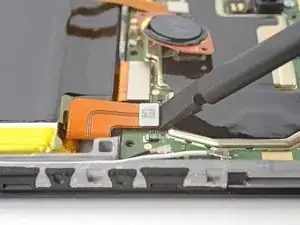
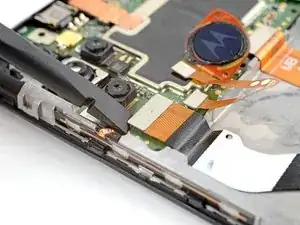
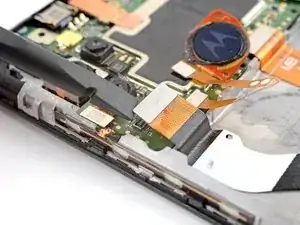
Use the flat end of a spudger to pry up and disconnect the battery cable's press connector.
-
-
-
Insert the pointed end of a spudger under the graphite film on the left side of the daughterboard cover.
-
Lift up to peel the graphite film off of the battery.
-
-
-
Apply a few drops of high-concentration (90% or higher) isopropyl alcohol to the gaps along the battery's edges.
-
Tilt the device to help it flow under the battery.
-
Wait one minute to allow the isopropyl alcohol to penetrate the adhesive.
-
-
-
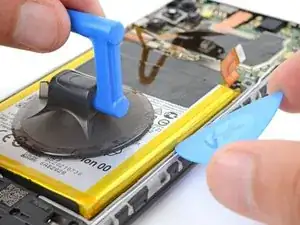
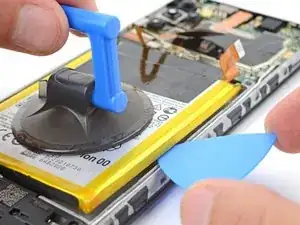
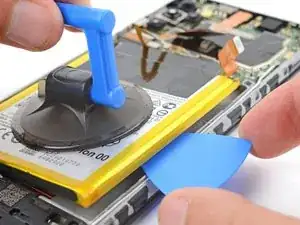
Apply a suction cup to middle of the battery.
-
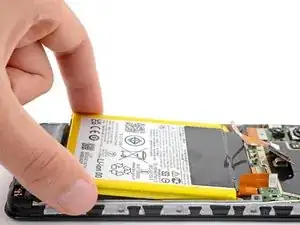
Pull up on the suction cup with strong, steady force to separate the battery from the frame.
-
Continue to pull up on the suction cup while sliding the opening pick back and forth to slice the adhesive.
-
Continue this process until the battery separates from the frame, applying isopropyl alcohol as necessary.
-
-
-
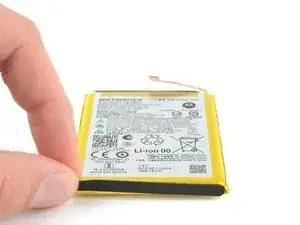
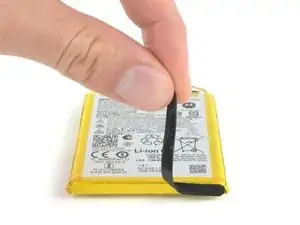
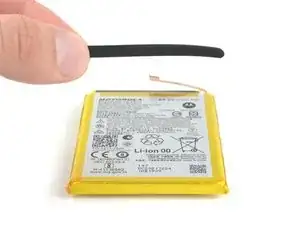
Use your fingers to remove the foam strip from the old battery's bottom edge.
-
Apply the foam strip to the bottom edge of the replacement battery.
-
-
-
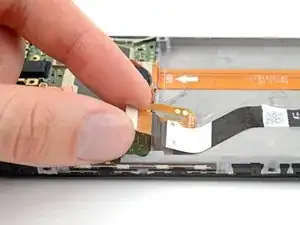
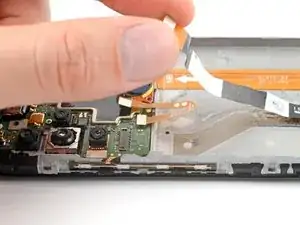
Gently pull the display's ribbon cable up and towards the bottom of the phone until it's completely separated from the frame.
-
-
-
Apply a suction cup to the center of the display's top edge, as close to the edge as possible.
-
Insert an opening pick in the earpiece speaker cutout on the top edge of the display.
-
Pull up on the suction cup with strong, steady force.
-
Angle the opening pick to about 30 degrees and push it towards the center of the phone until it slides under the display.
-
Slide the opening pick to the top right corner of the display.
-
-
-
Slide the opening pick toward the bottom right corner to separate the right edge's adhesive.
-
-
-
Pull the the display up and towards the bottom of the phone, making sure to gently thread the display cable through its slot.
-
Remove the display.
-
Remove the old adhesive with tweezers or your fingers and clean the frame with isopropyl alcohol (>90%) and a micro-fiber cloth.
-
Apply new adhesive where the old adhesive was.
-
Thread the display cable through its slot in the frame.
-
Press down firmly around the perimeter of the replacement display to secure it to the frame.
-
To reassemble your device, follow the instructions in reverse order.
Take your e-waste to an R2 or e-Stewards certified recycler.
Repair didn’t go as planned? Try some basic troubleshooting, or ask our Answers community for help.
