Einleitung

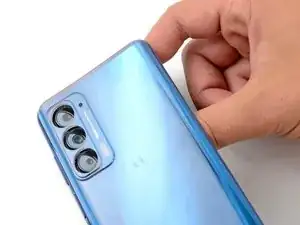
This is a prerequisite-only guide! This guide is part of another procedure and isn't meant to be used alone.

  1. xLsBXZmv3ogqEF6j
    • Completely power off your phone before you begin.

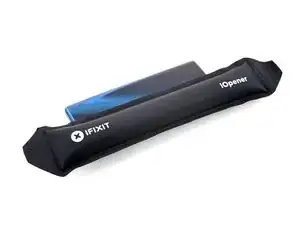
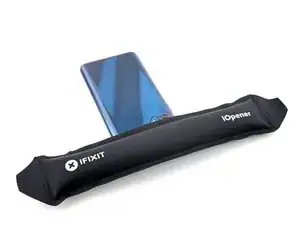
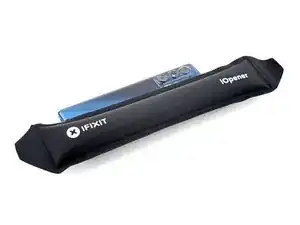
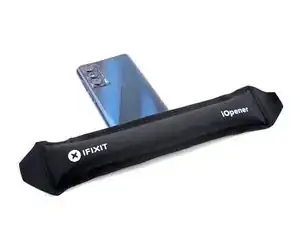
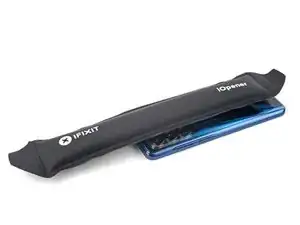
    • Heat an iOpener and apply it to the back cover's left edge for two minutes.

    • A hair dryer, heat gun, or hot plate may also be used, but be careful not to overheat the phone—the back cover and internal battery are both susceptible to heat damage.

  2. LxWYySKdhlpcRZDA
    LxWYySKdhlpcRZDA
    YIWiKq4niHBDpDAf
    POUjAwPLS55yqcUu
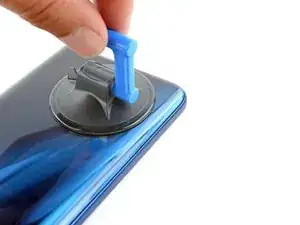
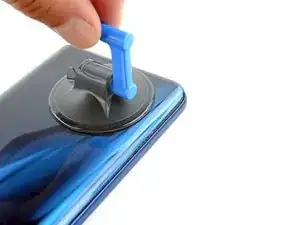
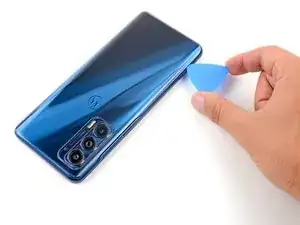
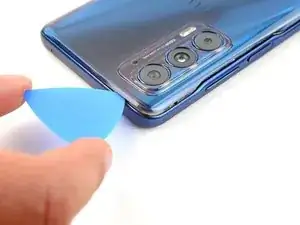
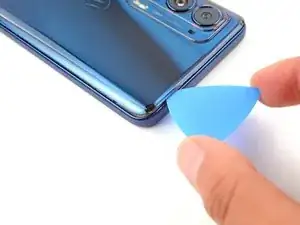
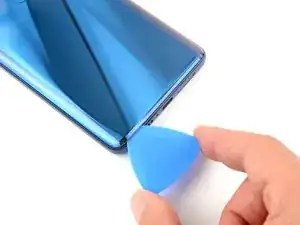
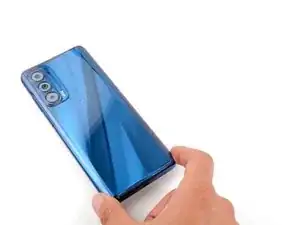
    • Apply a suction cup to the back of the phone, as close to the bottom left corner as possible.

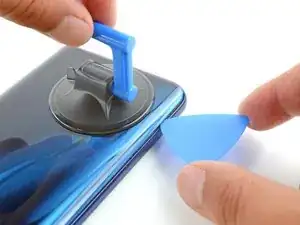
    • Pull up on the suction cup with a strong, steady force to create a gap between the back cover and the midframe on the left edge.

    • Depending on the age of your phone, this may be difficult. If you're having trouble, apply more heat to the edge and try again.

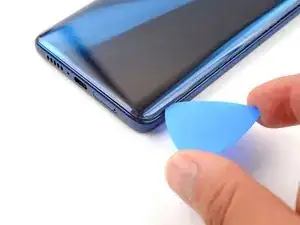
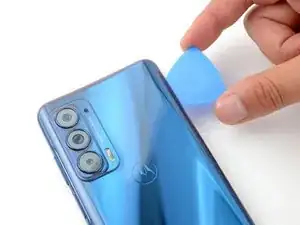
    • Insert an opening pick into the gap.

  3. 6w2XkMWTYUkLx2oP
    6w2XkMWTYUkLx2oP
    XPDlT6yX2kSsaVeX
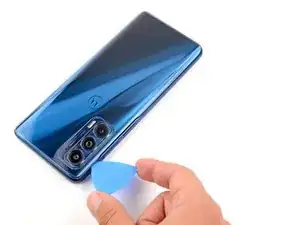
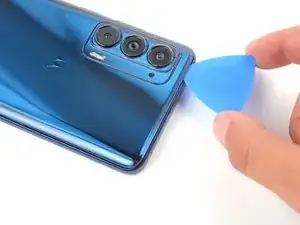
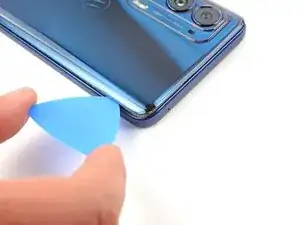
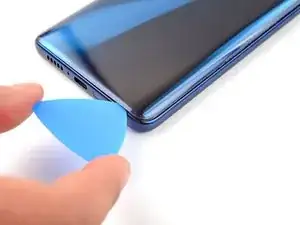
    • Slide the pick along the left edge of the phone to slice the adhesive securing the back cover to the frame.

    • Leave the pick inserted in the top left corner to prevent the adhesive from resealing.

  4. qBSEvvlSyjfhD5fw
    • Apply a heated iOpener to the back cover's top edge for two minutes.

  5. 51hOuBRIw5bbPJV6
    51hOuBRIw5bbPJV6
    lxGuUCk5DJaSI2AV
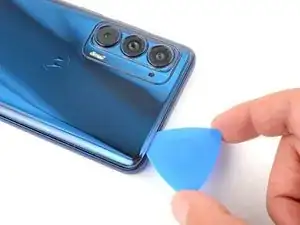
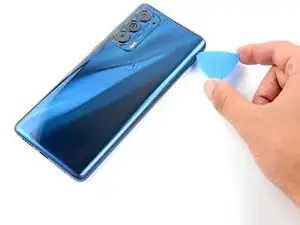
    • Rotate the pick around the top left corner to slice the adhesive.

  6. mTSNowaDZoqOYLsn
    mTSNowaDZoqOYLsn
    cEJxNRq3lyjHErUP
    • Slide the pick along the top edge to slice the adhesive.

    • Leave the opening pick inserted in the top right corner to prevent the adhesive from resealing.

  7. NYbRlOVptKIU3vHf
    • Apply a heated iOpener to the back cover's right edge for two minutes.

  8. vQVMtqMGTRFEeQVb
    vQVMtqMGTRFEeQVb
    YYCUq2sKV6sUxywe
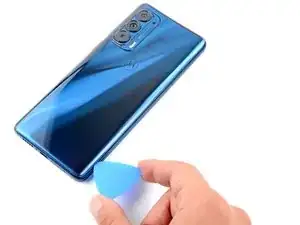
    • Rotate the pick around the top right corner to slice the adhesive.

  9. AXCyIkQUnDq5QrR2
    AXCyIkQUnDq5QrR2
    Y5yUEXYKXfytqMil
    • Slide the pick along the right edge to slice the adhesive.

    • Leave the pick inserted in the bottom right corner to prevent the adhesive from resealing.

  10. KHbEQJ51uAKLKcWL
    • Apply a heated iOpener to the back cover's bottom edge for two minutes.

  11. ixNvqXlOTImv5Fyg
    ixNvqXlOTImv5Fyg
    CN1j44mVUpCIG1XE
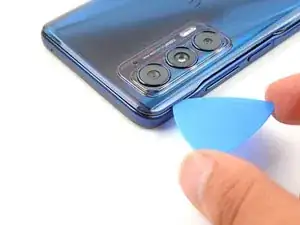
    • Rotate the pick around the bottom right corner to slice the adhesive.

  12. HS1J6HJmiqSEAY2l
    HS1J6HJmiqSEAY2l
    ESbXuVFOCoH5ykQZ
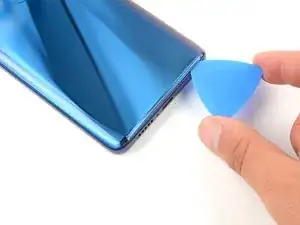
    • Slide the pick along the bottom edge to slice the adhesive.

  13. FhLQ3xTuJSOMV3IV
    FhLQ3xTuJSOMV3IV
    PLPBCbvXFP2txS3m
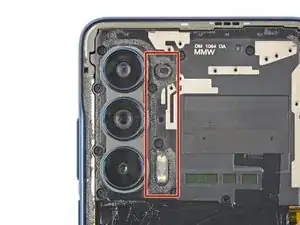
    • There's a significant amount of adhesive to the right of the cameras that secures the back cover to the motherboard cover.

    • Apply a heated iOpener to the right of the cameras for two minutes.

  14. Cx3crU3YPxvZiHot
    Cx3crU3YPxvZiHot
    yaHxkPGLpX1yH6MN
    • Insert an opening pick between the back cover and motherboard cover on the top right edge.

    • Gently pull up on the back cover while sliding the opening pick back and forth along the right side of the cameras to slice the adhesive.

    • The back cover should detach from the phone at this point.

  15. DyXbbpLyDeEbYvaI
    DyXbbpLyDeEbYvaI
    P3HyJtxCJpqPgaLA
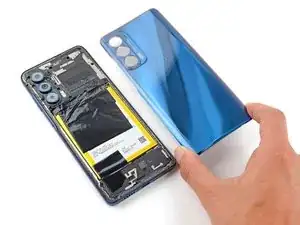
    • Lift the back cover from the phone and remove it.

    • If the back cover is still stuck to the midframe, slide an opening pick around the edges of the phone until the cover separates completely.

    • During reassembly:

    • This is a good point to test your phone's functionality before sealing it up. Use this guide to run a hardware test. Be sure to power your phone back down completely before you continue working.

    • Follow this guide to replace the back cover adhesive.

  16. WCMDBHiAholvTAig
    WCMDBHiAholvTAig
    UWAOkc6UgRvqXebL
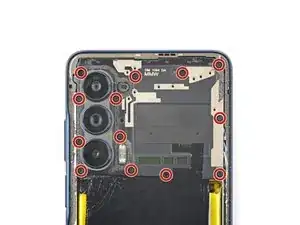
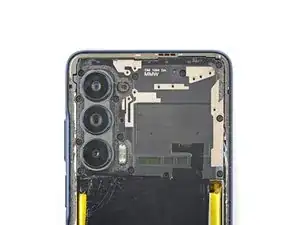
    • Use a Phillips screwdriver to remove the 13 4 mm screws securing the motherboard cover.

  17. fTIILBkKHvPJ6VSh
    fTIILBkKHvPJ6VSh
    aj6WfRTIZxN4qSdF
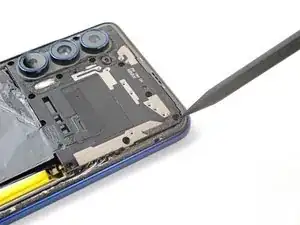
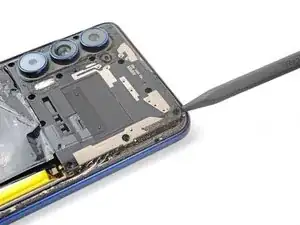
    • Insert a spudger between the motherboard cover and midframe on the top right edge of the phone.

    • Pry up with the spudger to release the clips securing the motherboard cover.

    • During reassembly, press down around the perimeter of the motherboard cover to engage the clips.

  18. YDUYqCuFiBFhyHBW
    YDUYqCuFiBFhyHBW
    c5nJj4YpAVSIg3RI
    I5EyRoSIWhRruWtR
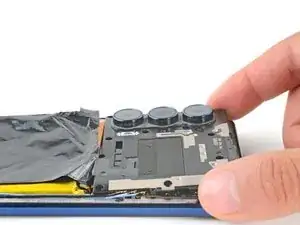
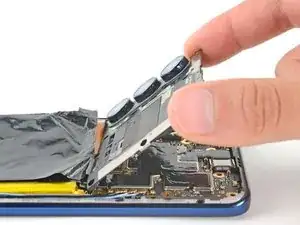
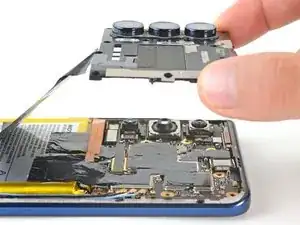
    • Gently pull the motherboard cover up and away from the phone and remove it.

    • Don't pull quickly or forcefully, as the heat spreader very loosely secures the motherboard cover to the battery.

  19. YS4GUnKfhoto6GRl
    YS4GUnKfhoto6GRl
    CPL1rGFHi3SQpcHm
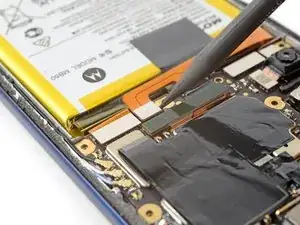
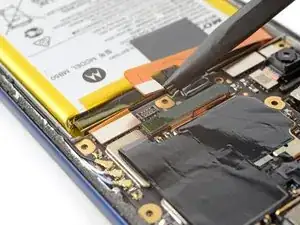
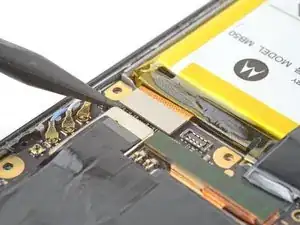
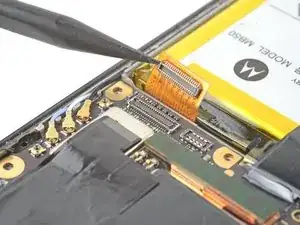
    • Use the pointed end of a spudger to pry up and disconnect the battery's press connector.

    • To re-attach press connectors like this one, carefully align and press down on one side until it clicks into place, then repeat on the other side. Don't press down on the middle. If the connector is misaligned, the pins can bend, causing permanent damage.

  20. ZI3BLTDF51JVT3ER
    ZI3BLTDF51JVT3ER
    iTdjwVtAowZDgPP3
    • Use the pointed end of a spudger to pry up and disconnect the display's press connector.

  21. WOtysoqgVeNBViTY
    WOtysoqgVeNBViTY
    HEkISU2pggaj11YF
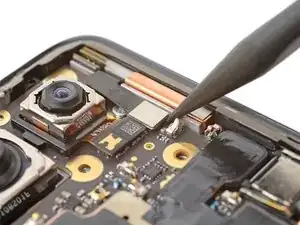
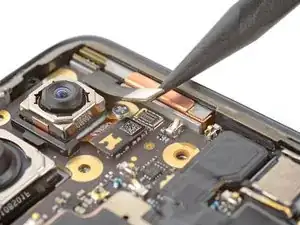
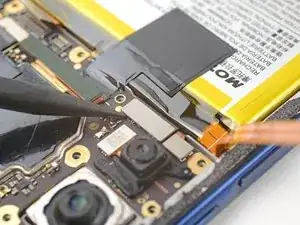
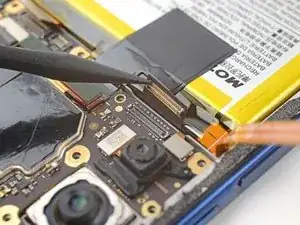
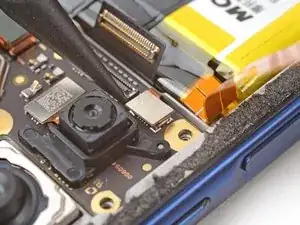
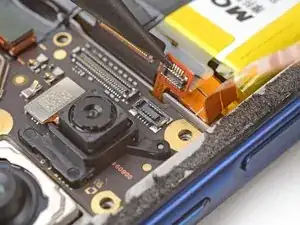
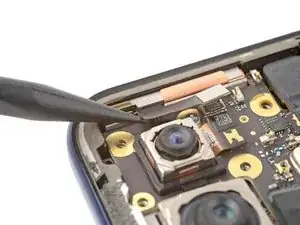
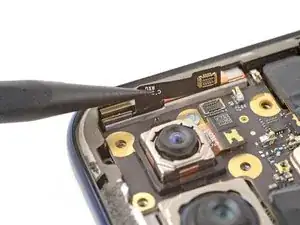
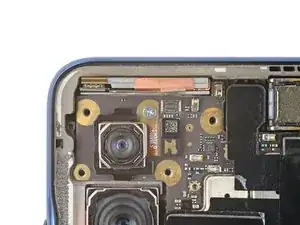
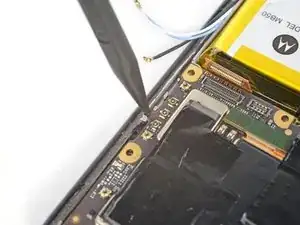
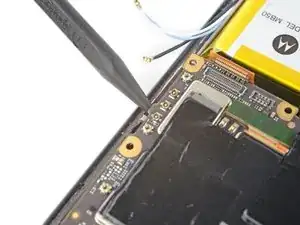
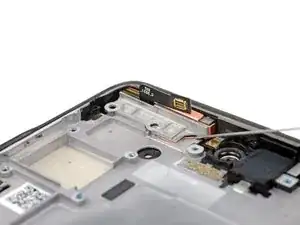
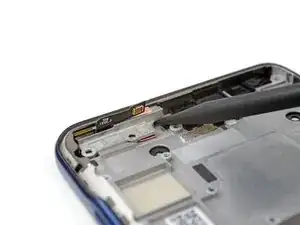
    • Use the pointed end of a spudger to pry up and disconnect the 5G mmWave antenna's press connector.

  22. LGhkY1rHAoCtnALP
    LGhkY1rHAoCtnALP
    YyFf3sarthBH5PDV
    • Use the pointed end of a spudger to pry up and disconnect the interconnect cable's press connector from the motherboard.

  23. oWHh4oTCbcTtgbhy
    oWHh4oTCbcTtgbhy
    AFxHQnaMhxgdrjnI
    • Use the pointed end of a spudger to pry up and disconnect the button assembly cable's press connector.

  24. NtUeINV2NoZLYNyP
    NtUeINV2NoZLYNyP
    oPObN2jdDRjrAIhL
    • Take care not to puncture the battery with your tweezers—a punctured battery may leak dangerous chemicals or cause a fire.

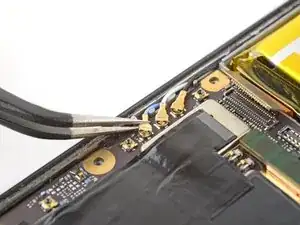
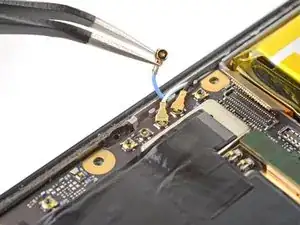
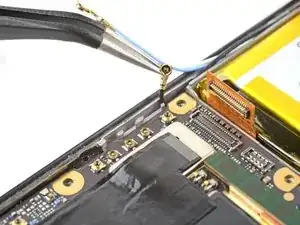
    • Use tweezers to grip the top and bottom of the blue antenna's coaxial connector, as close to the connector head as possible.

    • Lift straight up to disconnect the cable.

    • Be gentle when disconnecting the cable, as it's very easy to tear the socket from the motherboard.

    • During reassembly, make sure to put the cable back in its clip on the motherboard.

    • To re-attach coaxial connectors like this one hold the connectors in place and gently press them straight down with your finger or the pointed end of a spudger.

  25. 4PYxFxAYqmALu6li
    4PYxFxAYqmALu6li
    jrfNlquh4tULTGty
    BwTMg13NOSxQtvVL
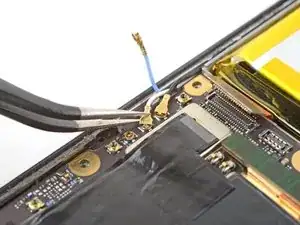
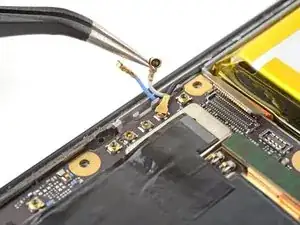
    • Use the same method from the previous antenna cable to disconnect the white and black antenna cables.

    • During reassembly, make sure to put the cables back in their clips on the motherboard.

  26. IcMQvA3IxCMfArHc
    IcMQvA3IxCMfArHc
    qiW4tslWcBnmxUu6
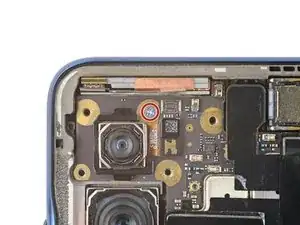
    • Use the pointed end of a spudger to bend the 5G mmWave antenna cable out of the way to access the screw securing the motherboard.

  27. JUvlhED5UcZZ1ESA
    JUvlhED5UcZZ1ESA
    FEmAU1AObxvN4X4J
    • Use a Phillips screwdriver to remove the 3 mm screw securing the motherboard.

  28. lgEeldUH52uQ4GMZ
    lgEeldUH52uQ4GMZ
    2KRePEhS1gZqXQDP
    • Insert the pointed end of a spudger between the midframe and motherboard in the opening near the coaxial connectors.

    • Gently pry up with the spudger to release the motherboard from the midframe.

  29. 4uqHCN6OyOyUgQWI
    4uqHCN6OyOyUgQWI
    iPB4JujgWXG1Vj1b
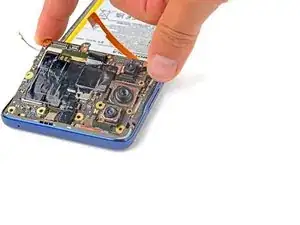
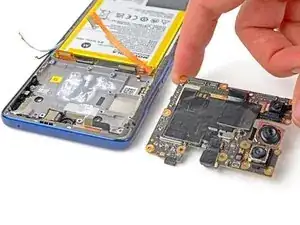
    • Remove the motherboard from the phone.

    • During reassembly, make sure that all of the cables that connect to the motherboard (interconnect, battery, antennas, display, and button assembly) are out of they way so they don't get stuck under the motherboard when it's reinserted.

  30. oqFQVFhmsitFeiML
    oqFQVFhmsitFeiML
    hWMScabiRDtQkxSk
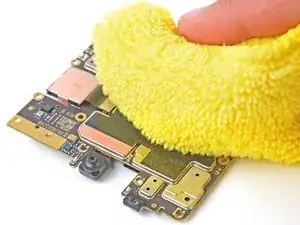
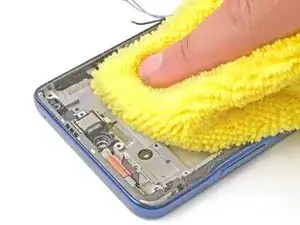
    • Clean off the old thermal paste from the midframe and motherboard using isopropyl alcohol and a microfiber cloth. Apply new thermal paste before reassembly.

  31. EjlJsY2h4dcjw2ys
    EjlJsY2h4dcjw2ys
    HTDMqgRwhqbCPuxW
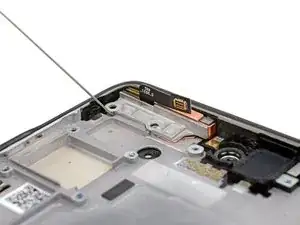
    • Apply a few drops of high-concentration (90% or higher) isopropyl alcohol under the 5G mmWave antenna.

    • Wait one minute for the isopropyl alcohol to penetrate the adhesive.

  32. csCufUtBnEPmneOn
    csCufUtBnEPmneOn
    Mg5yvvUAhhuPF3vR
    W6EletHMMShtuShT
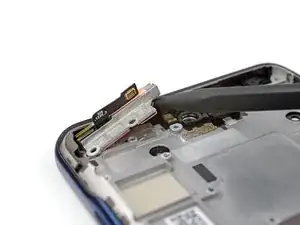
    • Insert the pointed end of a spudger under the 5G mmWave antenna on the side closest to the center of the phone.

    • Pry up with the spudger to detach the antenna.

    • It may take significant force to detach the antenna. If the antenna isn't moving, apply a few more drops of isopropyl alcohol and try again.

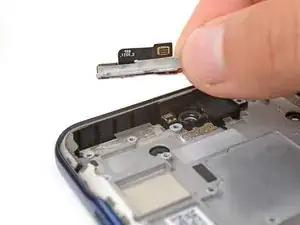
    • Remove the antenna.

    • During reassembly, remove the old adhesive from the bracket and frame, then apply new adhesive.

Abschluss

To reassemble your device, follow these instructions in reverse order.

Spencer Day

Mitglied seit: 14/09/22

17445 Reputation

0 Kommentare