Einleitung

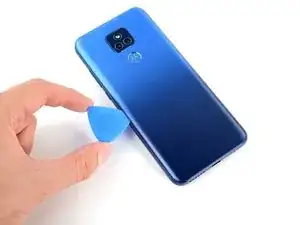
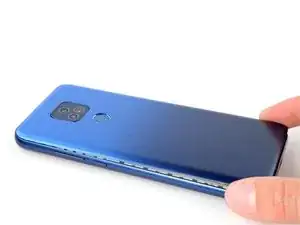
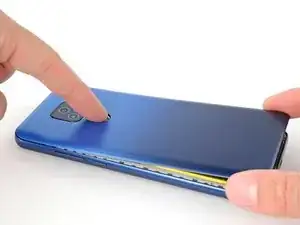
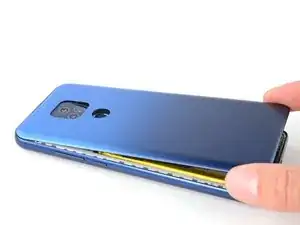
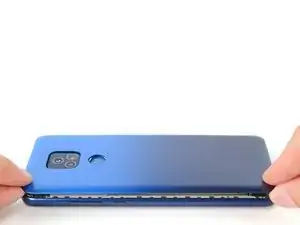
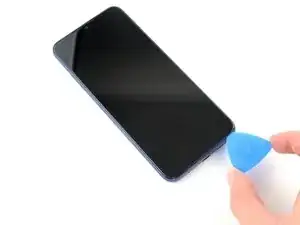
Follow this guide to replace the LCD display panel in your 2021 Motorola Moto G Play.

Note: This procedure is for a screen without the frame (a.k.a. chassis). If you're replacing the screen with a genuine Motorola screen pre-installed in a new frame, follow this guide instead.

For your safety, discharge the battery below 25% before disassembling your device. This reduces the risk of fire if the battery is accidentally damaged during the repair. If your battery is swollen, take appropriate precautions.

  1. qgQ1lHBRnuCrMf4A
    • Discharge your battery to 25% or lower and power off your phone before you begin.

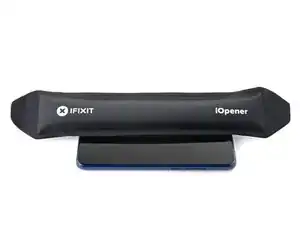
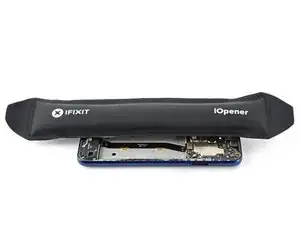
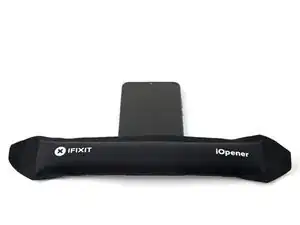
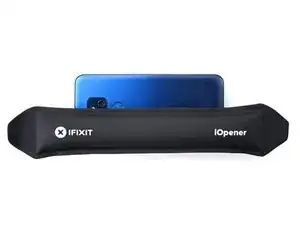
    • Heat an iOpener and apply it to the left edge of the cover for two minutes.

    • A hair dryer or heat gun may also be used, but be careful not to overheat the phone—the display and internal battery are both susceptible to heat damage.

  2. kBSAWhijB31MWsUt
    kBSAWhijB31MWsUt
    tfVQLJVGTNtuigH2
    133WPNrZdCOAOXYg
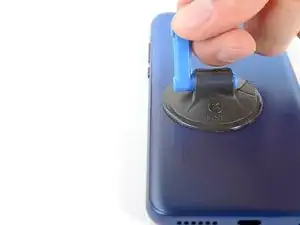
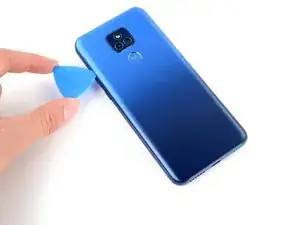
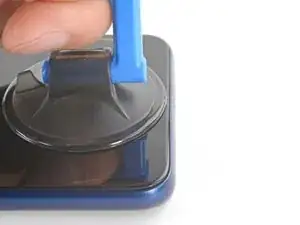
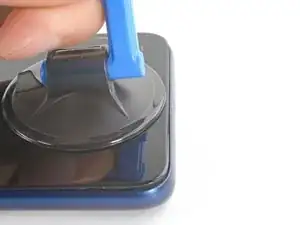
    • Apply a suction cup to the back cover, as close to the center of the left edge as possible.

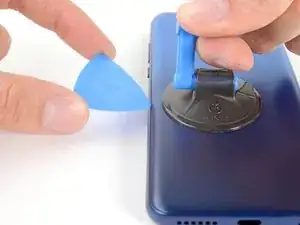
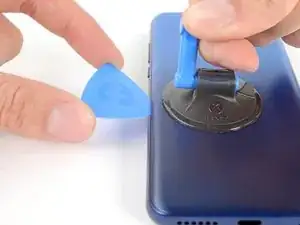
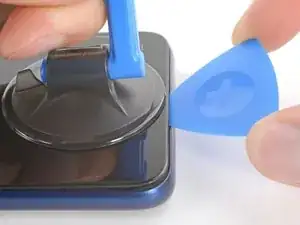
    • Pull up on the suction cup with strong, steady force to create a gap between the cover and the frame.

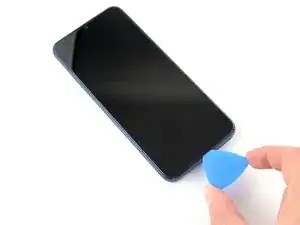
    • Insert an opening pick into the gap.

  3. jTCbwSHbPbJjmxoi
    jTCbwSHbPbJjmxoi
    UKi1UMeCaXbJSvMg
    VbCijygl1nakCe41
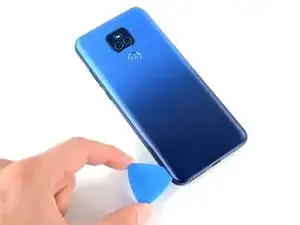
    • Slide your opening pick back and forth along the left edge to slice through the adhesive.

    • Leave the pick in at the bottom left corner to prevent the adhesive from resealing.

  4. n3vVVrshSlhKUOo5
    n3vVVrshSlhKUOo5
    ZjQGODHwtoSQJWQ6
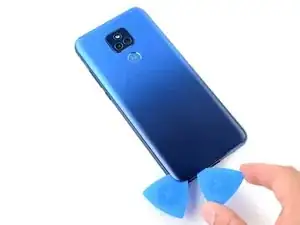
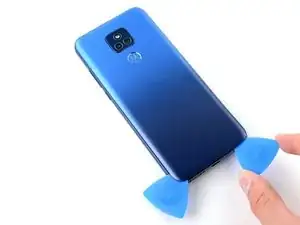
    • Insert and slide a second opening pick to the bottom right corner to slice through the adhesive.

    • Leave the pick inserted to prevent the bottom edge from resealing.

    • Repeat this process for the right and top edges of the cover.

  5. uqQuRoos4vFKrKGB
    uqQuRoos4vFKrKGB
    U6MYCaXqBWNMGBL1
    UXJHlk2FMdHpxxHA
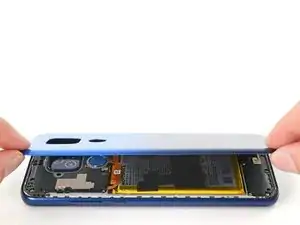
    • The fingerprint reader is connected to the motherboard by a fragile cable. You must free it before pulling the cover off.

    • Grab and lift the bottom edge of the cover.

    • As you lift the back cover, press and unstick the fingerprint reader from it.

  6. DyJLOQrMUIsErS3b
    DyJLOQrMUIsErS3b
    ebyguh2aDUOGFdkF
    laQRGQXtRLeTren4
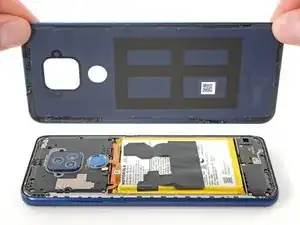
    • Grab and remove the back cover.

    • If your back cover is still sticking to the frame, slide the pick around the edges of the phone to slice through any remaining adhesive.

    • Reassembly notes:

    • This is a good point to test your phone before sealing it up. Follow this guide to perform a hardware test. Be sure to power your phone back down completely before you continue working.

    • To adhere the back cover with custom-cut adhesives, follow this guide.

    • To adhere the back cover with tape, follow this guide.

  7. Y6aCq5DFtLBKpJuw
    Y6aCq5DFtLBKpJuw
    hH3NfEPeHxcCKKMk
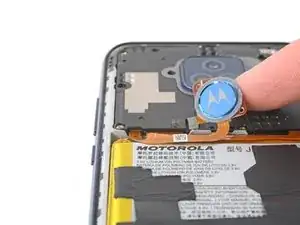
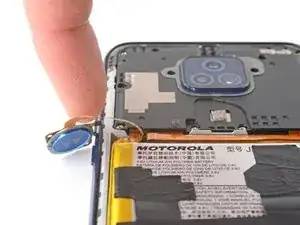
    • Flip the fingerprint reader to the left, away from the phone.

    • Don't fold or sharply bend the ribbon cable.

  8. vuhLCmIG1PmKIQMS
    vuhLCmIG1PmKIQMS
    dtBoOYajXXhpjCyY
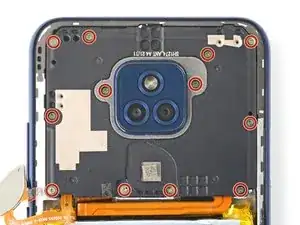
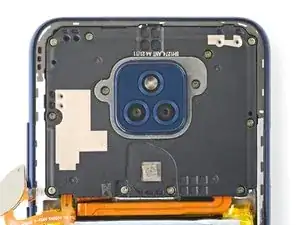
    • Use your Phillips screwdriver to remove the twelve 3.9 mm-long screws securing the motherboard cover.

  9. X4ow4ygsRaka22s1
    X4ow4ygsRaka22s1
    RKqLJXDNgPqqWOuO
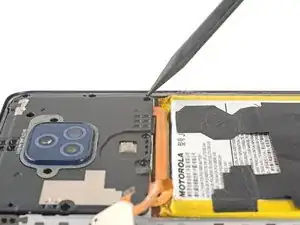
    • Insert the pointed end of a spudger between the bottom right corner of the motherboard cover and the frame.

    • Pry the cover upward until you can grab it with your fingers.

  10. rQ4c34OHNEGUOTtd
    rQ4c34OHNEGUOTtd
    MFcjhoSCZEHqgExO
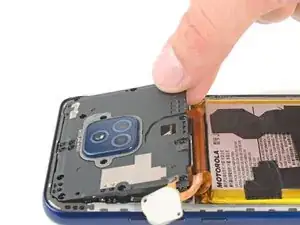
    • Grab the bottom edge of the motherboard cover and remove it from the frame.

  11. EFFHRxF5emOtURkC
    EFFHRxF5emOtURkC
    x4rrLgshsKlcJWcC
    • Use the pointed end of your spudger to pry and disconnect the battery's press connector.

    • To re-attach press connectors, carefully align and press down on one side until it clicks into place, then repeat on the other side. Don't press down on the middle. If the connector is misaligned, the pins can bend and cause permanent damage.

  12. AVteICXoiV1jS3ow
    AVteICXoiV1jS3ow
    NPjDMNxyRSRsxGVj
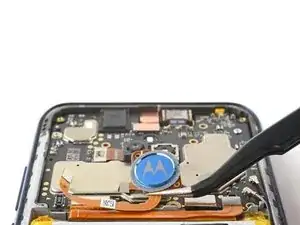
    • Use the pointed end of your spudger to pry and disconnect the fingerprint reader's press connector.

    • The gold arrow indicates the direction to pry from.

  13. P6ROhipdikMYXcWX
    P6ROhipdikMYXcWX
    Sx1cvawo1HBlCdPL
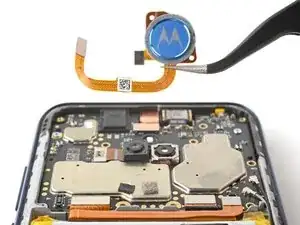
    • Use your fingers or tweezers to remove the fingerprint reader.

    • Be careful while handling the fragile ribbon cable.

  14. AjPBRTOKtDdHaFgi
    • Heat an iOpener and apply it to the left edge of the screen for about two minutes.

    • A hair dryer, heat gun, or hot plate may also be used, but be careful not to overheat the phone—the display and internal battery are both susceptible to heat damage.

  15. HaCZverchNGeMJbO
    HaCZverchNGeMJbO
    et11Fa36x6bCoUuH
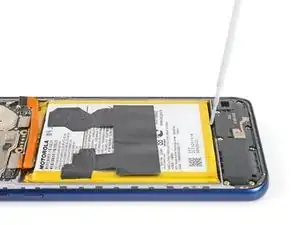
    • Additionally, you may use highly-concentrated isopropyl alcohol (over 90%) to further loosen the adhesive securing the battery.

    • Apply the isopropyl alcohol into the gaps between the sides of the battery and the frame.

  16. ALA5sNkKMTVrxvJH
    ALA5sNkKMTVrxvJH
    yIfUJF3jTwsNJTrh
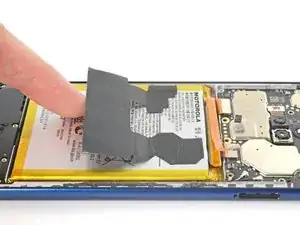
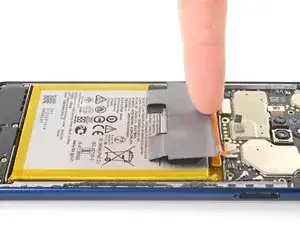
    • Fold the graphite heat dispersion film toward the top of the battery.

  17. KFutOGxwEKdVn2US
    KFutOGxwEKdVn2US
    rt6NKrGt66mWWYH3
    mZbKuP1dDReTaUAE
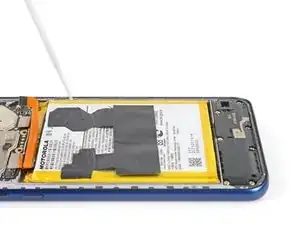
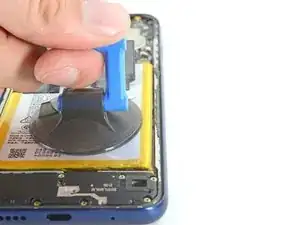
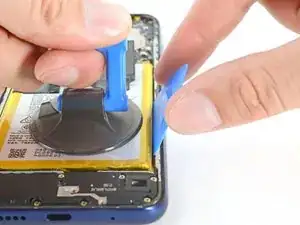
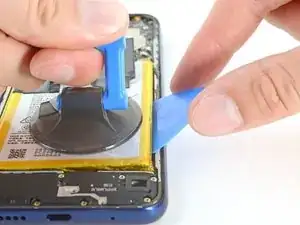
    • Place a suction handle on the center of the battery.

    • Insert an opening pick between the right edge of the battery and the frame.

    • Use a steady force to pull on the suction handle and simultaneously pry with the pick.

    • Don't use excessive force on the battery. Slow, consistent pressure is all that is required to free it from the frame.

    • Apply more heat or isopropyl alcohol if the battery readheres.

  18. 5PfoabBdCqfvZIyY
    5PfoabBdCqfvZIyY
    GXU1KdM1eOUxr5y1
    6lCQvJG52tCHHVsk
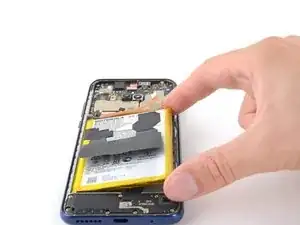
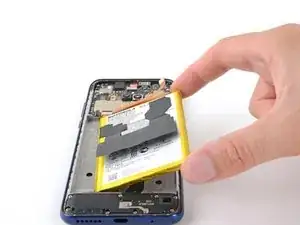
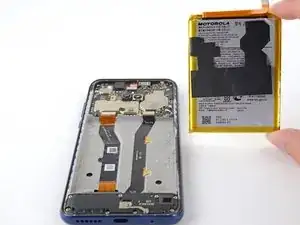
    • Remove the battery from its recess.

    • Don't reinstall a damaged or deformed battery, as doing so is a potential safety hazard.

    • Use this guide to install a battery with custom-cut adhesives, or use this guide to install a battery with an adhesive sheet.

  19. mtcqXhkPuEdAGE1f
    mtcqXhkPuEdAGE1f
    JQ6DWCb15uu6UHAm
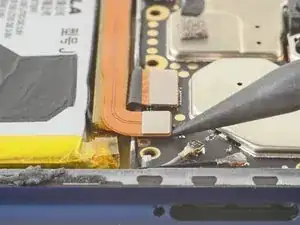
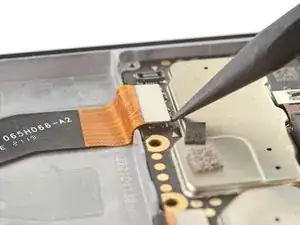
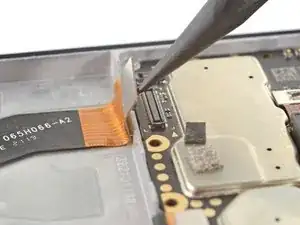
    • Use the pointed end of your spudger to pry and disconnect the display cable's press connector.

    • The gold arrow indicates the direction to pry from.

  20. KrS21yT4xR2WLxl1
    • Heat an iOpener and apply it to the display cable for two minutes.

    • The iOpener may stick to the residue left over from the battery. Clean the surrounding surface with highly-concentrated isopropyl alcohol (over 90%) to prevent this.

    • A hair dryer, heat gun, or hot plate may also be used, but be careful not to overheat the phone—the display is susceptible to heat damage.

  21. ZAvOwsxwIdlQBpwd
    ZAvOwsxwIdlQBpwd
    aUL56J1TAZUgYGqb
    uWQRmWL1VqyiGR2Q
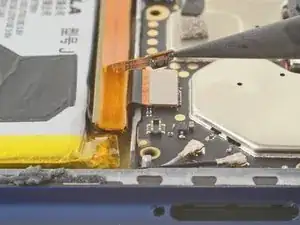
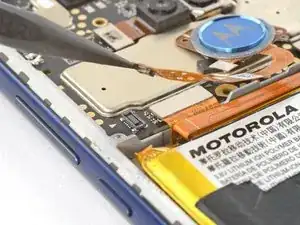
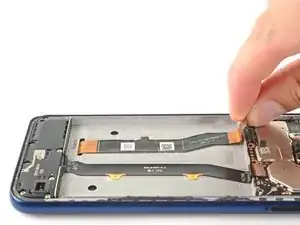
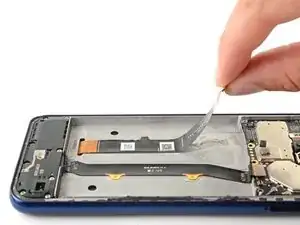
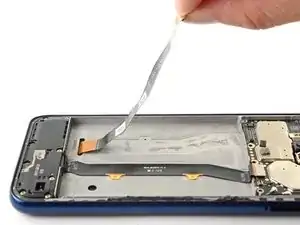
    • Grab the display cable near the connector.

    • Don't attempt to completely remove the cable.

    • Peel the cable toward the bottom of the phone until it's completely separated from the frame.

  22. 15CYvwe4JP4tvFtT
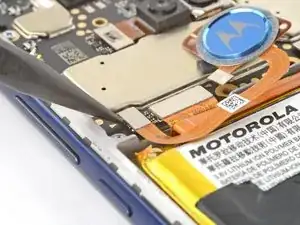
    • Heat an iOpener and apply it to the bottom of the screen for about two minutes.

    • A hair dryer, heat gun, or hot plate may also be used, but be careful not to overheat the phone—the display is susceptible to heat damage, and the exterior coating of the phone will wrinkle under high temperatures.

  23. yvZVMFWvhMHOnw3x
    yvZVMFWvhMHOnw3x
    shwKCEOiBfTyhVPA
    xp55Q4qjrBtEtvS1
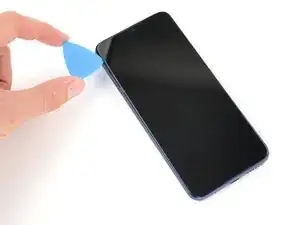
    • Apply a suction cup to the screen, as close to the center of the bottom edge as possible.

    • Pull up on the suction handle with a strong, steady force to create a gap between the glass and the frame.

    • If the glass does not separate, apply more heat and try again.

    • Insert an opening pick into the gap.

  24. mDhoBOybt2sIWJIn
    mDhoBOybt2sIWJIn
    hcYvHmwP1fU3dnKR
    BQKBSOwJSpxB22yV
    • Don't insert the opening pick deeper than 2 mm, as you may delaminate the display panel.

    • Slide the pick back and forth to separate the bottom edge's adhesive.

  25. Ng3ePUJZpNsNPErR
    Ng3ePUJZpNsNPErR
    L2RvLNE4OPpB3dtI
    gGuQXuAKJwTPWVAi
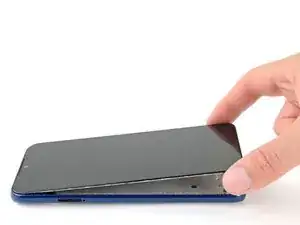
    • Slide your opening pick to the top left corner to separate the left edge's adhesive.

    • Repeat this process for the top and right edges to completely separate the display panel from the frame.

  26. HKYUYatTqWtYbTKa
    HKYUYatTqWtYbTKa
    PKBQ5O5ZkEJXy1Of
    JuPhplWPtFVmhUqL
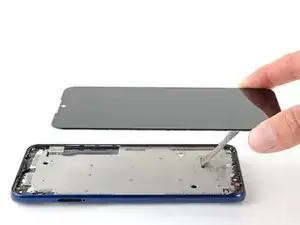
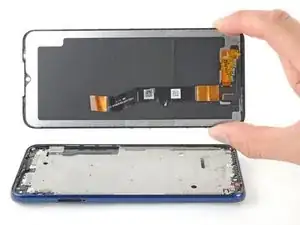
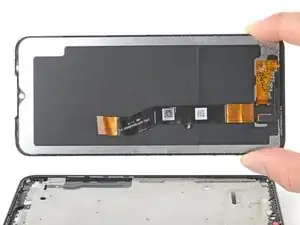
    • Grab and pull the bottom of the display panel down and away from the frame, making sure to thread the display cable through its slot.

    • Once the display cable is free, remove the panel from the frame.

Abschluss

Compare your new replacement part to the original part—be sure to transfer remaining components and remove adhesive backings from the new part before installing.

To reassemble your device, follow these instructions in reverse order.

Take your e-waste to an R2 or e-Stewards certified recycler.

Repair didn’t go as planned? Try some basic troubleshooting, or ask our Answers community for help.
Clay Eickemeyer

Mitglied seit: 19/09/22

23447 Reputation

0 Kommentare