Introduction
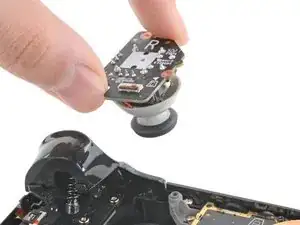
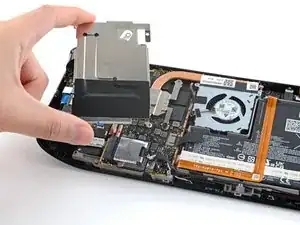
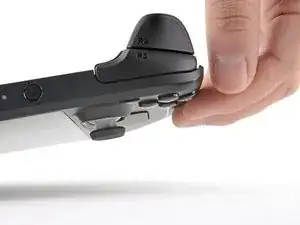
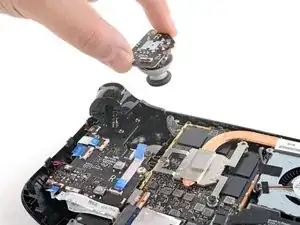
Use this guide to replace the right thumbstick on your Steam Deck. The stick is part of a complete module and needs to be replaced as one unit. Although nearly identical, the procedure for the left thumbstick can be found here.
Remember: follow general electrostatic discharge (ESD) safety procedures while repairing your device.
Replacement thumbsticks require calibration to work as expected. Read about how to do that here.
Note: Each Steam Deck ships with one of two different models of thumbsticks, Type A or Type B. Although nearly identical, capacitive touch capability relies on the correct type to be installed. To identify which replacement thumbsticks you need, navigate to Settings → System and check the Steam Deck Controller ID: if the Controller ID starts with “MEDA” that device uses Type A thumbsticks; if the Controller ID starts with “MHDA” that device uses Type B thumbsticks.
Tools
Parts
-
-
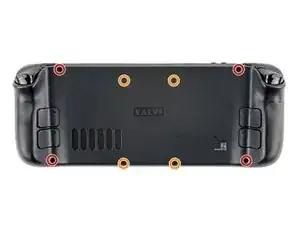
Use a Phillips driver to remove the eight screws securing the back cover:
-
Four 9.5 mm screws
-
Four 5.8 mm screws
-
-
-
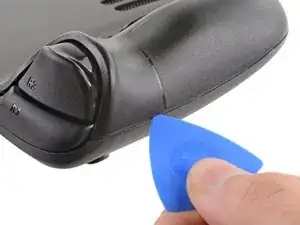
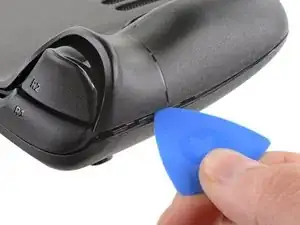
Insert an opening pick into the thin gap between the back cover and the front shell, along the edge of the right grip.
-
Pry up on the back cover to release it from the locking clips.
-
-
-
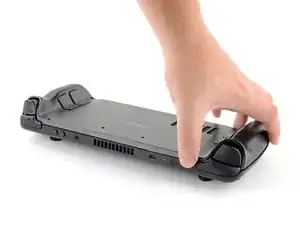
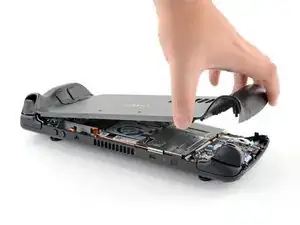
Grip the back cover at the opening you just created and pull it up and away from the device to unclip the long edges.
-
Remove the back cover.
-
-
-
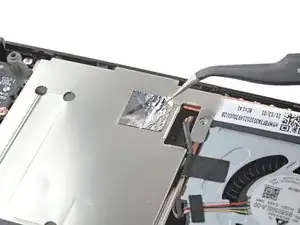
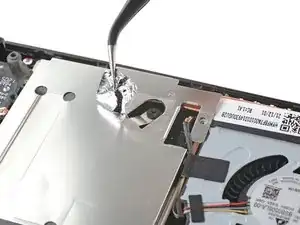
Use a pair of tweezers to remove the piece of foil tape covering the hidden screw on the board shield.
-
-
-
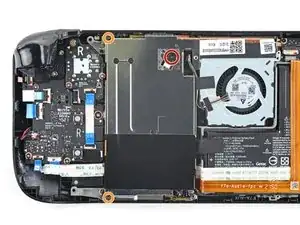
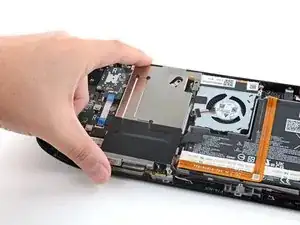
Use a Phillips driver to remove the three screws securing the board shield:
-
One 3.4 mm screw
-
Two 3.7 mm screws
-
-
-
Grip the battery cable by its pull tab and pull it directly away from the motherboard to disconnect it.
-
-
-
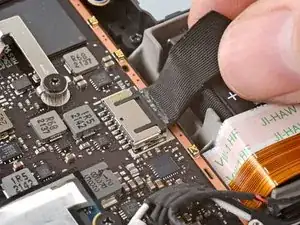
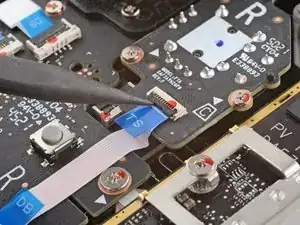
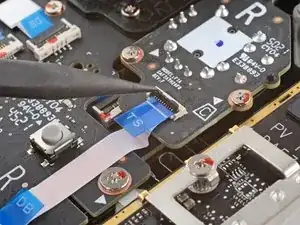
Use the pointed end of a spudger to lift up the small locking flap on the thumbstick cable's ZIF connector.
-
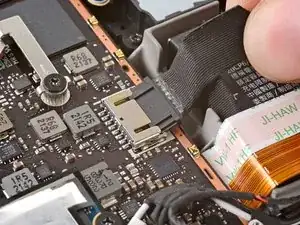
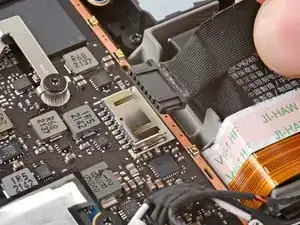
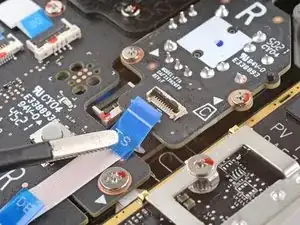
Use a pair of tweezers to slide the cable out of its connector.
-
-
-
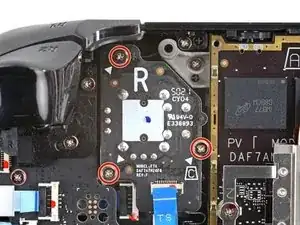
Remove the right thumbstick.
-
To identify which replacement thumbsticks you need, navigate to Settings → System and check the Steam Deck Controller ID.
-
To reassemble your device, follow these instructions in reverse order.
Take your e-waste to an R2 or e-Stewards certified recycler.
Repair didn’t go as planned? Try some basic troubleshooting, or ask our Steam Deck answers community for help.
